HINGED GLASS COVER X1C & P1S

HINGED GLASS COVER X1C & P1S

Boost
239
429
49
GIF

Print Profile(5)

All
X1 Carbon
P1S
P1P
X1
X1E
A1

COMPLETE KIT FOR X1C
Designer
16 h
2 plates
4.7(15)

COMPLETE KIT MODIFIED FOR P1S (WITHOUT BUTTONS PRESENT IN THE X1C)
Designer
16 h
2 plates
4.9(9)

FRAME FOR LED - TPU GLASS GASKET
Designer
6.3 h
4 plates
5.0(3)

KEY CAP P1S
KEY CAP P1S
Designer
16 min
1 plate
5.0(1)
Click to see more

Boost
239
429
49
7
391
231
Released

Description

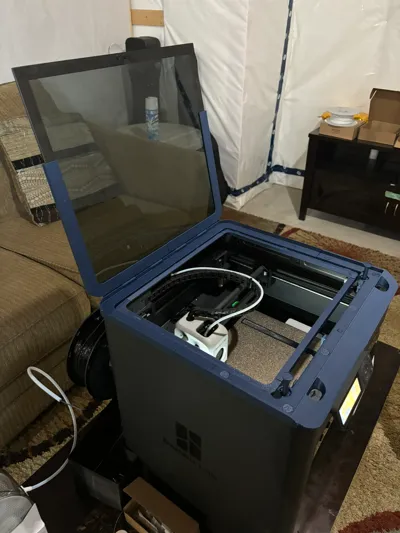
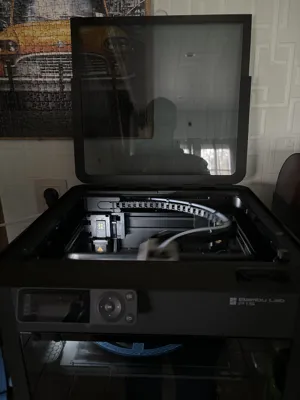
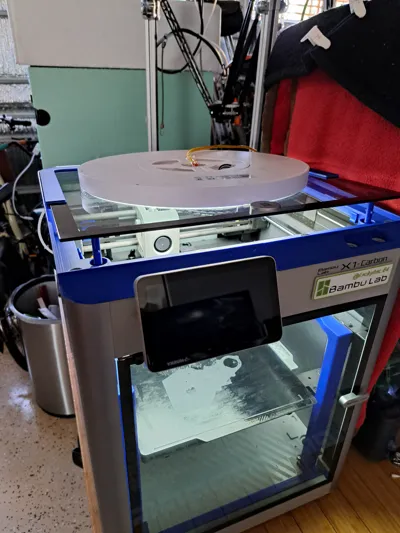
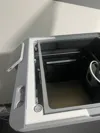
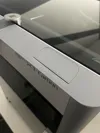
I made a hinged cover for the upper glass, for the X1C printer and P1S.

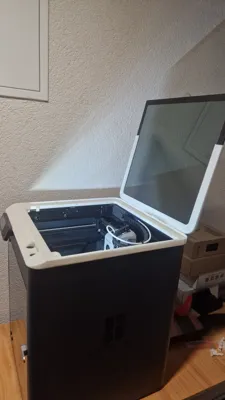
I tried to obtain a product that was both aesthetically pleasing and functional but still resistant and robust, I personally carried out several load and exercise tests, and I have never encountered serious problems.

I balanced print quality / print time, therefore if you want to obtain perfect aesthetics I recommend lowering the height of the layers to 0.12 / 0.16 or using the adaptive layers coinciding with the curvatures, however the result already obtained is very satisfactory.
To cushion the glass I made templates in the frame for 12x3 mm bumpers which can be found anywhere, my advice is to get a 2 mm sponge like the existing one and apply it to the frame only for the part resting on the glass, I made some caps to glue onto the bumper templates in case the sponge was used.
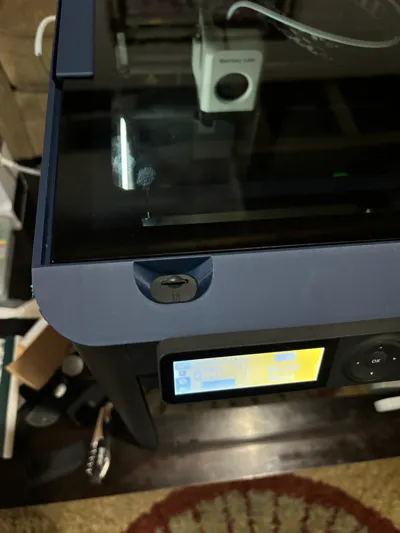
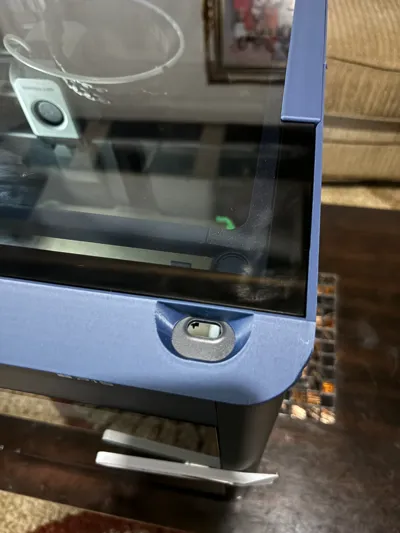
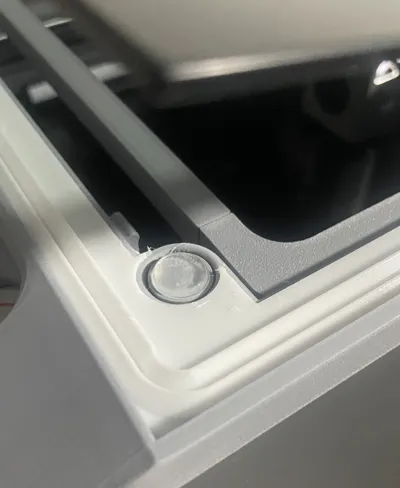
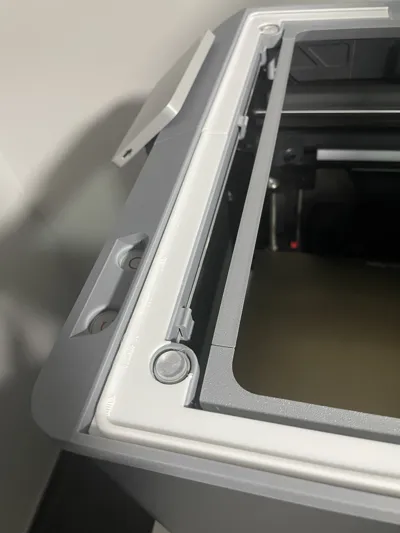
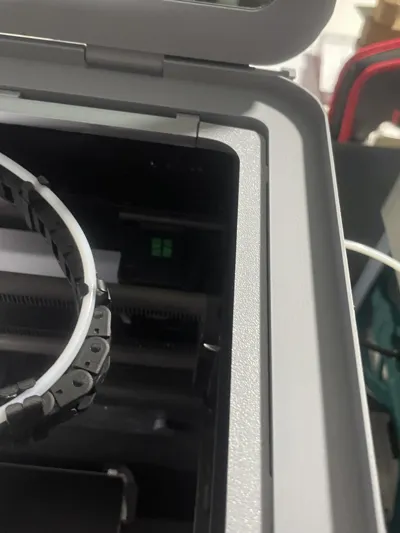
The frame is locked using small pliers to be inserted under the iron and plastic frame of the printer and matching the holes on the cover frame (see photo).
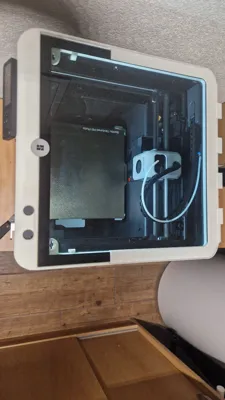
The hinge pin is molded in such a way that it fits perfectly, without exerting too much force, I just recommend cleaning it very well from any support or brim present, I haven't tried it but almost certainly a 4mm metal pin would also work perfectly , all the tests were carried out with the pin printed in Pla, I recommend printing it separately and parallel to the printing surface to make it as resistant as possible.
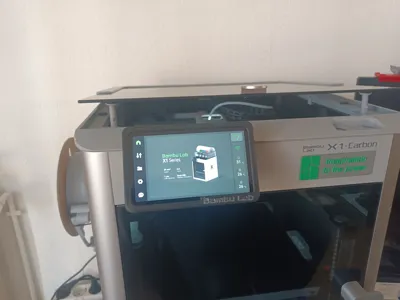
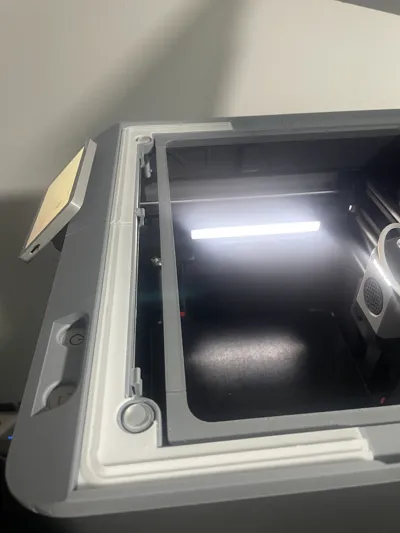
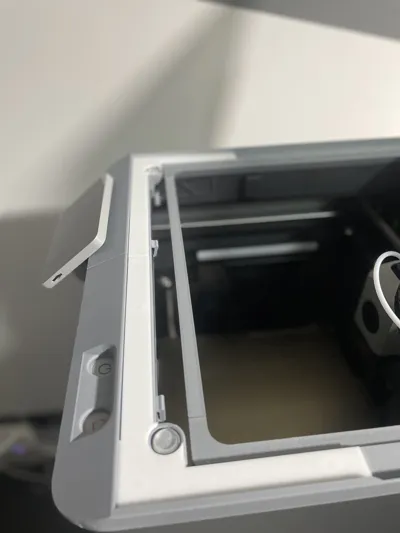
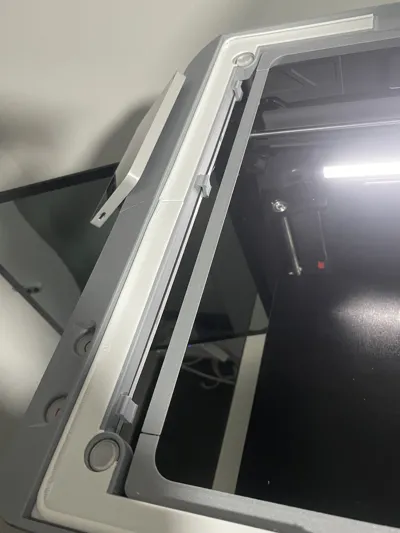
I inserted 2 pins in the front part to allow the printer to be ventilated when needed with two opening levels.

If you have not placed AMS or other accessories on the glass, just one pin is enough, otherwise if there is a weight on the glass I recommend using both the right and left pin. Finally, in the rear part coinciding with the hinges on the right side, a bolt has been created to keep the door open safely, be careful not to force it while trying to close.

Some non-usable fixing holes have been made in the frame; they will be used in the future to support the LEDs.
The glass fits perfectly into the two guides with very little pressure, and once the cover is hinged with the frame there is no way it will move.To dismantle all the supports and Brim, you will need pliers and about 5-10 minutes, however nothing is impossible, all the supports come off very easily, the assembly of everything including the glass, I recommend doing it on a table, and then transport everything to the printer and insert the fixing clamps.


Updates 28/02:
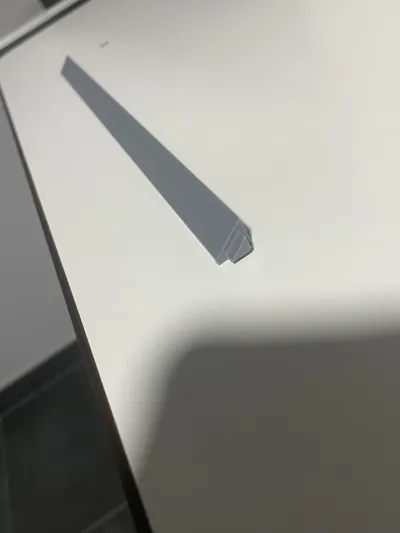
1. inserted new printing surface with circular LED frame, made with a 45° inclined profile and 12mm LED adhesion surface, the frame is divided into 4 pieces, due to the blockage in the lateral clamps made in the frame, not you can make a mistake because the pliers only coincide with the holes on the frame, and 2 rods to fit into the two frames blocked by the pliers, to fit it you need to slightly twist the two rods, which is easier to do than to explain. Logically, 3 blocking clamps made in the first print will have to be eliminated and the LED frame must be used with the new clamps incorporated.

2. in the same print plane file there are two other planes to replace the bumpers, with the help of TPU I created two planes that are positioned perfectly on the fixed frame to cushion the glass in support, they can be glued with glue warm or simply left resting, the first type is a simple 2mm TPU mat, while the second type is a 1.2mm TPU mat in which 2 inclined fins have been positioned which serve to better cushion the glass.

Comment & Rating (49)

Please fill in your opinion
(0/5000)

Boosted
Print Profile
COMPLETE KIT MODIFIED FOR P1S (WITHOUT BUTTONS PRESENT IN THE X1C)
Great print! I love the hinge design. I made a remix for the P1S version so that it has the correct cutouts for the SD card slot and vent.
The designer has replied
2
Reply
congratulations, excellent update.. thanks
(Edited)
2
Reply
Print Profile
COMPLETE KIT FOR X1C
best upgrade for my p1s 😁 thank you for this great design!!
(Edited)
The designer has replied
1
Reply
thank you very much, if I were to help you in the printing plans I have inserted a cap for the keys that are used for the x1c or otherwise the portion of the frame without holes..
0
Reply
Replying to @geom.alexpianta :
Very excited about doing this project, I have a couple questions. I was planning on using PLA METAL and I was curious if anyone had feedback about the filament and that seems like a lot on one build plate especially after adding supports. Do you recommend dividing up on separate plates? Doing a simple test print of a bolt from the build as we speak.
(Edited)
1
Reply
Felicidades por este gran trabajo. He seguido tu perfil, solo que cambiando el material a ABS y la configuración de agujeros y espacio superior de los soportes para ajustarlos a mi impresora X1C. Por lo demás ha sido un placer ver como todo encajaba perfectamente gracias a un buen diseño. Muchas gracias por tu trabajo.
The designer has replied
1
Reply
Thank you very much, I'm really happy that my project was appreciated
0
Reply
Print Profile
COMPLETE KIT FOR X1C
Alles gut ;)
(Edited)
The designer has replied
1
Reply
thank you very much for the test, continue to follow me, I will try as soon as possible to make a cap for the two buttons that are not needed for the p1s, and for those who want the whole kit without the two holes just for the p1s, also in good luck I will insert a gasket in tpu for the glass stop and the frame for the LEDs
(Edited)
1
Reply
Print Profile
COMPLETE KIT FOR X1C
This is the BEST ever functional model after my stuff LOL... I don't know why I did take so much time to print it. I did see it when it came out a few months ago. I thought that was a nice thing and with this i will never drop the top glass. I did stick a LED ceiling light there and wow. This thing is nicely design. I know you put a lot of time and effort into it. I'm shuck to see how little Boost you got. It is nice and well executed. Thanks for sharing.
0
Reply
Excellent job. I'm shocked you don't have more boost and prints. It's not perfect, but it looks good and works flawlessly. Excellent modeling job, and all fits are perfect. I wish I could give you more boost.
The designer has replied
1
Reply
thank you very much.. I'm very happy..
0
Reply
Print Profile
COMPLETE KIT MODIFIED FOR P1S (WITHOUT BUTTONS PRESENT IN THE X1C)
Started the print in PLA METAL and I'm getting mixed results with the filament that I chose. Going to try BLACK ABS on a separate plate. Your design is great! Is there any reason that you know of why the Bambu LED kit wouldn't work with your LED frame?
The designer has replied
1
Reply
hi, I'm glad you like the project, for the LED issue, I created the support for the LEDs with a maximum strip size of 12 mm, logically the LEDs must be bio-adhesive, and pay attention to the heat issue of the LEDs, for the type of filament that is used..
0
Reply
Print Profile
COMPLETE KIT FOR X1C
Long print, instructions could be better. Problems with ends lifting - had to attach cubes with thin rectangular connectors to secure ends. also increased brim to 10.
The designer has replied
1
Reply
I'm sorry for the problems that arose with the printing profile, as indicated I found a middle ground between aesthetics and speed... and I opted to print everything vertically to allow the entire frame to be printed with a single print, to improve the quality yes could print the components horizontally by increasing the printing planes... I hope you liked the project and was useful...
0
Reply
Awesome Print! Is there any way you could make a spot for LED's?
The designer has replied
1
Reply
thank you, of course in the print profiles of the project you will find a frame for the LEDs to be applied inside which is fixed to the frame using pliers, I thought of it inclined and with a 12mm surface, logically the LED strip must be adhesive..
0
Reply
Am always taking the top glass off and setting somewhere then concerned it is going to get broken. This is a fantastic upgrade.
The designer has replied
1
Reply
thank you very much, it all started from the same problem that afflicted me too..
0
Reply