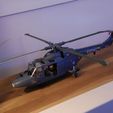
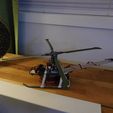
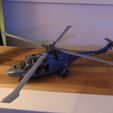
NEWS:
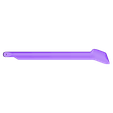
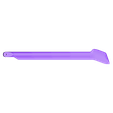
New main blade uploaded. It's tapered, with a thinner tip and flies really well.
OLD NEWS:
I made a new main frame bottom piece and the part for the swash anti rotation bracket, for adjustment of the swash phase in 10° steps.
Disclaimer: This project has potential dangers. Use protective goggles to avoid injury should anything break. I have not experienced any failures myself, but different material manufacturers and printers can give different results. Proceed at your own risk.
Print the following from PLA:
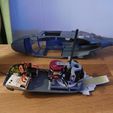
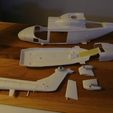
Mainframe01.stl - Parts for the main frame for the Revell 1:32 Sea Lynx. (or PETG for motor heat resistance)
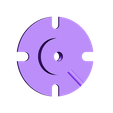
Micromaintotor02.STL - Main rotor pitch link rotation guide.
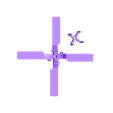
Tailrotor02.STL - Tail rotor and pitch change beam.
Swashlinks02.STL - Rod ends for the Blade CP swash plate ball ends.
Spacer.STL - Spacers for the main shaft.
Mainblade03.STL - Thicker main blade model. Stiffer, but more drag. Seems to fly about the same as the thinner blades, but is stiffer.Print if you have problems with blade flutter.
Mainblade05-tapered.STL - Tapered blade. Flies well. This is the recommended blade.
Print the following from Taulman 910:
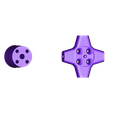
Micromaintotor01.STL - Main rotor hub.
Scissor02.STL - Scissor links with flex hinges for the main landing gear.
Parts list:
Assorted M2 screws and M3 set screws.
2x ball bearings 3x6x2,5mm
3mm steel rod for main shaft.
3x servos Turnigy™ TGY-D56LV: https://hobbyking.com/en_us/turnigytm-tgy-d56lv-coreless-low-voltage-ds-mg-servo-0-89kg-0-10sec-5-6g.html
Main gear: 128-136 tooth Active Hobby 84 Pitch CNC Composite Spur Gear: https://hobbyking.com/en_us/active-hobby-132t-84-pitch-cnc-composite-spur-gear.html
Pinion: GWS 0,3 mod 10t brass pinion (or similar 0,3 mod/84 pitch).
Main motor: EH200 Brushless Outrunner 4100kv, or similar 3000-4000 kv motor: https://hobbyking.com/en_us/eh200-brushless-outrunner-4100kv.html
Tail motor: NTM Prop Drive 13-12 2400KV, or similar 2400-2600kv motor: https://hobbyking.com/en_us/ntm-prop-drive-13-12-2400kv-40w.html
I used an E-FLITE EFLH1152 Blade CP Swashplate. It needed to be modified by bending the outer ends inwards gently under heat to fit inside the top of the fuselage.
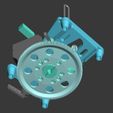
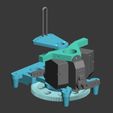
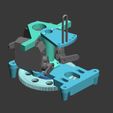
The illustration shows how the parts of the main frame and servos go together. Use 1,6 mm steel wire to make the anti rotation bracket. I recommend installing it in the pictured holes. That will put the rotor in the right phase for near vertical pitch links. Use your maker skills to assemble it to your liking. It's for advanced builders who understand how helicopters work and go together.
The main frame is assembled with #0x1/4 screws. Servos as well. Make the main shaft from steel and drill holes for a 1mm main gear locking pin, and a flat on the top for the main rotor set screws. I made the point of the rotor set screw into a pin that goes through a hole in the shaft for extra security.
After the main blades have been printed, bend the tips down about 20° to resemble the BERP tips of the full size helicopter.
After the tail rotor has been printed, gently twist the blades at the root to give the appropriate pitch, about 10-20° should be enough. I have made many tail rotors, and this works every time. They only fail if they hit something.
This video shows how the flight controls should operate. The swashplate is rotated 120° compared to the usual arrangement with two bladed rotors. When testing, rotate the main rotor pitch link rotation guide between flights until there is no coupling between roll and pitch:
https://youtu.be/VuhCTazcsxA
My Lynx now flies great at around 3200 RPM.

/https://fbi.cults3d.com/uploaders/12943812/illustration-file/2f9354f2-cb14-45ec-8f29-e3e21e8a544e/DSCN0837.JPG)


