Prints (0)
-
No Prints Yet
Be the first to upload a Print for this Design!
Description
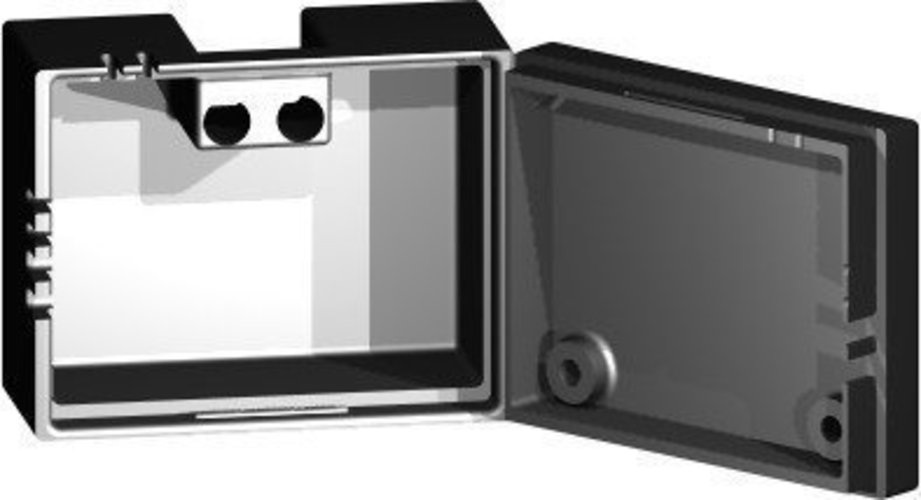
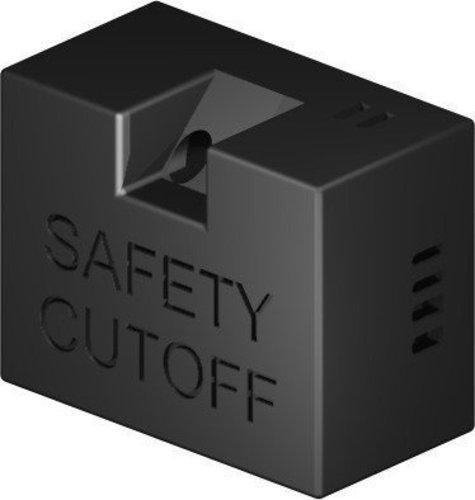
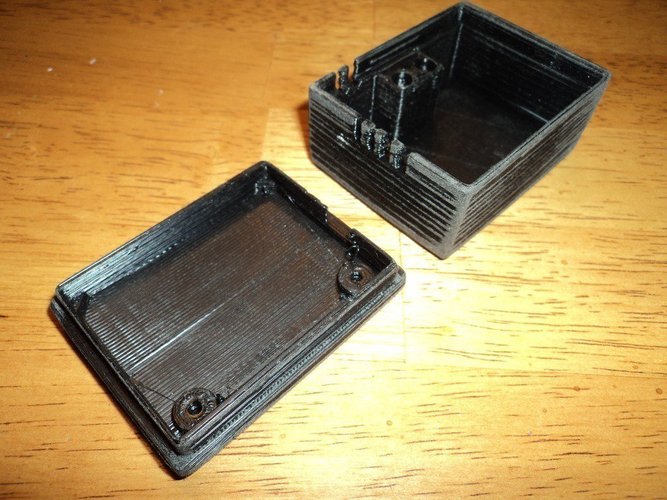
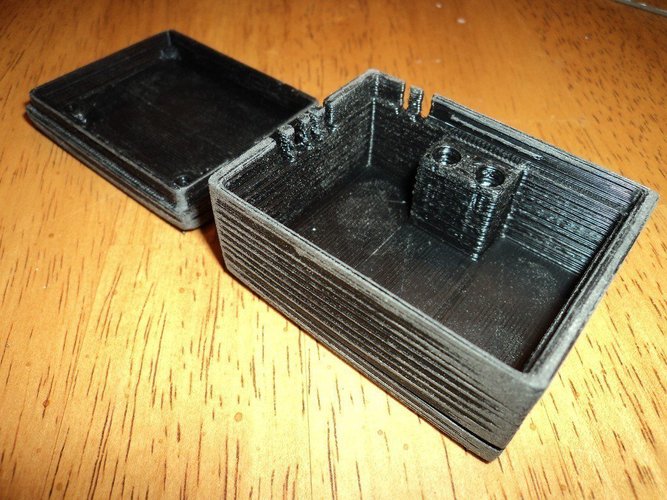
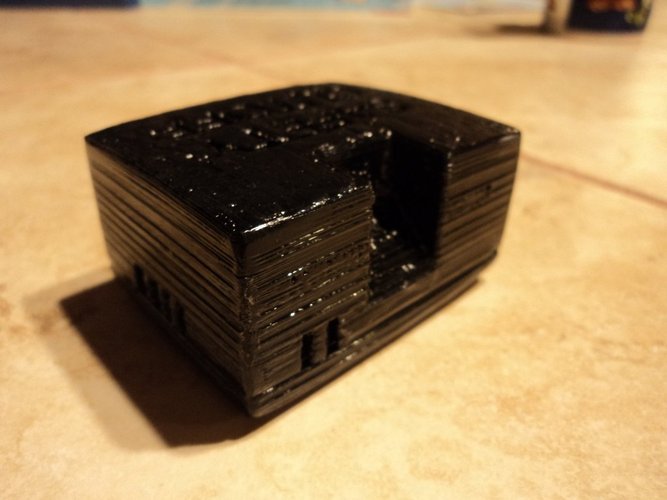
SummaryI just built my ToM and I'm still experimenting with it. I made this enclosure for the safety cutoff switch on my ToM, because I don't like the way it looks just hanging there with wires running everywhere. There are 2 parts to this enclosure, and they snap together (with some cleaning needed on my print (and most likely yours) even though I included a 0.05mm clearance all around the joining faces). No modification of the switch is required. The base simply replaces the 2 spacers. The top cap just snaps on & the LEDs slide right inside of the top cap. NOTE: My design has "NORMAL" and "FAULT" engraved in the top of the case, in very small letters. This DID NOT show up in my print, and doesn't show up in the .STL file. I imagine the resolution of the lettering is too small for Skeinforge to handle? The engraved lettering "SAFETY CUTOFF" showed up just fine in my print... although since they were at the bottom of my print (with a raft), the bottoms of both parts warped & did not print very well (thus not shown in my photos, LOL). The insides of both parts look much better than the outsides. I don't think this is dues to design errors... I believe it to be in Skeinforge setting errors. This design was based on digital caliper measurements of the Generation 4 cutoff switch. I designed it to require no modification to the MakerBot-supplied circuit-board, or any part of the ToM itself. I have not yet fitted my housing on my thermal safety cutoff switch, so PLEASE let me know if this design needs any changes. And I would also love to see any adaptations/modifications to this design, as well as photos of any successful builds of the unmodified object... or "thing". Thanks! P.S.--As of 12-31-2011, I still haven't mounted my Safety Cutoff Switch inside this housing, because I'm still not happy with the way it looks (tons of voids in the bottom halves of both pieces, which were both printed face-down (on a raft). I'm also still not happy with the overall quality of most of my prints. But I've posted a print as of today, to show you my print results.InstructionsPrint, clean up, and enjoy. Experiment with Skeinforge settings, because mine didn't work so well. I printed my base at 225 degrees nozzle, 130 degrees HBP, using 1 shell and 50% infill (too much infill, and caused warping). I printed my top cap at the same temperatures, using 1 shell and 25% infill (much better results). I'm still playing around with tweaking the settings on my ToM, but my housing turned out OK. I may do another print of this "thing" after I've got my settings figured out. I'm not new to 3D design, but new to 3D printing. Gimme time... I'll be adding much more as my progress with this machine continues. :)
Comments