Prints (0)
-
No Prints Yet
Be the first to upload a Print for this Design!
Description
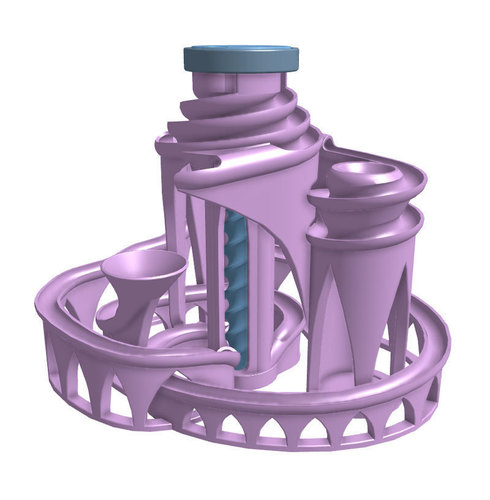
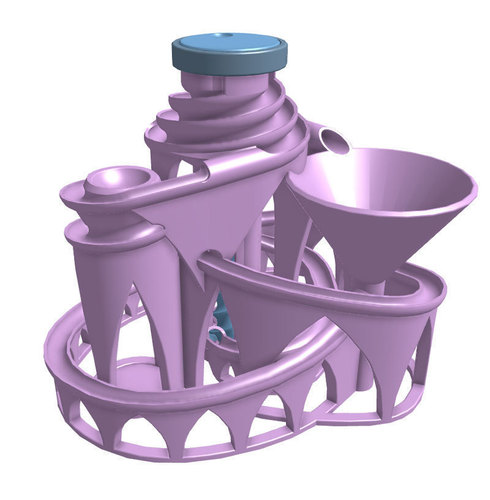
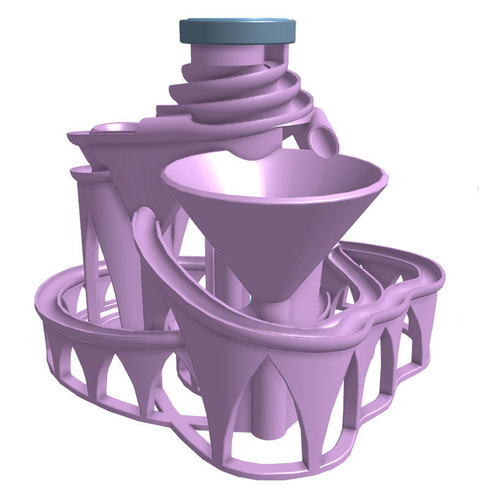
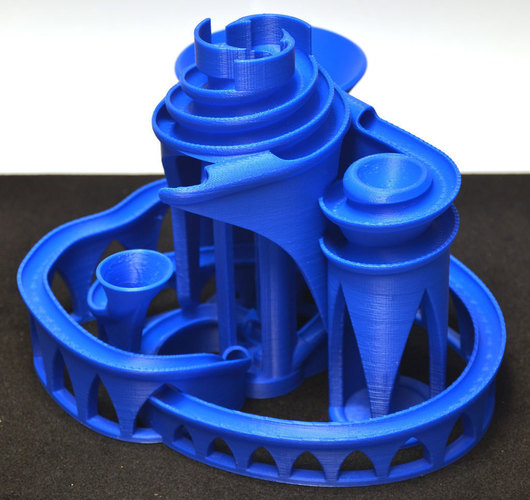
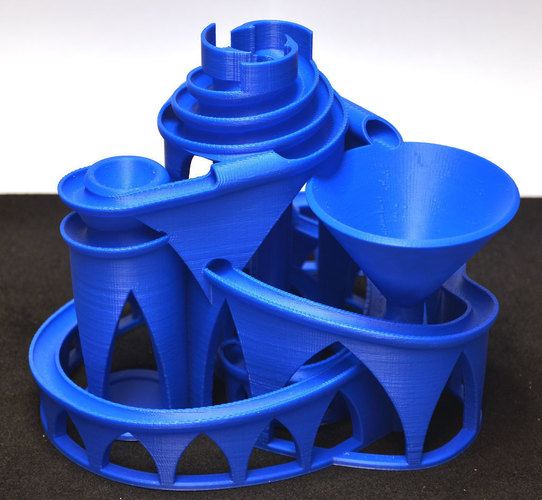
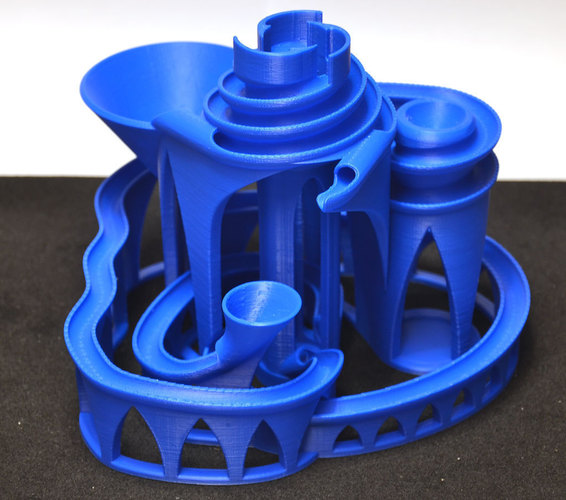
This is a marble machine with a lift that lifts three (or more) marbles simultaneously, and releases them to three separate tracks. Two of those tracks are connected in series, so a marble will therefore alternate between those tracks. The third track loops back onto itself, so to have traffic in all three tracks, you need at least two marbles. The machine has been designed for 8 mm balls as marbles, and the machine prints completely without supports if you have a well tuned printer. 8 mm steel balls will work fine, but I have also included a printed marble that can be used. The nice thing about printed marbles is that you can print several in different colors, which looks quite cool when running the machine. They also run a little slower than steel balls due to a little more friction against the tracks. Total amount of plastic to print this will be around 300 grams.
Print Settings:
Rafts: No
Supports: No
Resolution: Any
Infill: 15%
Notes: These settings are valid for the machine itself, the screw and the cap.
Instructions
Step 1
Print the machine itself first. This will be a long print, as it is a large object. I printed mine on a Duplicator i3 with a layer height of 0.25, infill 15% and a speed of 50 mm/s, sliced with S3D. The print time was a bit over 19 hours for the machine alone.
Step 2
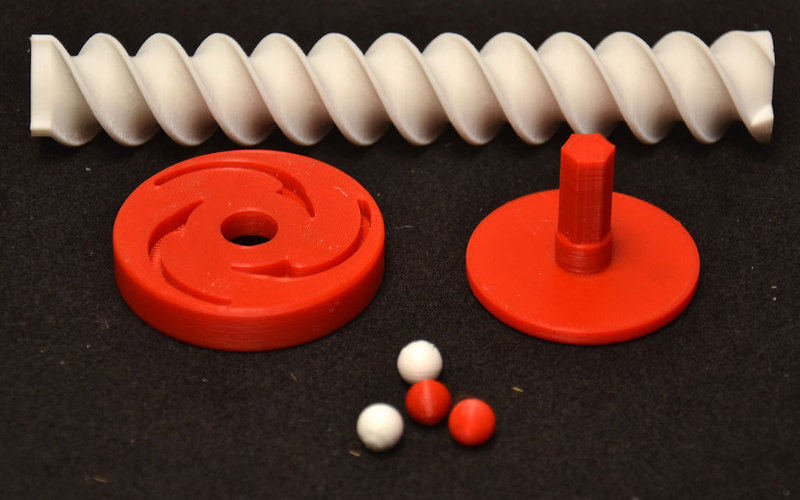
Print the screw, the cap and the winder, these can be printed simultaneously, but I'd recommend placing the screw centered on the bed if you have a laterally moving bed. It is a tall print with little surface area, so ensure you have good adhesion to the bed. I'm printing on glass with a glue stick, and had no issues printing it. However, adding a brim might be a good idea if you have issues with the print being knocked down. Just make sure to clean the edge where the brim attaches to the part, as this should be quite sharp to wedge under the marbles at the start of the lift. The winder could use a little support just under the indentation, but I printed it without. I had to remove a tiny bit of stringing inside the indentation, but that's to be expected with no support.
Step 3
If you don't have steel balls of the correct size, try printing some marbles. Make sure to print them at 100% infill and a very fine resolution (I used 0.1 mm). The marbles are ready to print, and has been designed with built-in support that breaks away quite easily and leaves no scars on the ball. The part of the ball that is at the bottom of the support might need just a little sanding/filing to make the ball as round as possible.I made a quick video that shows how to assemble and use the machine. Sorry about the not-so-great video, it was just a quick and dirty shoot to show that the machine works quite well.
Video:
Comments