Prints (0)
-
No Prints Yet
Be the first to upload a Print for this Design!
Description
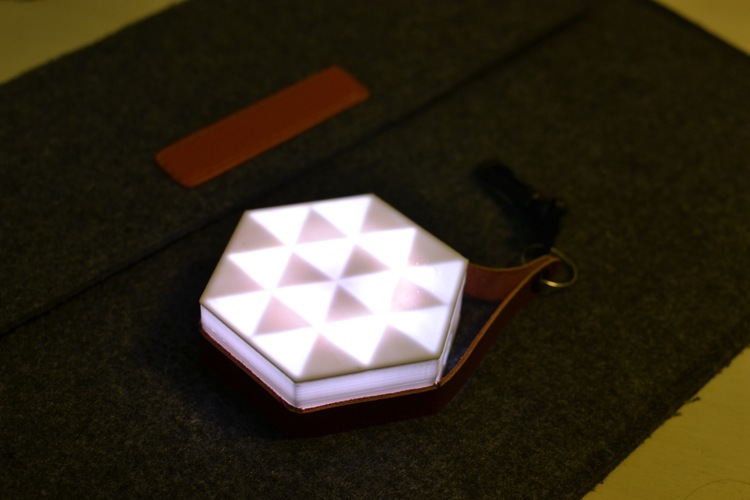
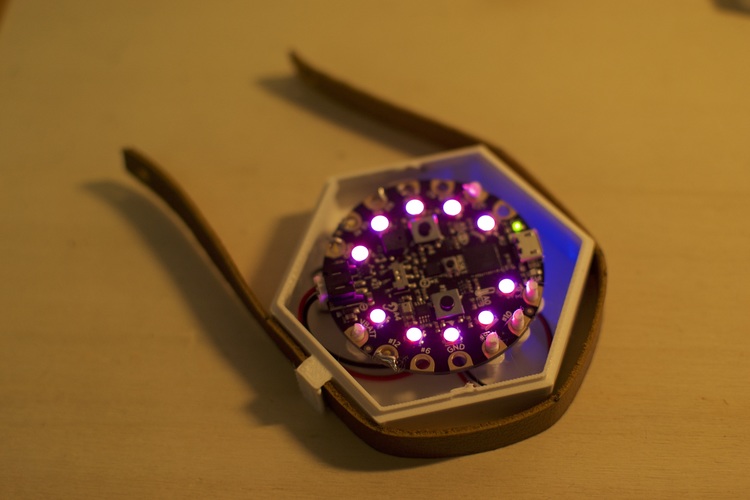
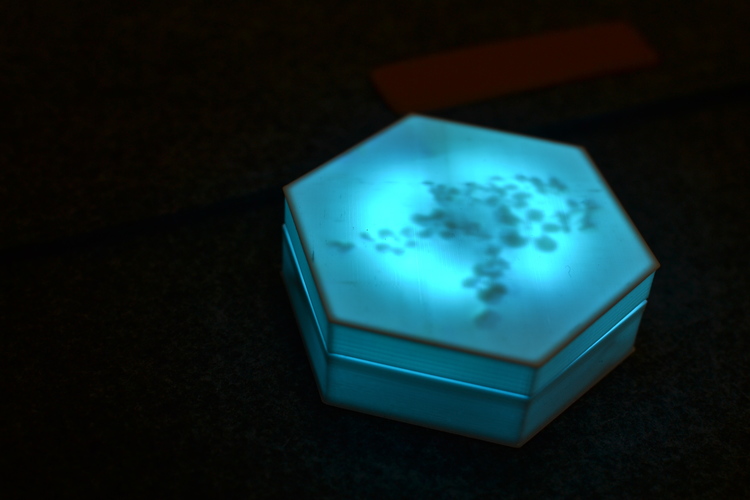
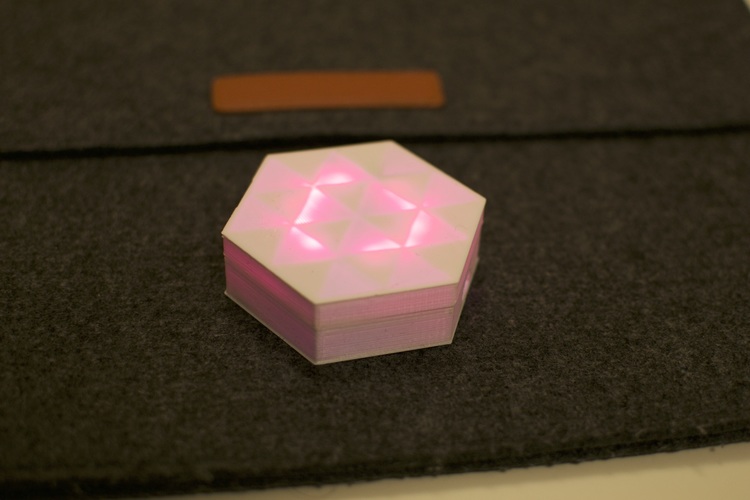
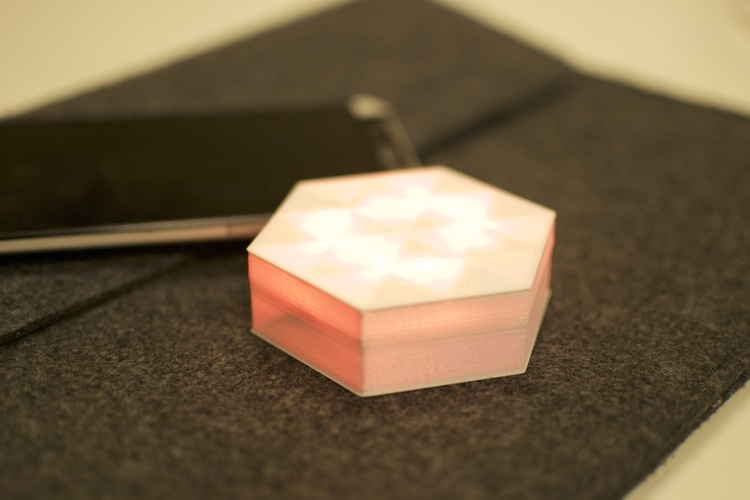
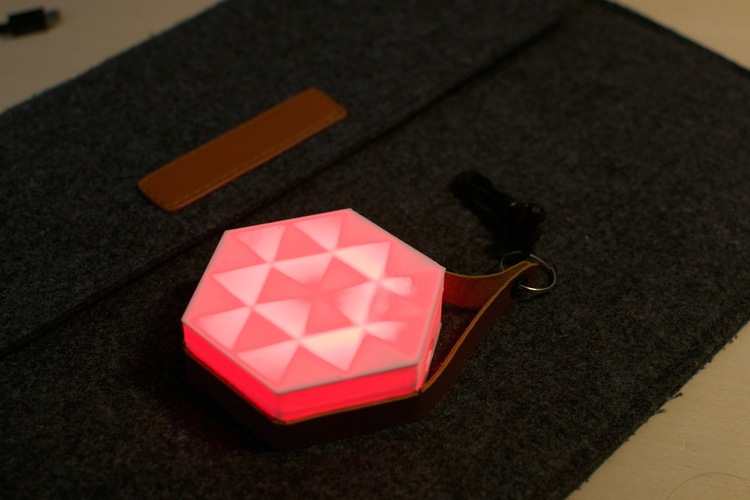
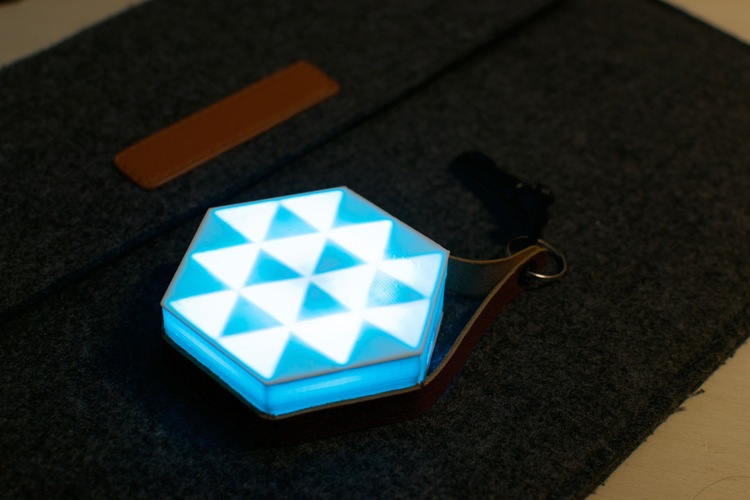
17/10/2016 - Edit : I've just added some new photos to the project - I've replaced the Circuit Playground with a Feather which allows me to have BLE and LiPo charging on the main board so I only needed to add a Neopixel ring. As the result, the Neopixels sits lower inside the enclosure, creating a light on the top part that's more diffused than before - and much better looking, hence the new photos. I will try and design a new bottom bart with standoffs for the Feather, right now I just removed the existing standoffs with pliers and glued the Feather to the bottom of the enclosure. If you want to build your own and decide to stick to the Circuit Playground, I suggest making the top pieces a little bit taller (just push/pull the top of the Hexagon) to create more space between the LEDs and the surface of the enclosure.
_____________________________________________________________________________________________________________
This model is part of an object I called the Galet : it's an Arduino based device that lights up when your phone receives a notification
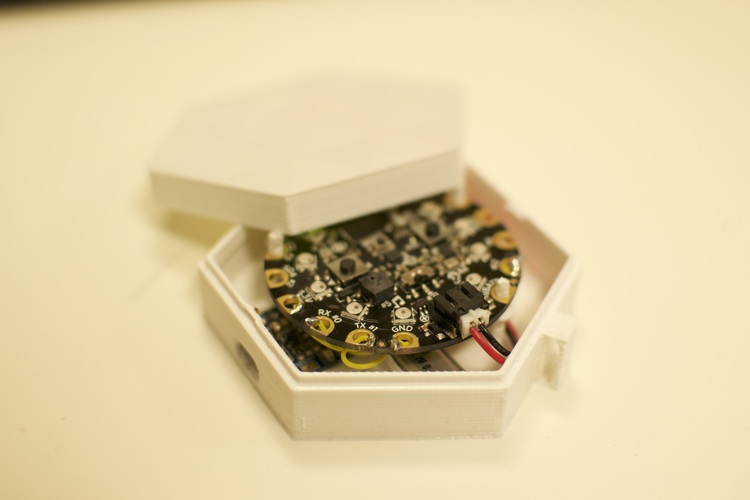
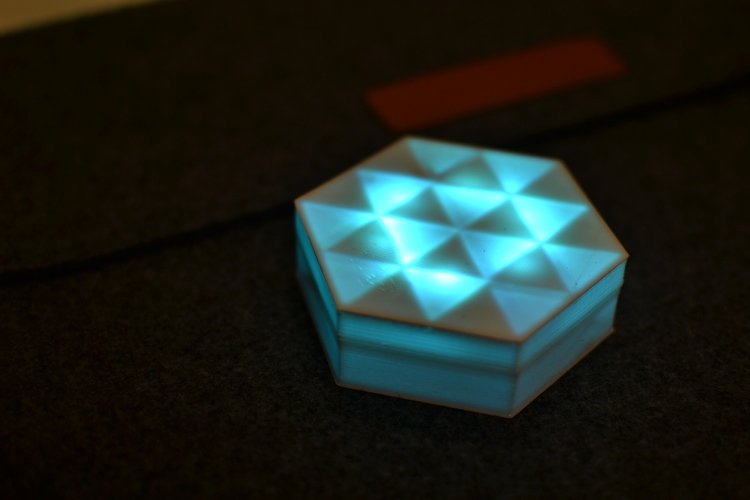
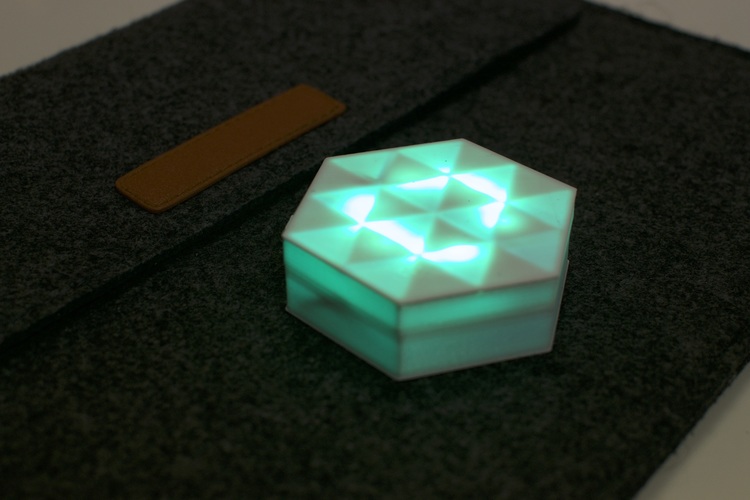
More details on the build are available on my blog : http://makerinthemaking.com/20... In a few words this project uses a circuit playground board from Adafruit, the corresponding BLE module, a micro usb lipo charger and a lipo battery. An app is installed on the phone and intercepts any incoming notification, and forwards them to the galet, which then changes color according to the app that triggered the notification : green for whatsapp, blue for facebook, etc.
As far as the 3D printing part goes, the STL files should be enough, but here's the link to the Fusion 360 document just in case you want to remix it http://a360.co/2e7HXqI
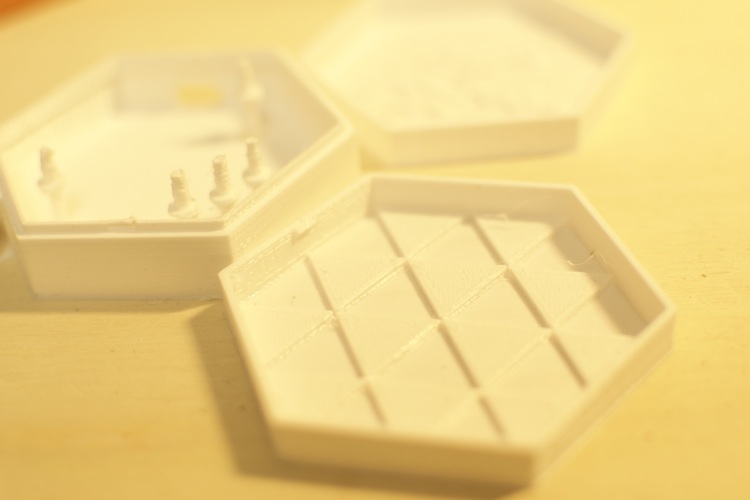
The design is composed of two halves that snap together : the bottom half houses all the eletronics and has some sort of little standoffs for the circuit, plus an opening for that allows you to charge the battery with a micro usb cable. The top part acts as a diffuser for the Neopixels There are two versions of the bottom part :
- a basic one : you could add adhesive magnetic tape on the back and be able to put the object on a fridge, desk or any metallic surface, or just plain sided tape
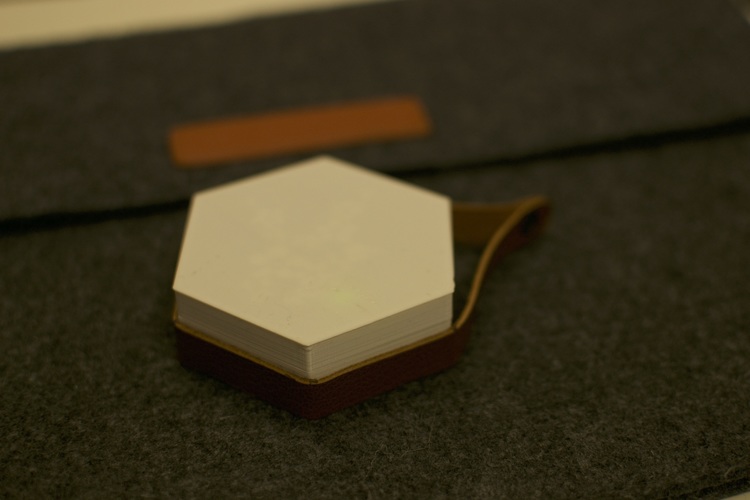
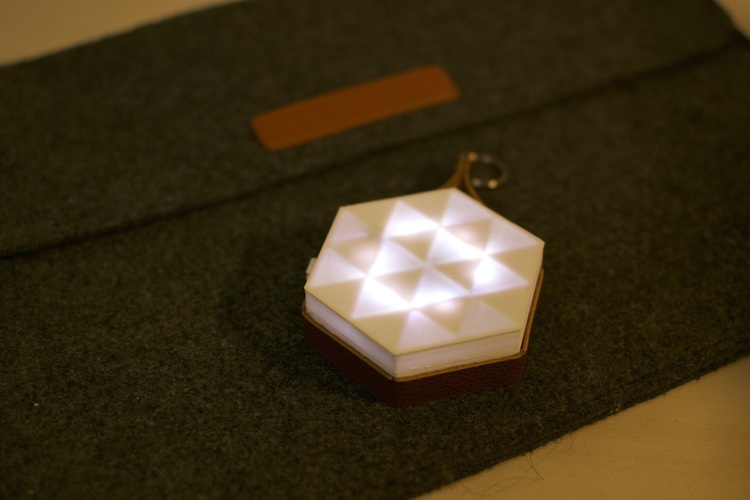
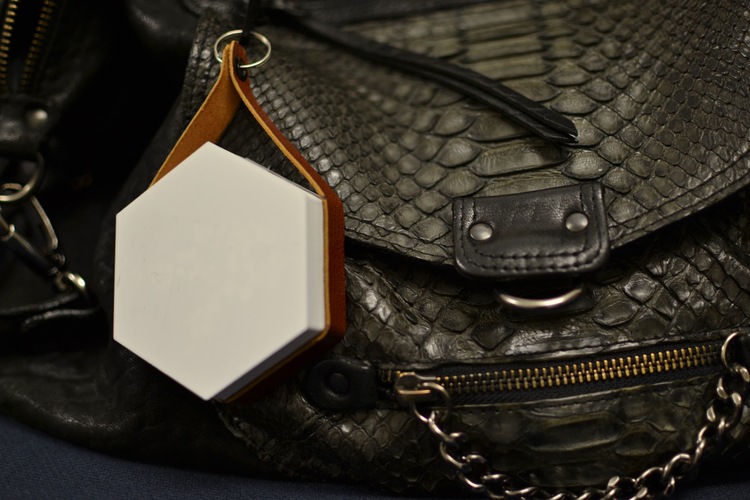
- one with a little "handle" : you can either use it to insert a keychain ring or you can do like I did and add a leather strap around the object that you can close with an eyelet and use that to attach the object where you want
Likewise, there are several versions of the top part :
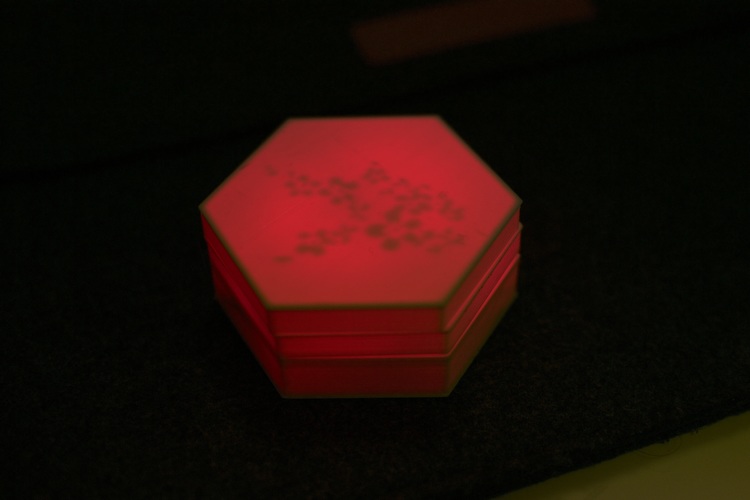
- the triangles and cherry blossom versions include some design inside the part : when the LEDs are off the top of the galet looks perfectly flat and plain, however when they light up they reveal those designs from underneath
- the third version is a plain one so that you can sketch and extrude your own designs : I recommend adding at least 1.5 mm to the existing base of 1 mm for the design to really be noticeable
It was printed with a layer height of 200, 20% infill, in white PLA. Each design had two shells and the bottom part had some supports (for the standoffs and the charging slot)
Comments