

Prints (0)
-
No Prints Yet
Be the first to upload a Print for this Design!
Description
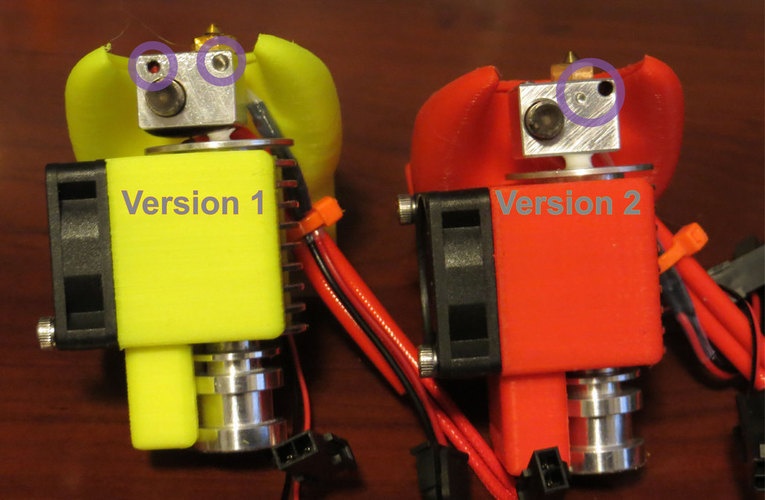
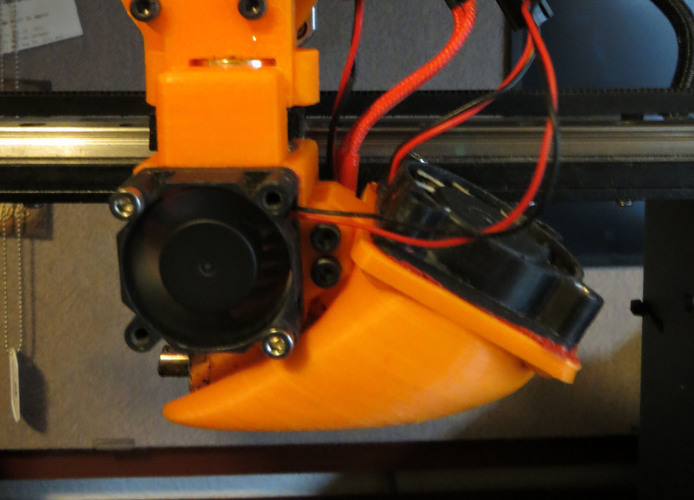
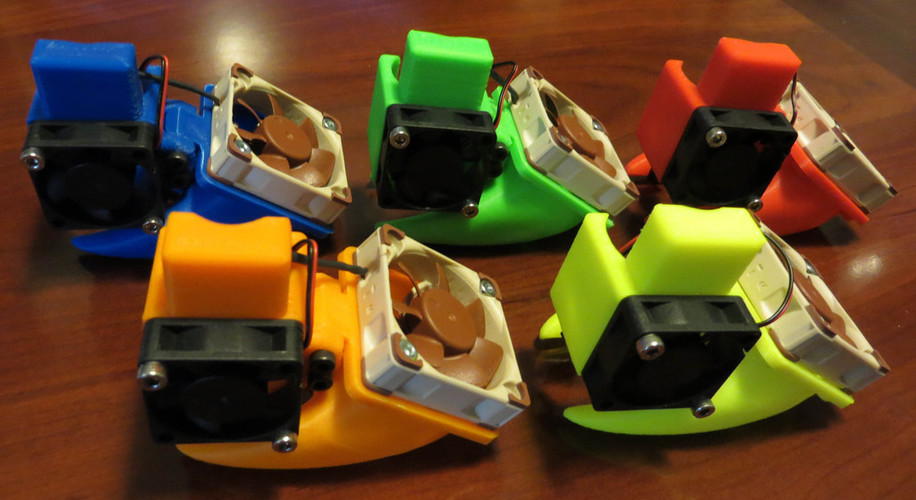
SummaryUPDATE: I recently posted an update to this (http://www.thingiverse.com/thing:533029). Please check this out for the latest version, which I think performs better and does last much longer. I've been using the new nozzle design for over 3 months without any sign of warping. So please use the new design as the old one does warp after a month or so of use. . This is an E3D fan solution for the MakerGear M2. This has built-in supports so should require minimal cleanup. I was inspired by an Ultimaker E3D mount model, which I think is an elegant and effective design: . http://www.thingiverse.com/thing:121074 . Even though it's not a true remix, I borrowed a few concepts. I modified the model of a E3D v4 fan duct (http://www.thingiverse.com/thing:52506) to keep the fan and hot end consistently oriented, I etched lettering to identify nozzle diameter, and added an attachment point for the larger fan duct. . I've encountered very few problems with this design. You may have to work a bit to get the E3D installed on the filament guide as it is a tight fit with the restrictor plate in place. I've been testing this for about three months and I've not had any fail due to warping. Although expect this to warp with time as with most cooling ducts. It should not affect performance though. . Further, E3D recently made design changes to the heater blocks that affect the position of the heater cartridge and nozzle. I'm sharing photos of the differences between the old and new blocks. I've retooled the design to also fit the new block (version 2). So before printing, please identify the version of the block you have. They are very different. . You may need to bump up your melt temps a bit (~10-15°C) and or reduce your cooling to 20% (45% max). . EDIT: I uploaded a new set of Ducts. The "b" version has a slightly shorter restrictor plate at the top of the duct so it is easier to install the hot end into the filament guide. And I uploaded a version of the duct without the restrictor plate - "E3D Duct wo Plate.stl".InstructionsPrint the version of the nozzle that matches your hot end block (see photo). The modified E3D fan duct has support built-in so print all parts without support. I've included versions of the E3D duct with nozzle diameter sizes engraved for easy identification. I also included a plain one in case you'd rather have a plain face. Assembly is pretty straight forward. Pass the E3D hot end (with thermistor and heater cartridge installed) onto the E3D duct. Bolt the nozzle onto the E3D duct using 2 22mm M3 bolts. I've tinkered with the part dimensions so they should fit together without fine tuning. The whole assembly fits onto the filament guide pretty tightly so may be a bit tricky but it does fit. I recommend using a Noctua 40X10mm A-series fan. They are very quiet and emits no vibration buzz that cheaper fans can. While I marked this as a work in progress, I think it is pretty complete but if you have requests / suggestions for improvements, just drop a comment. Good luck with this. I hope it helps you make better prints.
Comments