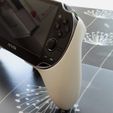
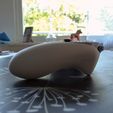
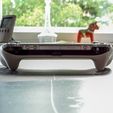
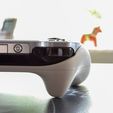
Update 05/09/17:
I've added a version that can be printed as one singular piece.
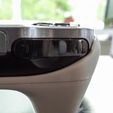
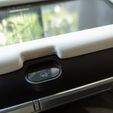
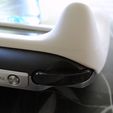
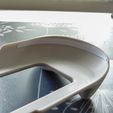
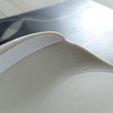
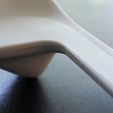
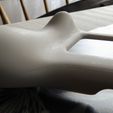
Out of curiosity I tried printing it using support structures. I think it turned out surprisingly well but ultimately, less post-process work is required getting a smooth finish if you simply print it as two parts. (I've added a couple of photos pre-sanding)
Nevertheless, it's there for those with fancy printers / those more confident than I am printing with supports. It's oriented in such a way that the surface on which the console will lie upon is printed flat.
Update 28/07/17:
Gallery with larger photos: https://imgur.com/gallery/Qmgs7
Original text:
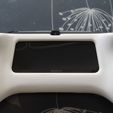
This is a complete from-scratch-redesign of my ergonomic grip for the Vita and whilst the function and intent remains the same, it is a vast improvement in pretty much every conceivable way.
Most notably; I've worked hard to better match the shape of the console and it's now damned near perfect and I doubt I could do much better with reference photos alone. Because of the better fit a supplementary retention mechanism isn't really necessary anymore and so the grip relies entirely on friction to keep the Vita in place, and it will do so quite well I might add. Depending on the padding used, it will only potential slide out if deliberately held upside down, but I really don't conceive of it becoming an issue. For padding I used carpet tape with paper stuck to one side but a couple of layers of masking tape works fine as well.
Furthermore; since there's no retention mechanism the grip is more sturdy than the old one, and adding to that I've increased the girth of the horizontal frame. The shape of the grip itself is still that of a 360 controller only somewhat larger, but it's not quite as large as the old version. I've also made it so that the vita will sit at a slight angle when the grip is laid flat, meaning that the grip can bed held at a somewhat more natural angle (more like one would hold a normal controller), screen still facing the user.
As always I strongly recommend wet-sanding as in my experience no matter how fine the layer thickness it wont make for a nice thing to hold for extended periods. I've left the one in the pictures somewhat rough as I intend to give it a proper painted finish but if you aren't painting it then I've found grits 120, 200 and 400 to be ideal resulting in a pleasantly coarse finish. Going much finer than 400 will result in an almost glossy finish which I personalty don't like.
With my original print I had to do some shaping to get a nice line around the triggers, I have since adjusted the model but I have yet to print it, and whilst I don't think it's going to be an issue; consider it one more reason to be prepared to sand it (Update: I've since printed it and as expected there's no issue). I've also widened the cut out on the front, making room for bulkier headphone jacks.
Lastly; I've made a version that is split into four parts in order to allow for smaller print surfaces. The largest of these four is 124mm x 108mm as opposed to 216mm x 108mm for the normal version. I've split them in such a way that they should have plenty of surface area to be glued together but no promises made since I haven't tried it myself.

/https://fbi.cults3d.com/uploaders/13305071/illustration-file/49dd5790-fe2a-4a5d-b0b3-8ad59621f20a/01aa.jpg)


