Background
I wanted a stiffer, more-awesome Y axis for my Bear printer. So I replaced everything on the axis except for the motor mount. That's heavy-handed for a lot of folks, so I expect most people will go half-way on this project.
Half-way
You replace the idler, belt holder, and motor holder, but in return you get:
- Moves the belt tension path to be parallel to the carriage.
- Provides a tensioner.
- Provides an end-stop that doesn't involve bashing the bearings into the frame.
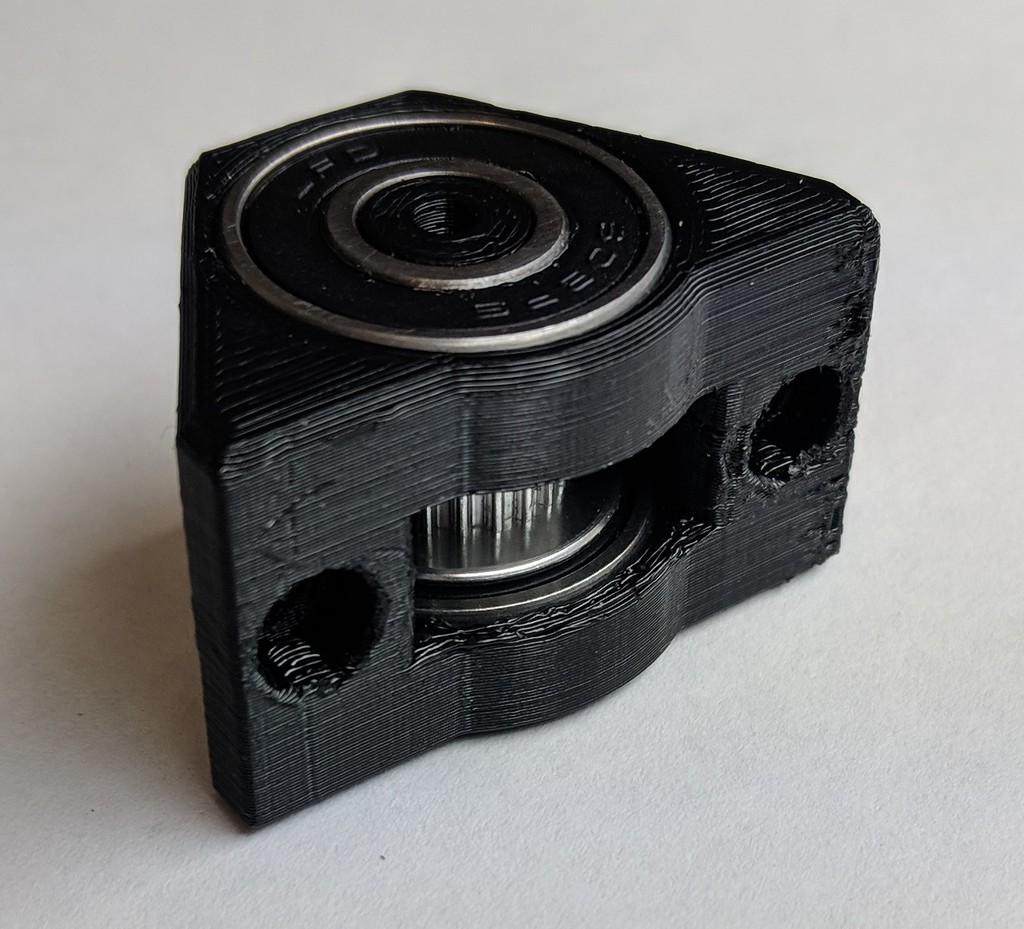
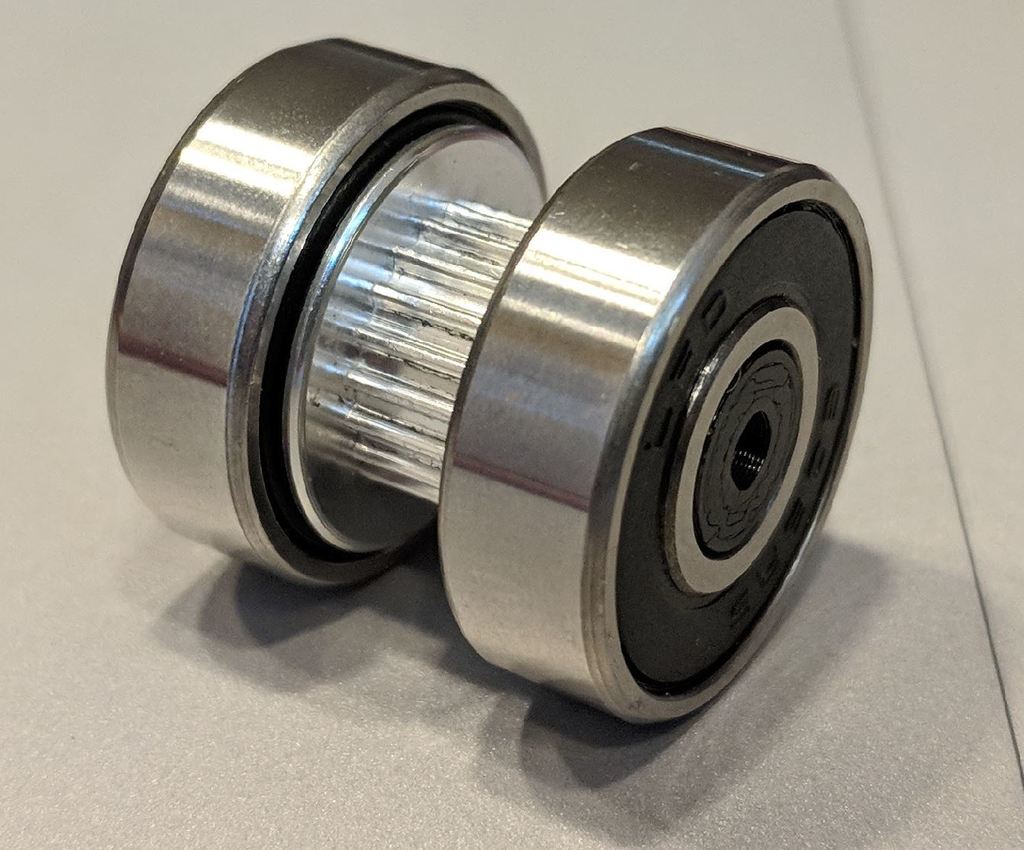
- A 20T idler with 608 bearings for extreme durability and longevity.
- Nice alignment marks to make it easy to line up the idler with the carriage.
- Shaft support for the motor.
All-the-way
You also replace the bearings, the bearing holders, and the carriage. But by design you get:
- Higher resonant frequency for the bed.
- Greatly increased rotational stiffness.
- Improved bearing life.
- Reduced likelihood of Y axis binding.
And by assembly process you get:
- Excellent orthogonality between XZ plane and XY plane
- Excellent orthogonality between X axis motion and Y axis motion.
Stuff
Tools to go half-way
- Set of hex drivers.
- Small flathead screwdriver
Supplies to go half-way
Additional tools to go all-the-way
Additional supplies to go all-the-way
Instructions
Half-way
- Print parts (I suggest 3 perimeters, 20% gyroid infill):
- slide (note flavor for E3D idler!)
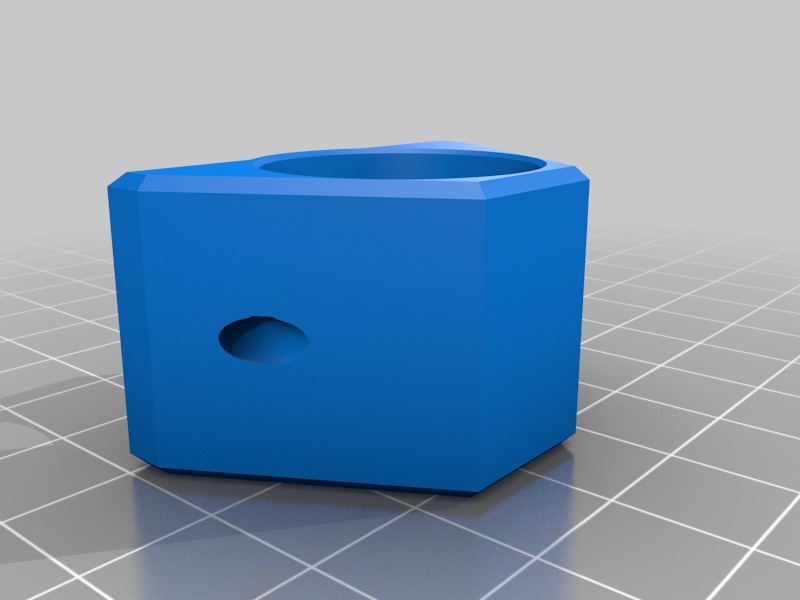
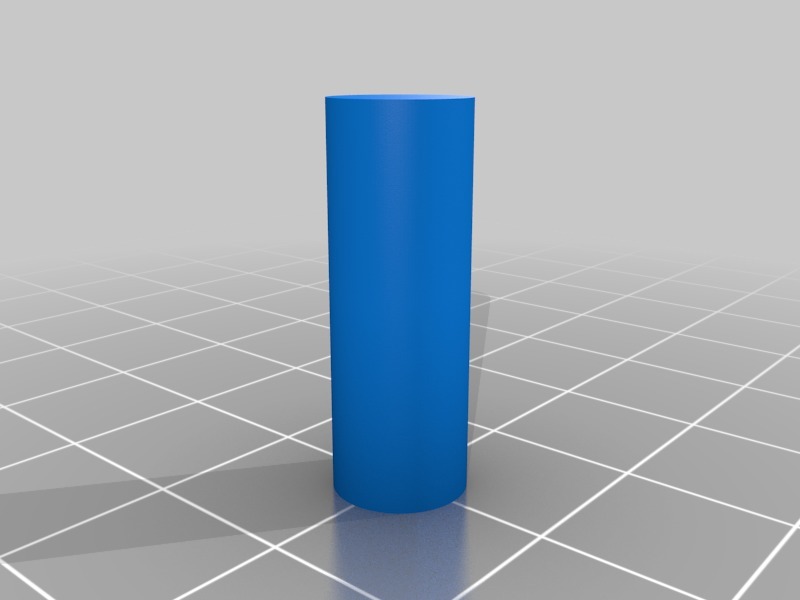
- shaft
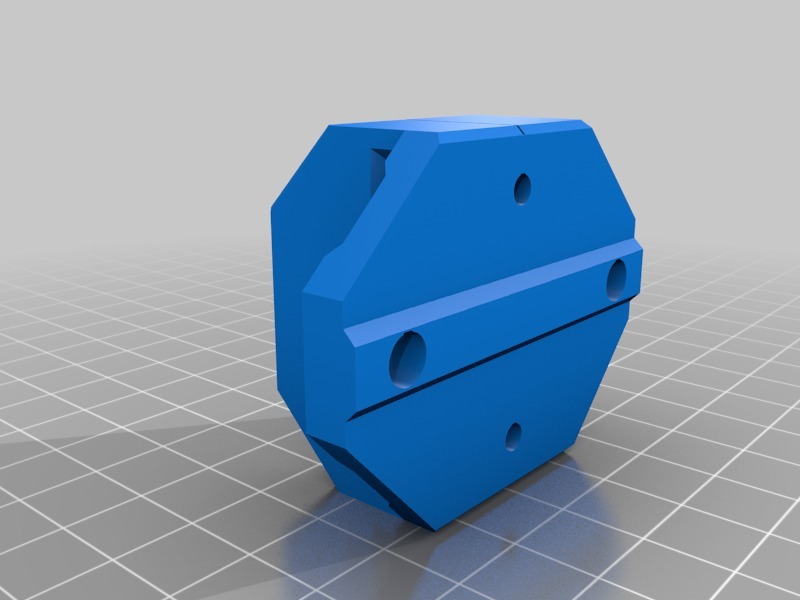
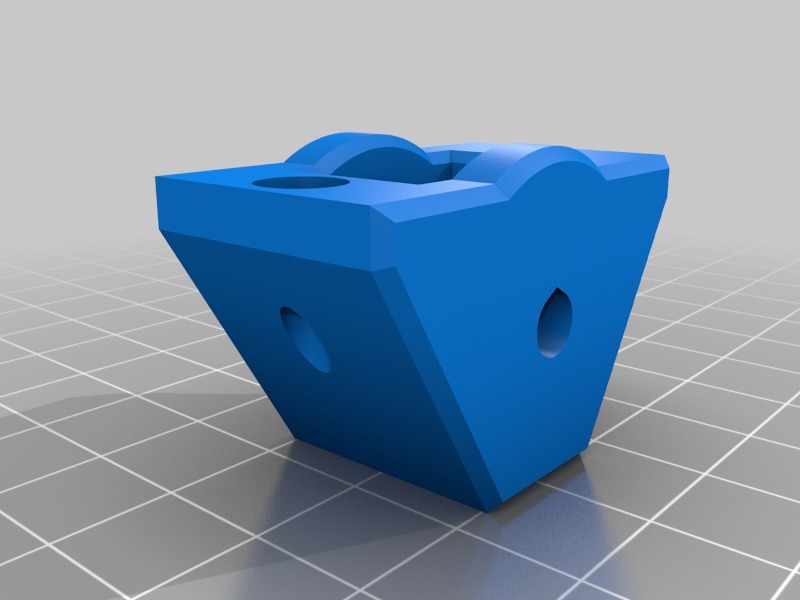
- mount
- belt holder
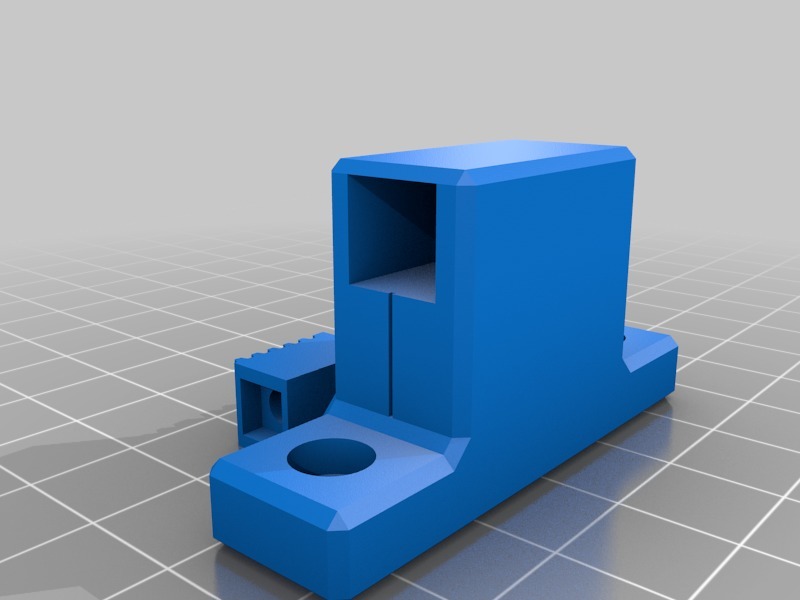
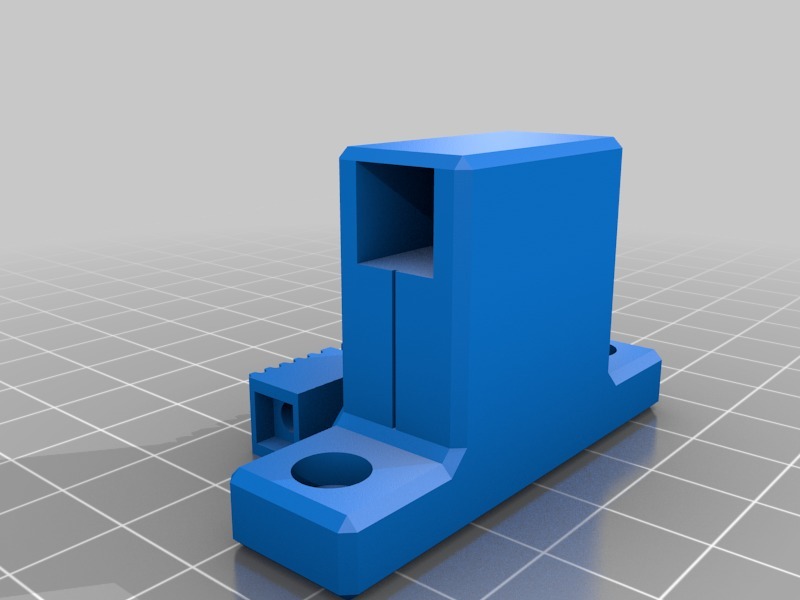
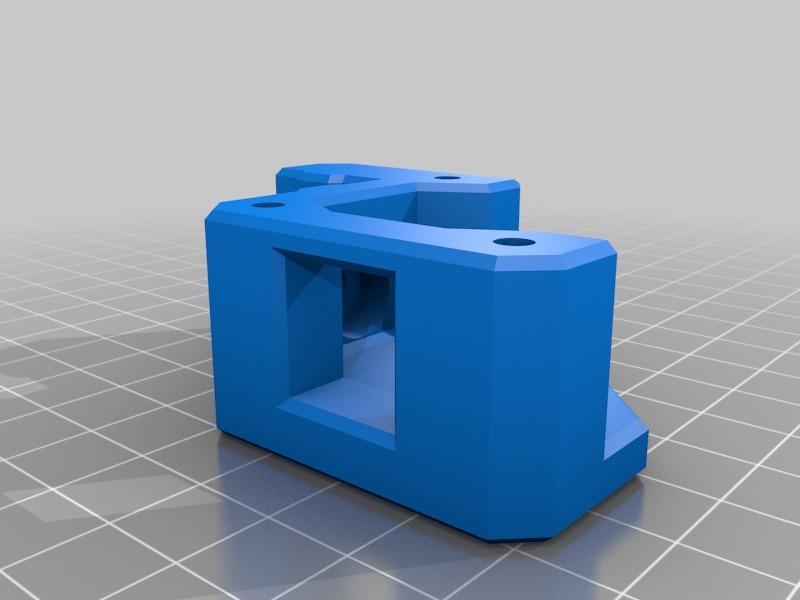
- motor holder
- Remove your existing Y-axis idler, belt holder, and motor holder
- Attach the new belt holder body to your carriage.
- Press two nylock into the slots on the tensioner mount.
- Loosely attach the tensioner mount to the frame.
- Slide the bed until the belt holder and tensioner mount touch.
- Align the guide lines and tighten the tensioner mount to the frame.
- Press out the sacrificial bearings from the 20T pulley.
- Press the 8 mm shaft through 608-pulley-608.
- Press the bearing assembly into the slide.
- Pass the belt through the slide.
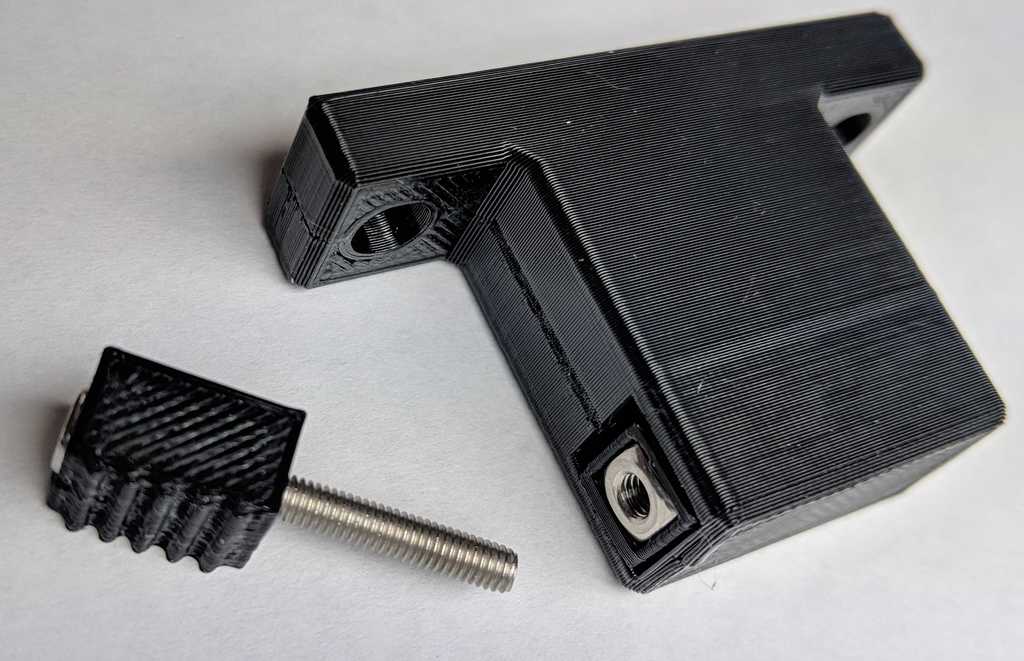
- Insert a thin-or-regular square nut into the belt capture block.
- Hold the belt to a block and shove it into the belt holder. Do the same on the other end.
- Drive a screw through the belt holder to capture both blocks. Tighten completely.
- Press a 625 bearing into the motor holder.
- Align the guide lines and tighten the motor holder to the frame.
- Mount the motor and run the belt around the pulley.
- Tension the belt by inserting the slide into the mount, then tightening the screws.
All-the-way
- In addition to the half-way print, also print:
- (2) bearing holders w/ bearing spacers
- Laser cut:
- (2) rod alignment tools in something like acrylic or delrin
- (1) openbuilds drill template in paper or card stock
- Ream the bearing holder holes up to 15 mm h7.
- Press in a bearing, the spacer, and another bearing for each holder.
- Drill the remaining plate holes. I used a 3.5 mm bit so that there was some adjustment slop.
- Loosely attach the bearing holders to the plate.
- Slide the rods through the bearing holders.
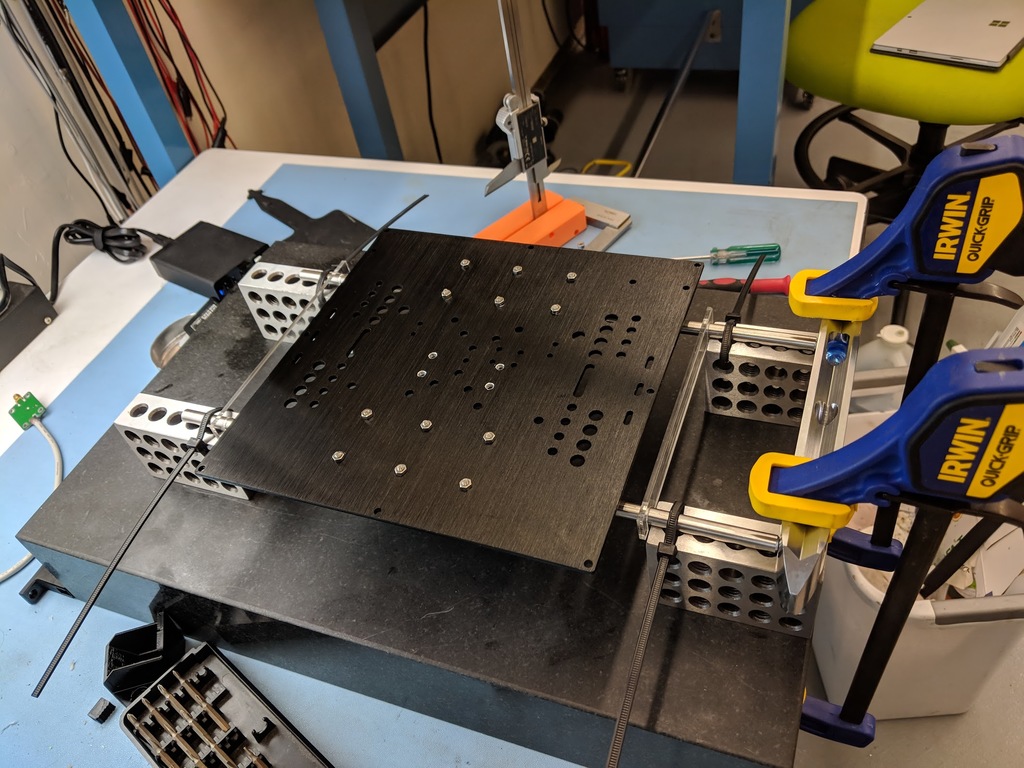
- Attach your rods to some 1-2-3 blocks on your surface plate, using your rod spacer guides to ensure the correct center-to-center pitch. See photo above. The end stop is a convenience but not required.
- Tighten the screws for the bearing holders. Your rods are now coplanar and parallel.
- Loosen the right pair of rod holders and install the rods into the rod holders. Leave the carriage aside.
- Reinstall the rod spacers to make sure the rod holders are parallel.
- Lower the X axis until it's as low as it will go.
- Use the height gauge and surface plate to ensure your X rods are parallel to the plate. Adjust manually.
- Use the height gauge to check the height of each end of each rod, then shim the rod holders until they are all at the same height. You've just made XY perfectly flat.
- Clamp a machinist's square to the X rods and touching one Y rod.
- Loosen the back rod holders and nudge them until the Y rods are perpendicular to the X rods. Tighten the rod holders. Your Y motion is now perpendicular to X motion.
- Remove the rod spacers and reinstall the carriage.
- Install the belt holder onto the carriage.
- Loosely attach the bed to the carriage. Don't forget the spacers.
- Use your machinist's square to align the bed front-back silkscreen lines to the X axis. Tighten the bed screws.
- Perform the remaining half-way steps. Note that my carriage offsets the belt holder from the center of the bed to avoid double-purposing the screws, so you'll need to adjust your motor mount.
- Update your maximum Z height to 209 mm and reflash the firmware.
- All done!
Updates
2018-09-28
New files are up. You can build it now. Half-way is pretty easy. Going all the way is not.
2018-09-29
Improved the BOM and wrote instructions.
2018-10-06
Updated the files for some livability tweaks and to recover some Z-axis height.
2018-10-14
Added belt holder files for folks going halfway to use with the MK2/MK2.5 and MK3 beds. Note that a halfway build requires a shorter-in-Z belt holder because the carriage isn't moved upwards.
2018-11-03
Changed out the shaft for a solid cylinder. I bent my hollow w/ hole shaft. Print that puppy solid. I also added a motor holder that supports the motor shaft with a 625 bearing. Added a plate view screenshot.
2018-11-17
Updated the Y motor holder to get more clearance to the belt holder. I didn't notice that it caused a loss of Y axis travel. Thanks flobler for testing and providing feedback!
2018-11-25
Updated Y idler mount for MK3 bear users that doesn't limit Y travel.
2018-12-31
Updated idler mounts with clearer filenames and fixed and issue where they would sit slightly proud of the extrusion if you had a rigid plastic. Added motocoder's E3D-specific slide component and updated the documentation to match. Still need to add his photos; Thingiverse is rendering them upside-down.
2019-01-01
Uploaded fresh source and added some printability features to the motor mount.
2019-02-21
Updated the E3D idler slide.
:format(webp)/https://fbi.cults3d.com/uploaders/23378161/illustration-file/e0c29f3d-53f7-4e80-9926-5c9231d2fb61/IMG_20180928_202655.jpg)


/https://preview3d-images.cults3d.com/mbsdpnvhp9zxwm4lyuo0eogjah6y)
/https://preview3d-images.cults3d.com/7l6oi4omz1b6kbd7j26s9fst8nbz)
/https://preview3d-images.cults3d.com/qyqp71vzqtfdydmdlwmuq1y9r7r7)
/https://preview3d-images.cults3d.com/a2c3jzpsh9z6n2z69da4t990hmn4)
/https://preview3d-images.cults3d.com/83yy4nom2i3l7oxwexza5ip85w2r)
/https://preview3d-images.cults3d.com/o20p8gmzhujjllg8rej6t8z1i3wx)
/https://preview3d-images.cults3d.com/1ggpmbudpk2ir1ln925hpenkih0b)
/https://preview3d-images.cults3d.com/xzpwtgpmoq10x1qjhgnogovqho7q)
/https://preview3d-images.cults3d.com/sv7errx72hqrh82lhsbo7nj7ljjj)
/https://preview3d-images.cults3d.com/zkl5ertjxpiwzdqk5tbii22prreb)


