3D model description
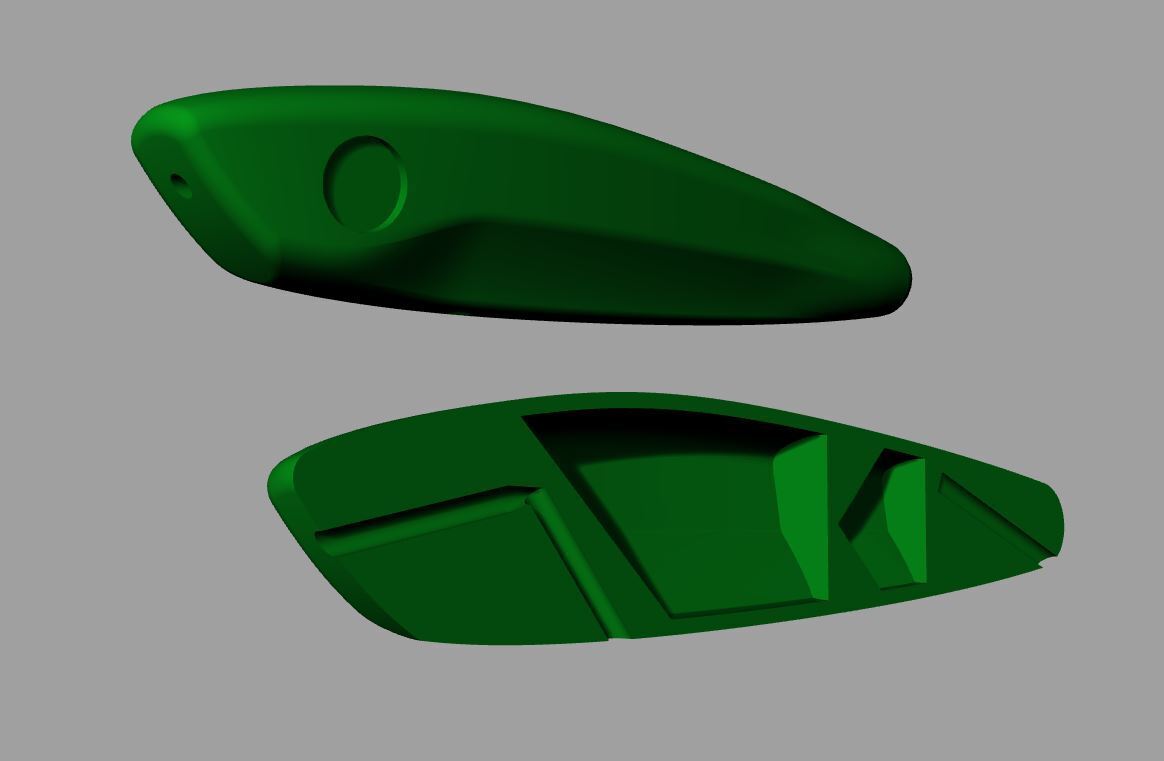
After completing the Simple Topwater as found in my design collection I wanted a topwater lure with a longer smoother glide path. I also wanted it to remain mostly upright presenting the belly downward in a 45-degree arc at all times. Thus was born the sliding baitfish. With a slimmer more narrow profile and a more v-shaped keel, you get a longer smoother glide pattern. This lure is 100mm long and ideal for Bass or saltwater estuary use.
I originally released only a skinny version which worked very well in saltwater and some freshwater applications but after much testing found that in some waters and with specific line combinations the nose sat a little low in the water, so I now include a slightly chunkier version of the lure in the file package. This version will be slightly more buoyant. I still recommend the original for most applications, but if you find she dives a little too often, run the chunkier version.
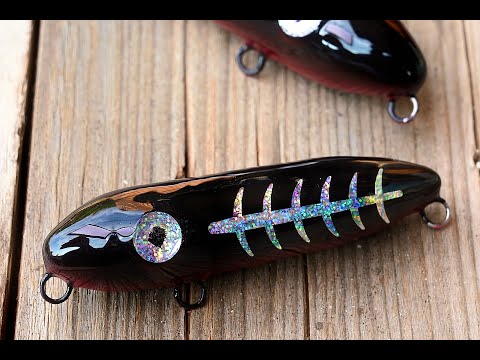
The lure has a similar performance to a Rapala Skitter V. Longer smoother glides during longer pauses or fast rapid direction changes with quick twitches.
For a detailed step-by-step guide on how to build this lure feel free to check out this video. Assembly is identical to the Simple Topwater.
https://www.youtube.com/watch?v=_B8rJpB5Ois
Please be aware that these files are for non-commercial use only. Print one or print a million, it's up to you. You are welcome to hand them out to friends and fellow anglers. Your friend wants one but doesn't have a printer? Print it for them and have them reimburse you for the cost of the material. No problem.
Please respect the fact that a lot of time and effort went into making these designs and associated media. You may not under any circumstances resell the design (file) or the resultant lure made from the print at profit.
Please respect the fact that a lot of time and effort went into making these designs. You may not under any circumstances resell the design (file) or the resultant lure made from the print at profit.
3D printing settings
The following are my suggested Cura settings. These work and work very well. after having printed 50+ lures, I know these settings are ideal. You are welcome to deviate, but you do so at your own peril.
Print the model in the orientation you find it in (upright). Do not scale. Wall thicknesses have been designed with specific line width settings and buoyancy in mind to give you the strongest possible allure while maintaining proper performance. countless hours and numbers of prototypes have gone into refining the design. Deviate and change at your own risk.
0.4mm Nozzle
Layer height- 0.16mm
Initial Layer Height- 0.2mm
Line width 0.45mm
Wall Line count- 3
Fill gaps between walls Yes
Z Seam alignment User specified
Z Seam position back
Seam Corner Preference Smart Hiding
Bottom/Top thickness 1.6mm
Infill Density 10%
Infill Pattern Gyroid
Print Speed 75mm/s
Combing mode Not on skin (Important to not knock parts over)
Avoid Printed Parts when Traveling (Not on skin (Important to not knock parts over)
Travel avoidance Distance 0.625mm
Cooling is critical if printing PLA. I suggest using PLA+ at 100% colling. If you get bad surface detail/drooping/ or the support feet adhere too much to the body it is because you have inadequate cooling.
Build plate adhesion Brim
Brim line count 10
Required weights:
8mm Steel bearing for the rear chamber
1 x 4.5mm BB’s for the large rattle chamber
Weights and rattles are inserted during the printing process to decrease assembly time. I strongly suggest you review the model images for where there the weights and rattles should go and check your model during slicing to get an approximate idea of when they should be inserted. Suggested percentages are 24% for the 8mm steel bearing in the tail and 50% for the rattles. I prefer to slow down the printing process via the printer’s control panel to its lowest speed to insert the weights and rattles, then speed it up after insertion. You can pause the print to make it easier, but I always seem to have a perceptible misalignment after pausing which increases sanding time afterwards. Pausing negates any risk of knocking the print over. Just slowing down carries the risk of having the print head collide with your hand or a set of needle nose pliers.
:format(webp)/https://fbi.cults3d.com/uploaders/19766919/illustration-file/b6fccfd8-b5ce-40fa-b56e-4d8046db9cb2/Stick-3078.jpg)

/https://preview3d-images.cults3d.com/6lp8io34751ygos1el71l5jjxvf4)
/https://preview3d-images.cults3d.com/brsnff6sup19gyw4m4z2yt1o7gor)


:format(webp)/https://fbi.cults3d.com/uploaders/19766919/illustration-file/22b6f134-739b-453f-aede-46d1c035808b/JJM_2847.jpg)
:format(webp)/https://fbi.cults3d.com/uploaders/19766919/illustration-file/7b49e38e-44d0-402f-97e8-8fab2c06d53b/JJM_2847.jpg)
:format(webp)/https://fbi.cults3d.com/uploaders/19766919/illustration-file/85e55ce6-f94f-4830-85dd-8ae431b4e3f4/Consumable-stock-2900.jpg)
:format(webp)/https://fbi.cults3d.com/uploaders/19766919/illustration-file/66e824db-8f7a-4424-8143-0e58c4a7407b/Consumable-stock-2900.jpg)