There will be no more updates to this page. Go to the new GitHub page for the latest updates.
Yes, there's quite a bit of text here, but it's worth it to read all of it. Even if you're familiar with Customizer and printing strong heat-resistant parts, you should still read the ‘Mounting’ and ‘Using’ sections for some important hints.
Intro
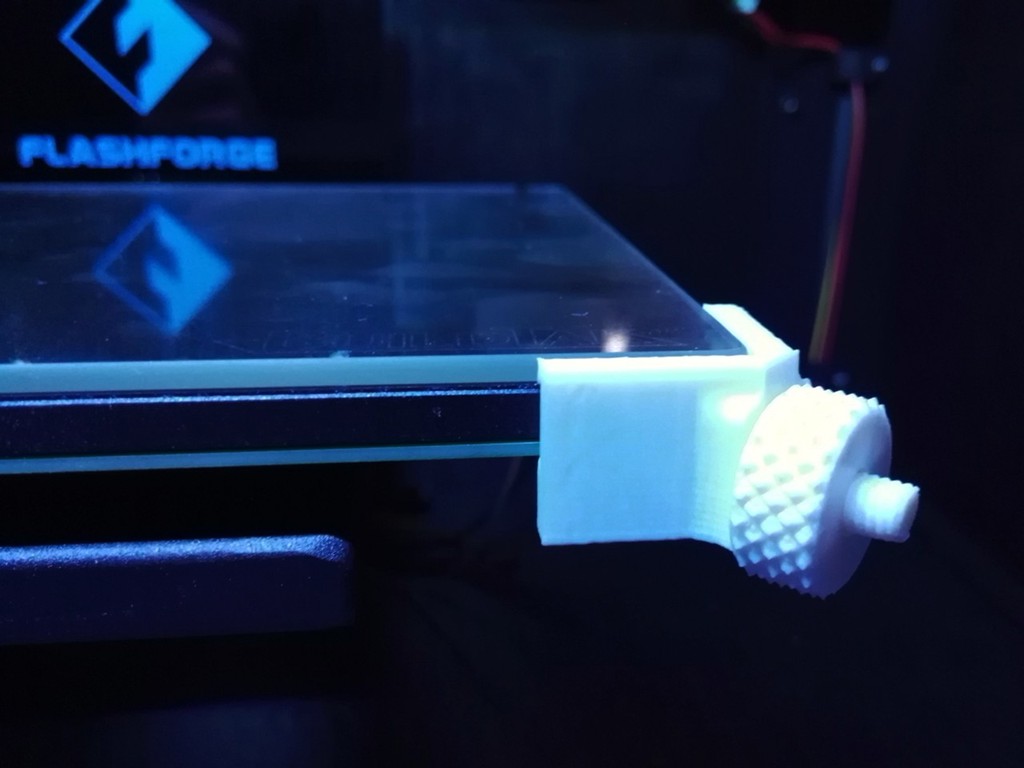
Yet another iteration of the adjustable glass bed bracket, originally by chewbone and then modified by omegatron and Lochemage. This time, not only the bracket itself is adjustable, so is the model! This customizable bracket fits the FlashForge Creator Pro and printers with similar build plates with M3 bolts at their corners. The adjustable knob makes it is easy to swap out glass plates if you have more than one, so you can start printing on another plate while the first one is still cooling down.
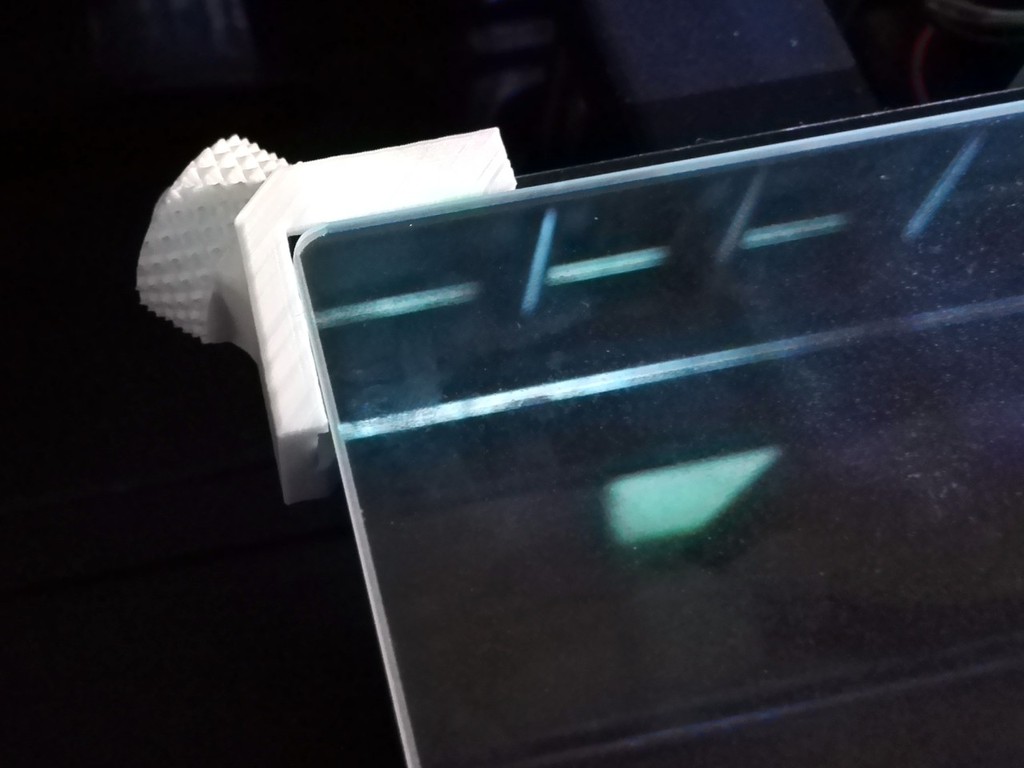
The main advantage of this design is that it allows to mount the glass plate without anything sticking out above it. This means you never need to worry about the risk of your nozzles crashing into the brackets. This particular remix improves upon the originals by avoiding to sandwich the bracket between the bed and the nut. This offers a more balanced mount when tightening the knob, while also making it easier to move the bracket.
If you have yet to buy a glass plate, try to find one that is just a few millimeters smaller than the bed in both the X and Y direction, and has rounded or beveled edges. Such plates work best with these brackets. Borosilicate glass is highly preferred over regular glass. Avoid plates thicker than 4 mm: they will take long to heat, and because glass is a rather good thermal insulator, their surface temperature will be a lot lower than expected.
Obvious disclaimer: I am not responsible for any possible damage caused by the use of these brackets, not if you follow my advice, and certainly not if you ignore it.
Creating a customized bracket
Do not just print the example STL file, it is unlikely to fit your setup. Instead, use Customizer (https://www.thingiverse.com/apps/customizer/run?thing_id=1949142) to generate brackets that match your particular bed and glass dimensions. It is limited to plates roughly the same width and depth as the heated bed itself.
If Customizer is broken on the Thingiverse website, here are instructions (https://www.thingiverse.com/thing:2812634) to run it on your own computer.
Measure the width, depth and height (in other words X, Y and Z dimensions) of both the glass plate(s) and the bed (without glass). Next, enter those values in the corresponding fields in Customizer. Be as accurate as possible! Aim for at least 0.5 mm accuracy, this is possible with a simple ruler and a keen eye.
If you have multiple supposedly “identical” plates, there will often be small differences between them: take the minimum width and depth across all plates.
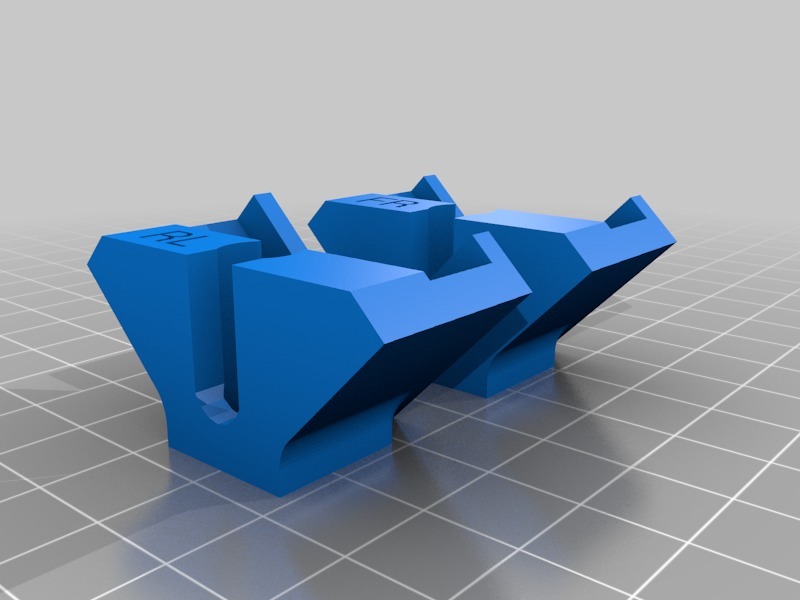
You can opt to mount the brackets on the front right and rear left corners, or front left and rear right. One pair of brackets is sufficient, but should you want to clamp all corners anyway, just run Customizer twice for both configurations. The models are marked so you know where to mount them: FR = front right, FL = front left, RL = rear left, RR = rear right.
The default is to center the glass on the bed, but if you want to align one of its edges to an edge of the print bed, you can select that in the options. For instance, I have aligned mine to the front edge because my start G-code chops off oozed filament on that edge.
You can choose to add an extra pair of tiny ridges that may help to keep the plate clamped down. This is most useful if your glass plate has rounded or beveled edges, an explanation can be found at the bottom of this page.
The option ‘Rear Corner Fix’ in the advanced settings (enabled by default) compensates for an oddness of the FFCP (at least mine). Check the photo at the bottom of this page to see whether you need to disable this option or not.
If your glass plate is larger than the bed, you may want to enable ‘allowTabInset’ in the advanced settings to allow the glass to extend somewhat into the edges of the bracket. This option is disabled by default because it could make the bracket weaker. If the glass extends much more in one direction than the other, the inset will only occur for one edge to ensure alignment. Avoid that situation, and again: avoid plates larger than the bed altogether.
If the generated 3D model shows “FAIL,” then either you've entered non-numerical dimensions, or your glass plate is unfortunately too large or small to be compatible with the brackets. You can try to fiddle with the advanced settings if the dimensions are borderline, but it is advisable to find some other glass instead, that has nearly the same size as the bed.
Printing
This must be printed in a material that can withstand the heat of the heated bed! See the ‘Print settings’ section for more details.
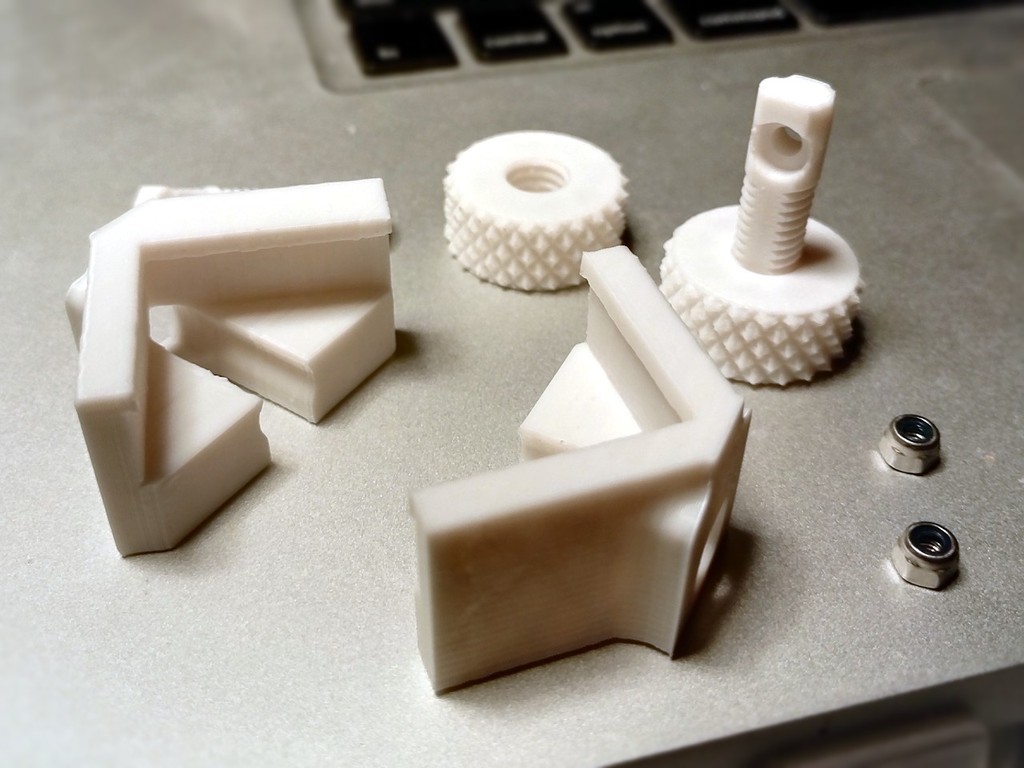
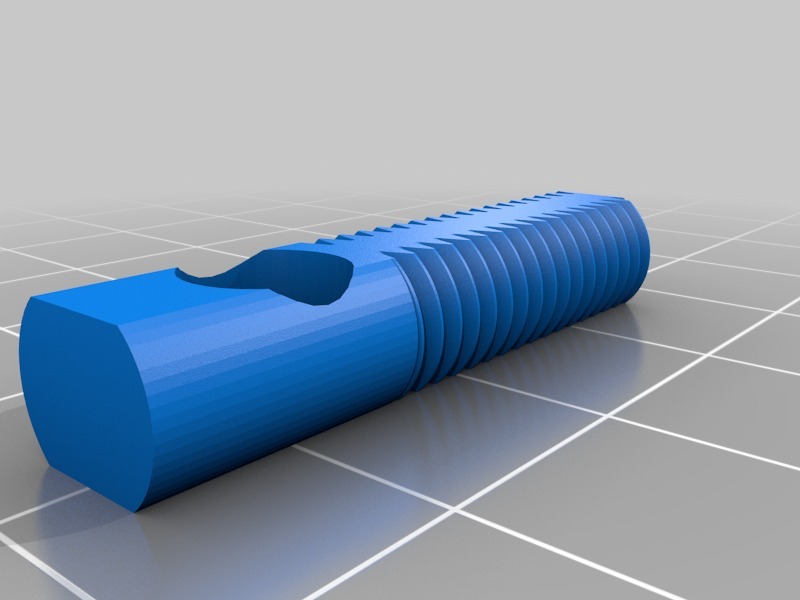
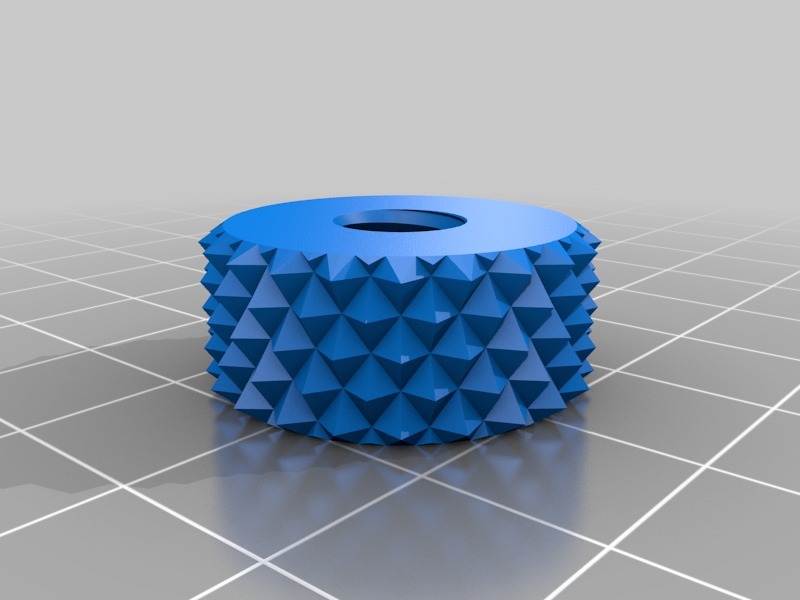
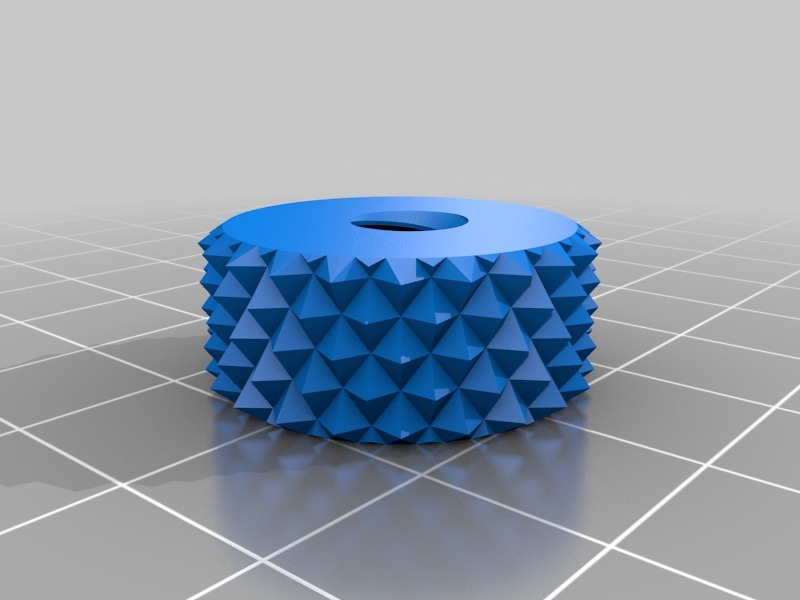
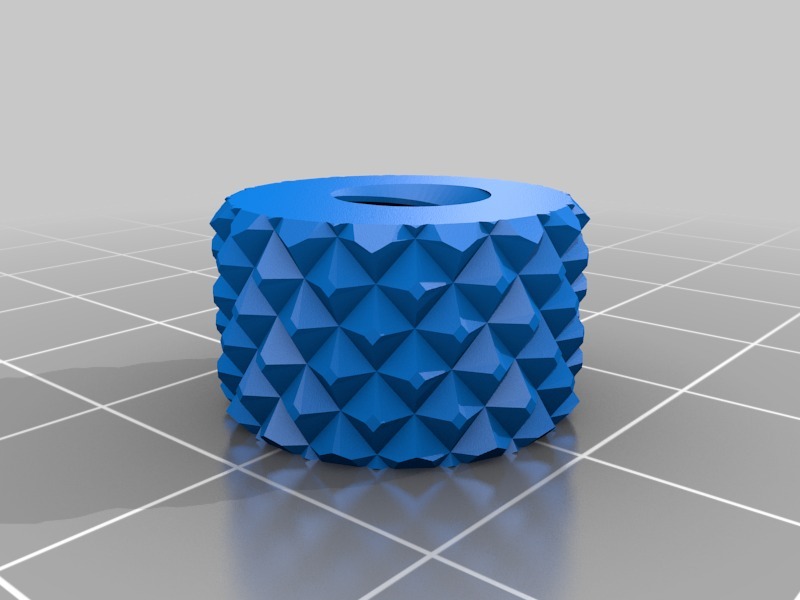
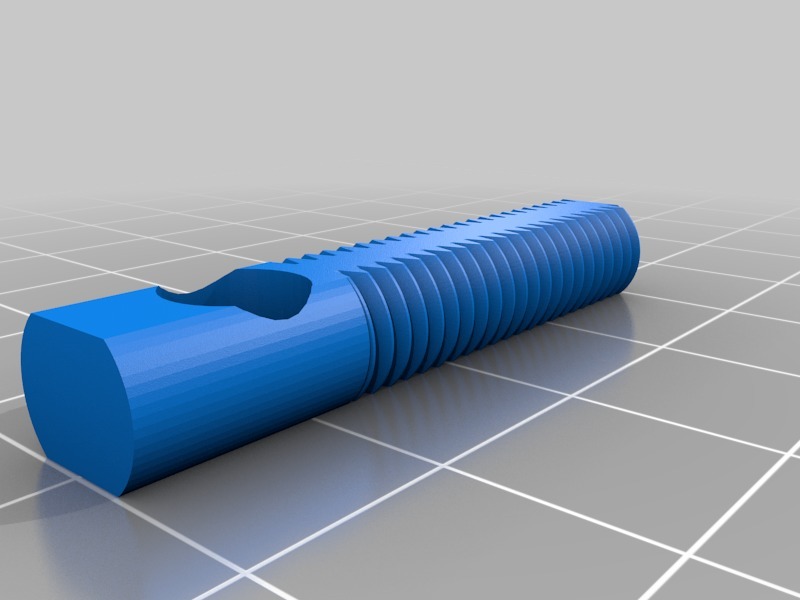
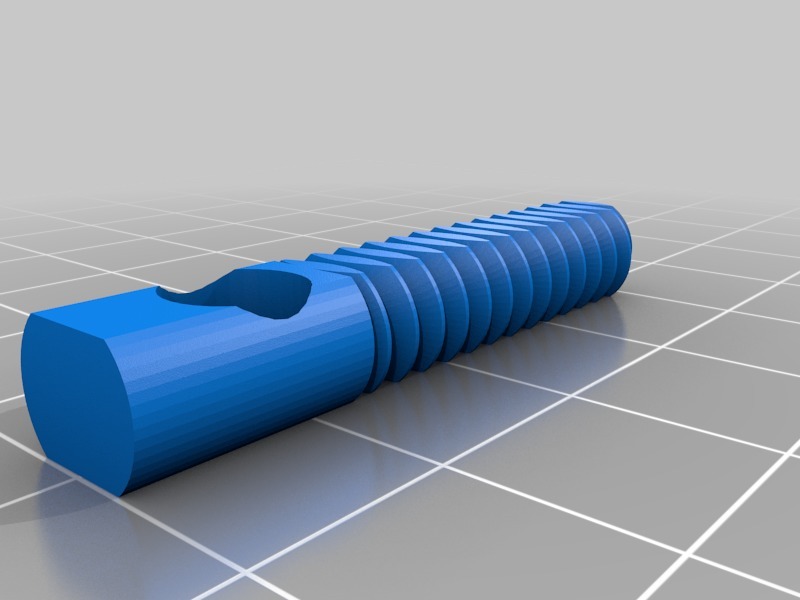
Next to the customized bracket model you created above, you must also print one pin and one nut (knob) per bracket. If you choose to print the ‘CoarseThread’ version of the pin (easier print but rougher adjustment), you must also print the CoarseThread version of the nut.
The regular pin comes in two variations: a solid one, and one with hollow thread section. The latter is less likely to warp during printing, therefore print this one unless you have a good reason to print the solid one. (There is no hollow version of the CoarseThread because its shape leaves no room for a hollow space.)
There are XL versions of the pins, these are slightly longer than the normal ones. Only print these if necessary, because printing them in ABS or PC will be even more difficult than the shorter ones. If these still are too short, you definitely need to find a glass plate that more closely matches the size of the heated bed.
The nuts come in two sizes. The larger is the recommended one, but you may need the smaller one if you have a thin bed and the knob sticks out above the glass.
If you're willing to spend a little extra time molding silicone gaskets or printing them with a flexible filament, it is well worth it to print the improved spring-loaded knobs (http://www.thingiverse.com/thing:2313598) instead of the plain ones from this Thing. The springs reduce the risk that the glass shifts around due to thermal expansion of the heated bed. (You don't need an extra set of plain knobs to already use the brackets while waiting for the silicone gaskets to cure. Just use the spring-loaded knobs without gaskets in the same way as the ordinary knobs, and insert the gaskets afterwards.)
Mounting
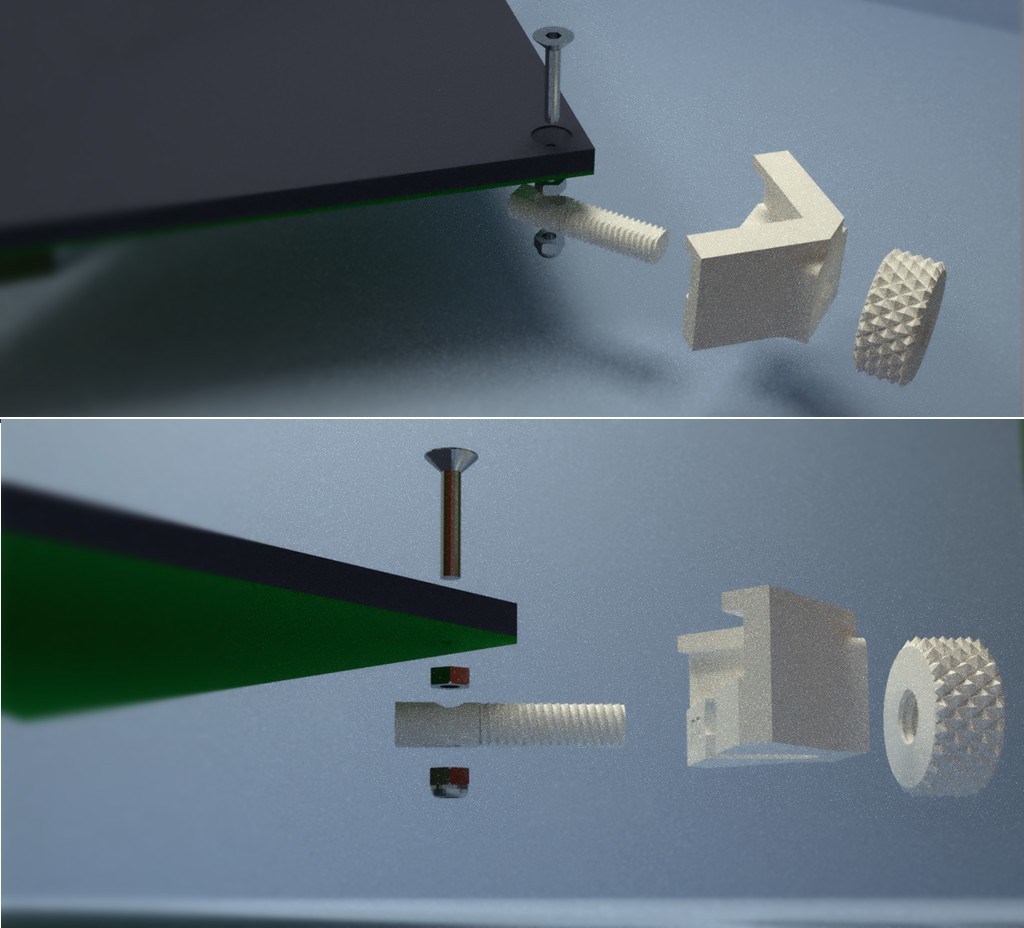
This design differs from the originals it was remixed from, in that you do not need to unscrew any of the existing nuts or bolts (except possibly on newer printers, see below). Instead, you need an additional M3 nut per pin. I recommend to use nyloc nuts. Mount the pin with the recess upwards, covering the existing M3 nut, and tighten the pin with the extra nut (this tool (https://www.thingiverse.com/thing:1959962) may come in handy). See the rendered 3D image in the photo gallery for an illustration of how the complete assembly fits together. (Again, even though this image shows the screws separately, you do not need to remove them. This was only rendered as such to help people who are building their printer from scratch.)
Important: only tighten the M3 nut just to the point where the pin can no longer move vertically. Do not tighten it further, unless you printed the pin in polycarbonate or will never heat the bed anywhere near 110°C.
If you don't have any M3 nuts to spare, you can also print the pin from the original thing (http://www.thingiverse.com/thing:1296854) and mount it using the existing nut, with the recess downwards. I do recommend using my version of the pin if possible.
Note: the Creator Pro used to ship with bolts on the corners of the print bed that were about 20 mm long in total, making them stick out about 11 mm below the bed. It seems that recently FlashForge switched to shorter bolts, which makes it impossible to mount the pins as-is. If this is the case for your printer, you will need to replace the bolts with longer ones. Look for 20 mm M3 bolts with a flat head, preferably also with a hex socket.
Using
If you use the spring-loaded knobs (http://www.thingiverse.com/thing:2313598), read the instructions on their page and skip the following paragraph because those knobs make it redundant.
Otherwise, the correct workflow is to first preheat your bed with the glass plate on top, and only tighten the knobs when the temperature is stable. The reason is that borosilicate glass has a much lower thermal expansion coefficient than the bed, therefore if you would tighten it cold and then heat, the bed will become larger w.r.t. the plate, and it may be loose enough to wiggle around. The whole point of these brackets is that it is very easy to adjust them, so it is better to adjust them when it is not really necessary, than not to adjust them when it is needed.
Do not tighten the knobs like crazy. Just tighten them up to the point where the glass cannot move. Over-tightening may cause the plastic to deform, or the plate to lift if you did not print the brackets with accurate dimensions.
Should you remove the blue sheet or BuildTak when using a glass plate?
If you don't foresee that you will ever print on the sheet again, you should remove it. The sheet acts as an insulator and will cause a drop in temperature between the bed and glass, as much as 10°C depending on the temperature and thickness of the sheet. One small advantage of leaving the sheet installed, is that it provides some friction, making it less easy for the glass to slide around than on the bare metal surface. However, it should be the brackets that keep your glass in place, not the surface.
:format(webp)/https://fbi.cults3d.com/uploaders/19896799/illustration-file/5d67d26e-9f40-4c15-864c-0e611ef17aa5/corners2.jpg)


/https://preview3d-images.cults3d.com/wdmky50bgjqxoi93ogghr95v7580)
/https://preview3d-images.cults3d.com/091o35cocolamji0wcm2wxw2zkp1)
/https://preview3d-images.cults3d.com/iqkp1j26jr9sqh89yldl3ixvaoop)
/https://preview3d-images.cults3d.com/10aep6lrctvjt45tcva2atsp3jpw)
/https://preview3d-images.cults3d.com/6bpx0vrmc6wydbcl51vj1eqjkdfa)
/https://preview3d-images.cults3d.com/sbwoe2kq8go91l5qcpk9mubbm5g1)
/https://preview3d-images.cults3d.com/ofkp28hxm6b555diociog6hxt9nj)
/https://preview3d-images.cults3d.com/bo9lf7m5qxd0bwen8i63wc8vpu33)
/https://preview3d-images.cults3d.com/rgdvh8yc8dvmii03cczfg9m6d1cb)
/https://preview3d-images.cults3d.com/q5p2dq2nnu5c77c7o8w21ztmb1sj)
/https://preview3d-images.cults3d.com/3qsmvaw33ya3ypywzh8dks3grld5)


