Skip to content

Magnetic Chalk Holder (billiards)

Advertising
Advertising
?
Creation quality: 5.0/5 (1 vote)
Evaluation of members on the printability, utility, level of detail, etc.

  • 2.1k views
  • 6 likes
  • 67 downloads

License
3D design format
STL Folder details Close
  • chalk_holder-bottom-v3.stl
  • chalk_holder-bottom.stl
  • chalk_holder-clip.stl
  • chalk_holder-top-v1.stl
  • chalk_holder-top-v2.stl
  • chalk_holder-top-v3.stl

Learn more about the formats

Publication date 2022-10-01 at 18:56
?
Published to Thingiverse on: 2018-08-30 at 23:09
Design number 867894

3D printer file info

3D model description

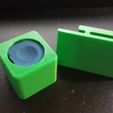
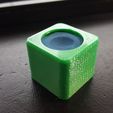
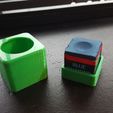
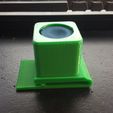
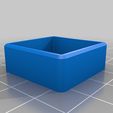
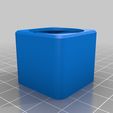
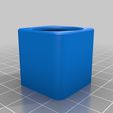
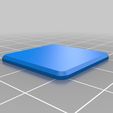
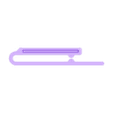
3-Piece magnetic chalk holder for billiards. Clip fits over waistband or a pocket.

Notes:
Top v1 has hole diameter roughly the same as the cube of chalk.

Top v2 has a larger hole for those who prefer it, essentially just the corners, but leaves more visible gaps.

UPDATE: In actual use, I discovered two things about this design:

Too big - feels very clunky in the hand compared to a cube of chalk.

Magnet-to-washer attraction is too weak - cube too easily knocked off clip.

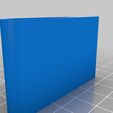
As such, I have added a more refined version of Top and Bottom (v3 files). Rather than the bottom being a "tray" holding the chalk, this new top is sized just to fit the cube of chalk, and the new bottom is just a snap-in plate. This smaller size feels much better in the hand (in my opinion).

And, I have replaced the fender washer in the clip with a second 3/4 x 1/16 inch disc magnet, oriented so that it attracts to the magnet on the base of the cube. Much stronger hold, no problems with it falling off now.

3D printing settings

Post-Printing
Add magnet and washer
Glue a strong 3/4 x 1/16 inch disc magnet to the bottom of the bottom piece with thick CA or suitable alternative.

Carefully press a second 3/4 x 1/16 inch disc magnet fully into the slot in the clip. Ensure that the magnet is oriented correctly to the magnet on the base of the cube, and do your best to get it centered in the slot.

Put it together
Place a new cube of chalk in the bottom piece, then align the top piece and press together until bottom snaps into place.

Press chalk firmly back through hole to disassemble and replace chalk. For v3 version, you may need to use a tool of some sort, something with a rounded end that fits through the hole, in order to get enough leverage to press the chalk and bottom plate out.

Advertising


Issue with this design? Report a problem.

Would you like to support Cults?

You like Cults and you want to help us continue the adventure independently? Please note that we are a small team of 3 people, therefore it is very simple to support us to maintain the activity and create future developments. Here are 4 solutions accessible to all:

  • ADVERTISING: Disable your banner blocker (AdBlock, …) and click on our banner ads.

  • AFFILIATION: Make your purchases online by clicking on our affiliate links here Amazon.

  • DONATE: If you want, you can make a donation via Ko-Fi πŸ’œ.

  • WORD OF MOUTH: Invite your friends to come, discover the platform and the magnificent 3D files shared by the community!


Sharing and downloading on Cults3D guarantees that designs remain in makers community hands! And not in the hands of the 3D printing or software giants who own the competing platforms and exploit the designs for their own commercial interests.

Cults3D is an independent, self-financed site that is not accountable to any investor or brand. Almost all of the site's revenues are paid back to the platform's makers. The content published on the site serves only the interests of its authors and not those of 3D printer brands who also wish to control the 3D modeling market.

100% secure payment by credit card, PayPal, Apple Pay, Google Pay, etc.
View all payment options.