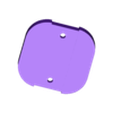
Icosahedron Next Box / Bird House
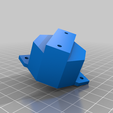
This is an Icosahedron-shaped nest box. The Icosahedron is a convex polyhedron with 20 identical trangular faces.
This nest box is a bit more complicated as it is composed of 9 different triangular panels !
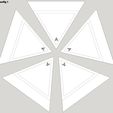
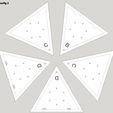
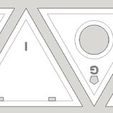
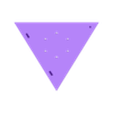
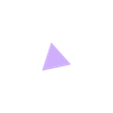
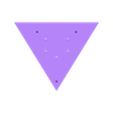
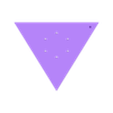
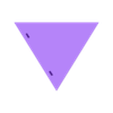
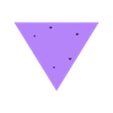
Looking at the config-pictures you will understand the location of each panel.
Instructions
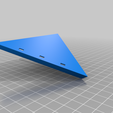
For the roof/top :
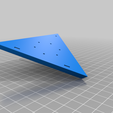
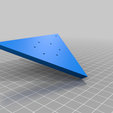
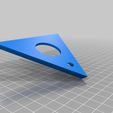
Print 5 A 'top / roof' panels
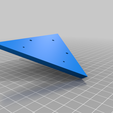
For the bottom :
Print 1 B 'bottom' panel
Print 2 C 'bottom' panels
Print 2 D 'bottom' panels (cable tie panels)
For the sides :
Print 1 E 'side' panel (the 'back' of the box)
Print 4 F 'side' panels (ventilated sides)
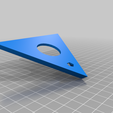
Print 1 G 'side' panel (front opening) choose the hole diameter : 26, 28 or 30 mm.
Print 2 H 'side' panels
Print 2 I 'side' panels (cable tie panels)
Other :
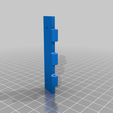
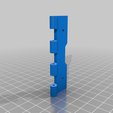
Print the 3 'wall' parts - 2 of these parts are attached to the outside of panel E
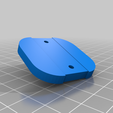
Print the hinge parts 1 + 2
Print the 'dowel' part
Assembly :
First assemble the 5 top A parts with super glue. See picture 'config1'.
Weld the panels. You can weld PLA with your soldering iron (at 205-210 degrees Celsius) by slowly tracing the edge/seam between parts.
Weld both inside and outside so you have a watertight roof/top.
The bottom (see config2 picture) is composed of (clockwise) : panels B, C, D, D, C.
Glue these panels and weld them inside and outside.
The vertical sides (10 triangles in total) are configured as follows (see config3 picture) : E-F-H-F-I-G-I-F-H-F
Do not assemble this 10-part ring on its own but rather attach the side panels directly to the 'roof' panels.
You can glue the side-panels to the roof and then weld them from the inside and on the outside.
Once all sides are attached to the roof you can add some hot glue or silicone between the side-panels and the roof overhang to make the construction stronger.
Attach 'wall1' part on the outside of panel E and then attach 'wall2 to 'wall1' using glue / welding and some M3 screws.
Insert the 'dowel' part in the G-panel from the inside and glue and/or weld it in place.
Attach the hinge parts on the outside between panels B and E using glue/welding and M2 screws.
Insert a piece of 1.74mm filament in the hinge-parts. Heat the end of this filament and shape it into a ball so it does not fall out of the hinge.
Use 4 cable ties between the I and D panels to close the bottom.
Do not weld/glue the bottom panels to the sides !
The cable ties can be cut (after the chicks have left the nest) to open the bottom and clean the box.
Warning : these cable ties will degrade under the influence of sun, wind and rain and will eventually break - make sure to replace them in early spring.
In this configuration, the 'back' panel is opposite the 'entry' panel.
If you want the 'entry' panel on the left/right rather than on the front of the box, you will have to re-arrange the panel configuration yourself.
Remarks
Do not print this box in black or other dark colors : the temperature inside will rise too much.
This box has been designed for small birds - Feel free to print larger versions for larger birds.
Attach 'wall3'-part to a wall (opening up) with 4 screws. The 'wall2' part slides into wall3.
Hang the box on a wall or post out of reach of cats and the like.
These clips are handy when you glue the panels.
I printed all parts in PLA with 50% infill, no supports
Enjoy!

/https://fbi.cults3d.com/uploaders/25141348/illustration-file/6761a68f-4c7c-436b-8d5c-4c14e5c3e2a5/image00.jpg)


