English below ----> translated with DeepL
Hallo,
X-Axis_Chain_Clamp_Control_BackSupport
&
X-Chain Adapter Control End
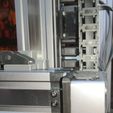
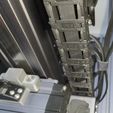
ein wenig modifiziert, die Auflage Fläche der Kette wurde etwas verkürzt.
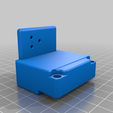
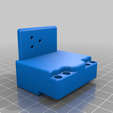
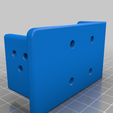
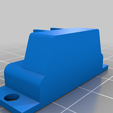
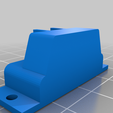
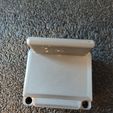
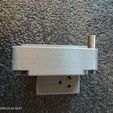
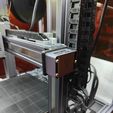
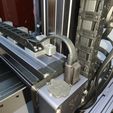
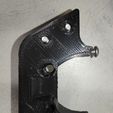
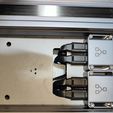
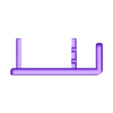
Halter X-Tool Kettenende komplett neu entwickelt.
Viel kleiner und wird jetzt an den originalen Tool Befestigungen
mit M4x20mm verschraubt.
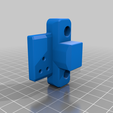
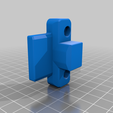
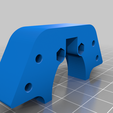
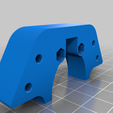
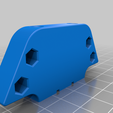
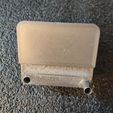
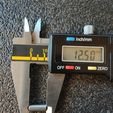
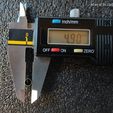
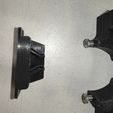
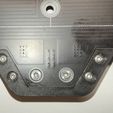
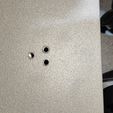
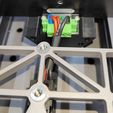
Wie auf den Bildern zu sehen ist habe ich die Befestigung Löcher mit einer Hülse verstärkt,
Durchmesser 4.9mm und Länge 12.5mm passen bei mir perfekt und geben genug halt um die
Schraube fest genug anziehen zu können ohne den Halter zu zerquetschen.
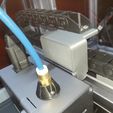
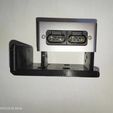
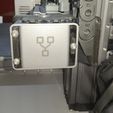
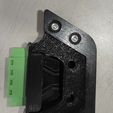
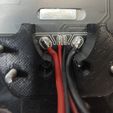
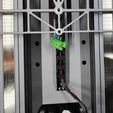
Den Z_Axis END Halter habe ich neu entworfen, und zwar so dass man den Snapmaker Konverter anbringen kann.
Somit muss kein Kabel zerschnitten und verlängert werden.
Es wird das Kabel vom Kontroller in den Konverter gesteckt und mit einem 2ten Tool-Kabel von dort zum Toolkopf.
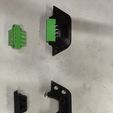
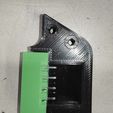
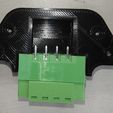
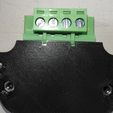
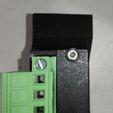
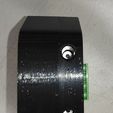
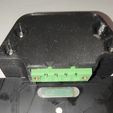
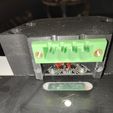
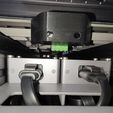
Für das Heizbed habe ich den Halter kmpl. Modifiziert.
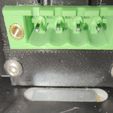
Der Stecker wird von hinten durch den Halter mit M2.5 Schrauben befestigt direkt in das Kunstoff geschraubt.
Die Abdeckung kann wahlweise mit M2 oder mit M3 schrauben verschrauben werden.
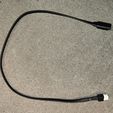
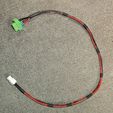
Für die Kabelverlängerung habe ich Hochflexibles Silikonkabel verwendet.
Als zwischen Verbindung haben ich Molex Mini-Fit Jr. Set 4-Polig verwendet und 5,08mm Steckverbindung.
Für das andere Ende der Z Achse habe ich das 04_Z_Axis_Tower_Bracket_V2
von
https://www.thingiverse.com/thing:4909694
benutzt.
Bei allen Bohrungen für die M2 & M3 Schrauben habe ich in den Material ein Gewinde rein geschnitten.
Für die X-Achse wird die 10mmx11mm Kette verwendet
Für das Heizbed wird die 10mmx11mm Kette verwendet
Für die Z-Achse wird die 10mmX15mm Kette verwendet
Ketten:
10mmx11mm-außen offen
https://www.amazon.de/dp/B07QLGWQ1L/ref=cm_sw_em_r_mt_dp_CZ62H4S44T4HBN02VCJ9
10mmX15mm - Außen offen
https://www.amazon.de/dp/B07WJ4CPF5/ref=cm_sw_em_r_mt_dp_K41QTK7ND6DT19Z90KZR
Molex Mini-Fit Jr. Set 4-Polig
https://www.kabelschuhe-shop.de/KALI-2404-Molex-Mini-Fit-Jr-Set-4-Polig
5,08mm Steckverbindung
https://de.aliexpress.com/item/1005003032243249.html?gatewayAdapt=glo2deu&spm=a2g0o.order_list.0.0.21ef5c5fE0c5Ll
Einen Herzlichen Dank an die Grundentwickler -- > condraka & BluegrassBlaster
für die klasse Arbeit und das zur Verfügung stellen. :-)
Gruß aus Deutschland
Matrixx200x
Hello,
X-Axis_Chain_Clamp_Control_BackSupport
&
X-Chain Adapter Control End
modified a little, the support surface of the chain was shortened a little.
Holder X-Tool chain end completely redesigned.
For the X-axis the 10mmx11mm chain is used
Much smaller and is now screwed to the original tool attachments
screwed with M4x20mm.
As can be seen in the pictures I have reinforced the mounting holes with a sleeve,
Diameter 4.9mm and length 12.5mm fit perfectly with me and give enough hold to the
screw tight enough to be able to tighten without crushing the holder.
I redesigned the Z_Axis END holder so that you can attach the Snapmaker converter.
Thus, no cable must be cut and extended.
The cable from the controller is plugged into the converter and with a 2nd tool cable from there to the tool head.
For the Heated Bed I have modified the holder kmpl.
The plug is attached from behind through the holder with M2.5 screws directly into the plastic.
The cover can be screwed either with M2 or with M3 screws.
For the cable extension I used high flexible silicone cable.
As intermediate connection I used Molex Mini-Fit Jr. set 4-pole and 5,08mm connector.
For the other end of the Z axis I used the 04_Z_Axis_Tower_Bracket_V2
from
https://www.thingiverse.com/thing:4909694
used.
For all holes for the M2 & M3 screws I cut a thread in the material.
For the X-axis the 10mmx11mm chain is used.
For the heatbed the 10mmx11mm chain is used
For the Z-axis the 10mmX15mm chain is usedll holes for the M3 screws I cut a thread into the plastic.
Chain:
10mmx11mm - Outside Open
https://www.amazon.de/dp/B07QLGWQ1L/ref=cm_sw_em_r_mt_dp_CZ62H4S44T4HBN02VCJ9
10mmX15mm -Outside Open
https://www.amazon.de/dp/B07WJ4CPF5/ref=cm_sw_em_r_mt_dp_K41QTK7ND6DT19Z90KZR
Molex Mini-Fit Jr. Set 4-Polig
https://www.kabelschuhe-shop.de/KALI-2404-Molex-Mini-Fit-Jr-Set-4-Polig
5.08mm connector
https://de.aliexpress.com/item/1005003032243249.html?gatewayAdapt=glo2deu&spm=a2g0o.order_list.0.0.21ef5c5fE0c5Ll
Many thanks to the basic developers -- > condraka & BluegrassBlaster
for the great work and making it available. :-)
Greetings from Germany
Matrixx200x

/https://fbi.cults3d.com/uploaders/22885487/illustration-file/859ee3aa-57c1-4875-ab65-c760d49ee592/Halter_X-Tool.png)
