3D model description
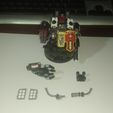
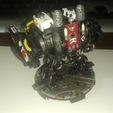
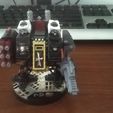
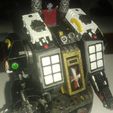
If you decide to print my stuff you are guaranteed that your prints will be successful. My models were printed by me as you can see on the photos, so they were tested.
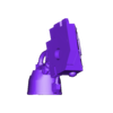
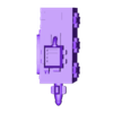
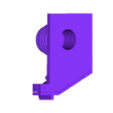
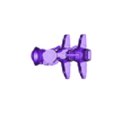
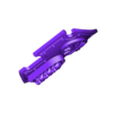
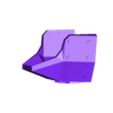
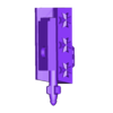
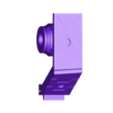
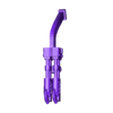
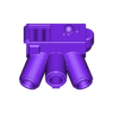
This magnificent big hulking robot will be awesome addition to your crusade. It has a lot of weapon options, it’s very detailed and has many intresting and eye-catching decorations. Studs, skulls, maltese corsses, parchments and other details make this model look very uniqe and amazing. It will be great material for many hours of painting. Also if you have basic skills of editing 3d files you can easily remake this model to fit your specific space soldiers army. Some parts have „blank” variants which are perfect for using decals. I like mine print very much, cause it turned out great.
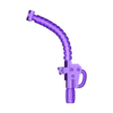
You can build it in two ways. One way is the standard way like it was just a normal miniature. The second way of building this model is to print parts that were made In such a way to fit LED diodes in exhaust pipes. Pay attention to the naming of the files, since some are meant to be printed for LED build and some are for normal build.
In case you want go for second option you need to buy 2 LED diodes, preferably with cabling so you coud have to do less work on it. The LEDs shouldn’t be bigger than 3x5 mm. They can be smaller. I suggest using standard 3v diodes. You put 2 diodes in a back part and glue them. Then you need to thread the cables through the opening in the torso. Next you must thread the cables through each respective 3mm hole in torso. I suggest threading the left diode cabling through the left hole and right one throught the right one. Then you must thread cabling through 3mm holes that are in the legs. As a last step you need to thread cabling through the 3mm holes in base, solder them into battery socket and glue to the base. You have a special base model that was holowed to fit the battery sockets. Read names of the files
I made this project in such way that everything that you can replace with other parts has magnet holes. Of course you can glue whole thing together but I recomend using magnets.
List of magnet holes sizes and remarks
5x2 mm
- joints between arms and torso, although magnet socket in the side parts of the torso should be deeper than 2 mm. I printed mine with 5x2 mm and I see that when I’m using chainhand the arm is aiming down. I hollowed second arm and it doesn't rotate with chainhand like the 1st one that sn;t hollowed, so it's another good solution.
- joints between arms and hand weapons
- magnet socket in Gun Turrets
- All hand weaepons (chainhand, hand, quadrelupe joybringer), although in case of hand and joybringer 5x1 mm would be sufficient. Meybe even 3x2 mm would be sufficient.
3x1 mm
- Extra Protective armour plating.
- Decorative Magnet Masking Cross
- Left and right Missile Launchers
- Magnet sockets on the top of the left and right Side Parts
- Magnet sockets on the front of the left and right Side Parts
- Masking Decorative Shield
- 2 magnet sockets in the Torso (for LED option)
- 2 magnet sockets in the Front (for LED option)
2x1 mm
- magnet sockets in the secondary weapons (flamer and heat gun)
- 2 magnet sockets in arms
I have printed all that parts, except Masking Decorative Shield, and didn’t have any issues. Note that the naming of the files is based on 1st person perspective. So for ex ample if something is called Left Legguard then you must imagine you are that robot and it’s your Left Legguard that you wear. If you need any part to be reversed, like for ex ample you want Gun Turret to be on the left side you must mirror it on the X axis.
Credits:
This project was made on basis of:
I wish you succesfull printing and please rate my project, leave a like and a comment.
3D printing settings
Everything is 1:1 scale and doesn't require scaling.

/https://fbi.cults3d.com/uploaders/16833632/illustration-file/c2407355-3b5c-43f1-9591-a9532de06611/IMG_20230218_081929.jpg)
