Skip to content

Arduino Ethernet, LCD and Servo

Advertising
Advertising
?
Creation quality: 5.0/5 (1 vote)
Evaluation of members on the printability, utility, level of detail, etc.

  • 776 views
  • 5 downloads
  • 1 make

License
3D design format
Folder details Close
  • btn-type1.stl
  • btn-type2.stl
  • btn-type3.stl
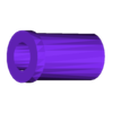
  • container.stl
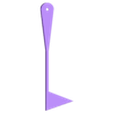
  • flag.stl
  • lid.stl

Learn more about the formats

Publication date 2022-10-19 at 07:17
?
Published to Thingiverse on: 2014-08-05 at 07:09
Design number 891671

3D printer file info

3D model description

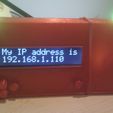
An enclsoure I made for displaying live feeds. When the feed changes it displays it on the LCD, flashes it's lights and raises it's flag!

There are plenty of potenial uses for this so use your imagination!

go nuts

http://youtu.be/Imug5Wvz9Hg

3D printing settings

##Ingredients

- Built for the Freetronics EtherMega and LCD/keypad kits and a 9g servo.

- EtherMega

http://www.freetronics.com/collections/arduino/products/ethermega-arduino-mega-2560-compatible-with-onboard-ethernet#.U-A_0mPCfW4

- LCD

http://www.freetronics.com/products/lcd-keypad-shield#.U-A_92PCfW4

- 9gram servo from eBay

- You'll also need power supply for the Arduino if you are to use the servo. I think 1-2 Amp would be fine.

- LEDs, i used RGB ones on top

- resistor I think I used 440 but it shouldn't matter what you use.

- Arduino code here: https://github.com/JayMc/Arduino-feed-alert

##Build it

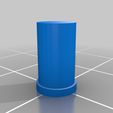
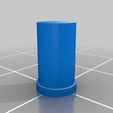
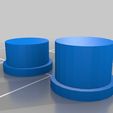
- print everything duh, I used PLA on a TAZ. ABS should be fine. You probably only need 5x btn-type3 but test the others to see what works best. I print with support for the container.

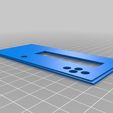
- clear holes on the top for RGB leds, if you don't want to use leds on top print with support and it should cover them

- clean all edges with a knife and test the lid sits on top of the container and in the groove baby. Also test the servo fits nice and snug. The flag and Arduino mega will hold it in place.

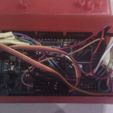
- when assembling it put the servo in first without the horn, then the arduino.

- then solder the led wires and resistor and glue them into their holes.

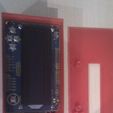
- now you have a chance to finalise the wiring before placing the top LCD shield.

- after inserting its hard to get out as there isn't much room to wiggle the pins out.

- now place the buttons on the LCD shield button pins and you'll have to maneuver the lid around so the buttons come through.

Advertising


Issue with this design? Report a problem.

Would you like to support Cults?

You like Cults and you want to help us continue the adventure independently? Please note that we are a small team of 3 people, therefore it is very simple to support us to maintain the activity and create future developments. Here are 4 solutions accessible to all:

  • ADVERTISING: Disable your banner blocker (AdBlock, …) and click on our banner ads.

  • AFFILIATION: Make your purchases online by clicking on our affiliate links here Amazon.

  • DONATE: If you want, you can make a donation via Ko-Fi πŸ’œ.

  • WORD OF MOUTH: Invite your friends to come, discover the platform and the magnificent 3D files shared by the community!


Sharing and downloading on Cults3D guarantees that designs remain in makers community hands! And not in the hands of the 3D printing or software giants who own the competing platforms and exploit the designs for their own commercial interests.

Cults3D is an independent, self-financed site that is not accountable to any investor or brand. Almost all of the site's revenues are paid back to the platform's makers. The content published on the site serves only the interests of its authors and not those of 3D printer brands who also wish to control the 3D modeling market.

100% secure payment by credit card, PayPal, Apple Pay, Google Pay, etc.
View all payment options.