Skip to content

JBFPV Prototype V2

Advertising
Advertising
?
Creation quality: 0.0/5 (0 votes)
Evaluation of members on the printability, utility, level of detail, etc.

  • 275 views
  • 2 downloads

License
3D design format
Folder details Close
  • 105_85mm_heavy.stl
  • 105_85mm_reinforced__open.stl
  • graphene_600_tight.stl
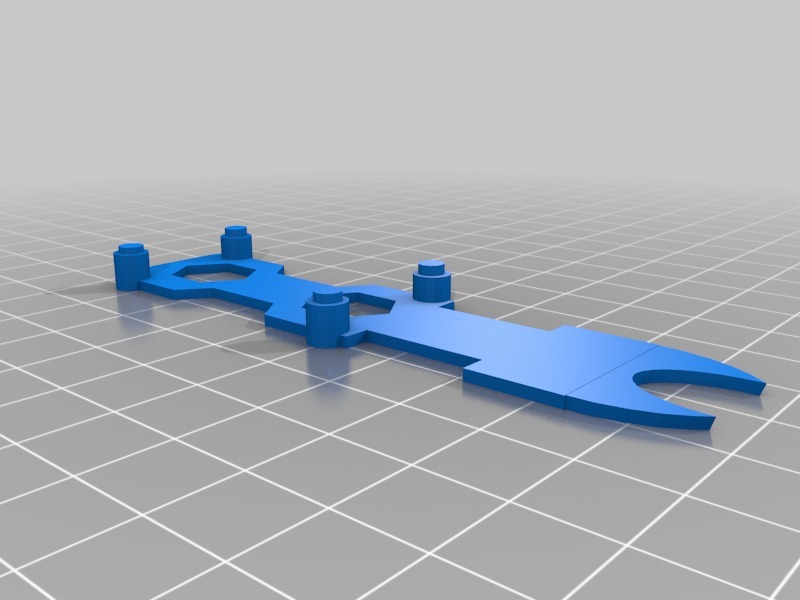
  • jbfpv_pod_-_nqx.stl
  • jbfpv_pod_-_scisky.stl

Learn more about the formats

Publication date 2022-10-19 at 21:48
?
Published to Thingiverse on: 2016-07-20 at 00:01
Design number 892456

3D printer file info

3D model description

  • UPDATE 11-9-2016 *
  • Added 'heavy' version of frame which is 2 gram heavier but stronger
  • Added tight battery holder for Graphene 600mAh without velcro if you have any battery holder requests, let me know the dimensions in the comments.

Intro:

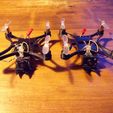
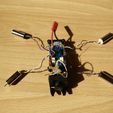
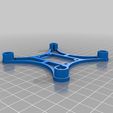
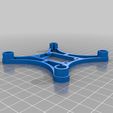
I really liked the Micro 105 frame, but was having trouble to find ways of protecting the antenna of the Quanum Elite. I also wanted to be able to easily swap all the electronics to another frame if it breaks. (Like Benedikt's dreamcatcher) I was also inspired by the DragonFli's undercarriage design.

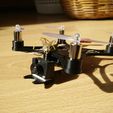
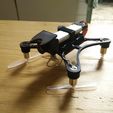
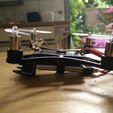
Instead of printing extra stuff on top to protect the cloverleaf antenna, I lowered the camera and used the motors for protection instead. The only way to damage the cloverleaf now is by hitting a pole (or spiky object) head on.

Features:

-Antenna protected from inverted crashes by the motors
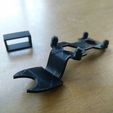
-Fangs to protect the lens
-Easy to swap all the electronics to a new frame when it breaks
-Lightweight design

Designed for:

Nano QX FPV or Micro SciSky (still needs work on USB port, have to take apart to reach it)
Quanum Elite camera or similar like FX798T
8.5mm motors
Battery holder for Graphene 600mAh (one with velcro and one tight without velcro)

Build instructions:

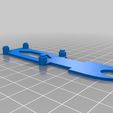
-Print frame (ABS 100% infill) and POD of your choice (NQX or SciSky)
-Heat the camera mount with a lighter and bend it in shape (see picture #6)
-Superglue battery mount to underside of POD
-Mount FC with double sided tape on top of POD
-Mount Camera with double sided tape
-Attach the motors to the frame
-Attach the POD to frame with tape (I use black isolation tape)
-Fly,Crash,Print, Repeat. (Only have to remove the tape, remove motors, put everything on new frame in one go, tape it again and yer back up in da skies) :))

3D printing settings

-

Advertising


Issue with this design? Report a problem.

Would you like to support Cults?

You like Cults and you want to help us continue the adventure independently? Please note that we are a small team of 3 people, therefore it is very simple to support us to maintain the activity and create future developments. Here are 4 solutions accessible to all:

  • ADVERTISING: Disable your banner blocker (AdBlock, …) and click on our banner ads.

  • AFFILIATION: Make your purchases online by clicking on our affiliate links here Amazon.

  • DONATE: If you want, you can make a donation via Ko-Fi πŸ’œ.

  • WORD OF MOUTH: Invite your friends to come, discover the platform and the magnificent 3D files shared by the community!


Sharing and downloading on Cults3D guarantees that designs remain in makers community hands! And not in the hands of the 3D printing or software giants who own the competing platforms and exploit the designs for their own commercial interests.

Cults3D is an independent, self-financed site that is not accountable to any investor or brand. Almost all of the site's revenues are paid back to the platform's makers. The content published on the site serves only the interests of its authors and not those of 3D printer brands who also wish to control the 3D modeling market.

100% secure payment by credit card, PayPal, Apple Pay, Google Pay, etc.
View all payment options.