Skip to content

Indestructible partially flexible quadcopter

Advertising
?
Creation quality: 5.0/5 (1 vote)
Evaluation of members on the printability, utility, level of detail, etc.

  • 572 views
  • 1 like
  • 7 downloads

License
3D design format
Folder details Close
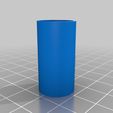
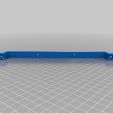
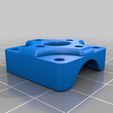
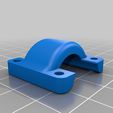
  • BeamBeam_FF.stl
  • BeamPlat_FF.stl
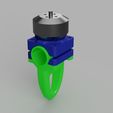
  • cameraMount.stl
  • centralPlat.stl
  • leg_FF.stl
  • lower_prot.stl
  • motor_down.stl
  • motor_up.stl
  • motorjoint_FF.stl
  • tap_FF.stl
  • upper_plat.stl
  • upper_prot.stl

Learn more about the formats

Publication date 2022-10-21 at 22:14
?
Published to Thingiverse on: 2019-05-13 at 14:16
Design number 894722

3D printer file info

3D model description

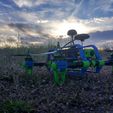
I present to the thingiverse community my durable quadcopter design! (ok, indestructible could be too much, time will tell...).

Since I recently built and crashed 2 quadcopters (not a very good pilot I guess...), I saw that both of them broke in the body-motorbeam joint. So I decided to design a frame that could withstand an accident. My requisites were:
- Small quadcopter, this one is ~285 diameter
- It should fit all the electronics I wanted, so it should be quite versatile
- Able to survive if I crash it

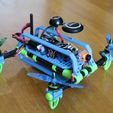
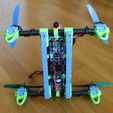
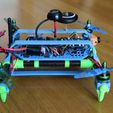
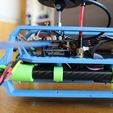
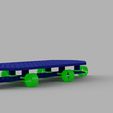
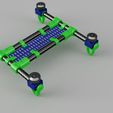
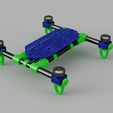
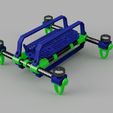
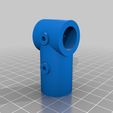
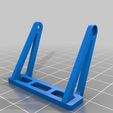
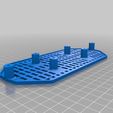
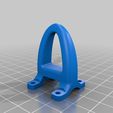
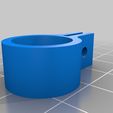
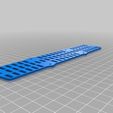
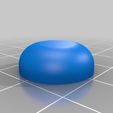
It finally ended with this design. It is meant to be printed with flexible filament and normal filament. Almost every parts joints are made with hard and flexible filament, to absorb hits and vibrations. Green parts (the parts labeled with "_FF") were designed to be printed with flexible filament, I used Filaflex 82a, and blue parts are PLA (probably ABS or PETG would be better). Filaflex filament is very very hard to break, so it should absorb the impacts without breaking.

The beams are made with cheap ebay carbon fiber tubes, 14-12mm. I have used four 250mm tubes, cutting two of them to 17,8cm. Also, it is necessary to drill them in order to fit the screws.

The electronics I have used are:
- 4 12A esc from hobbyking
- 4 2400kv turnigy motors from hobbyking (discontinued...) with 5030props
- Runcam split 2s and Eachine TX805 5.8G video emmiter
- Pixhawk controller and M8N GPS
- 1300mAh 3S lipo
- holybro telemetry module
- turnigy 9x radio (with ppm encoder)

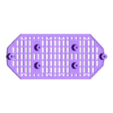
To mount it, I recommend to fit all the electronics in both platforms and screw them with the beam to platform pieces. After that, mount the tubes and tube joints, the motors, finally place (if wanted) the protectors.

My configuration is ~750g, and it gets between 7 and 10 minutes flying. It could probably improved, many pieces are optional, (legs, protectors, ...) and I may have used too much electronics.

Enjoy!

3D printing settings

-

Advertising


Issue with this design? Report a problem.

Would you like to support Cults?

You like Cults and you want to help us continue the adventure independently? Please note that we are a small team of 3 people, therefore it is very simple to support us to maintain the activity and create future developments. Here are 4 solutions accessible to all:

  • ADVERTISING: Disable your banner blocker (AdBlock, …) and click on our banner ads.

  • AFFILIATION: Make your purchases online by clicking on our affiliate links here Amazon.

  • DONATE: If you want, you can make a donation via Ko-Fi πŸ’œ.

  • WORD OF MOUTH: Invite your friends to come, discover the platform and the magnificent 3D files shared by the community!


Sharing and downloading on Cults3D guarantees that designs remain in makers community hands! And not in the hands of the 3D printing or software giants who own the competing platforms and exploit the designs for their own commercial interests.

Cults3D is an independent, self-financed site that is not accountable to any investor or brand. Almost all of the site's revenues are paid back to the platform's makers. The content published on the site serves only the interests of its authors and not those of 3D printer brands who also wish to control the 3D modeling market.

100% secure payment by credit card, PayPal, Apple Pay, Google Pay, etc.
View all payment options.