Skip to content

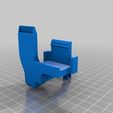
Rigidbot 2 Highly effective part cooling fan duct

Advertising
Advertising
?
Creation quality: 0.0/5 (0 votes)
Evaluation of members on the printability, utility, level of detail, etc.

  • 496 views
  • 3 downloads

License
3D design format
Folder details Close
  • RB2_Part_Cooling_Duct_CS.stl

Learn more about the formats

3D model size X 51.4 Γ— Y 54.9 Γ— Z 62.4 mm
Publication date 2022-11-04 at 02:46
?
Published to Thingiverse on: 2016-03-31 at 06:32
Design number 910798

3D printer file info

3D model description

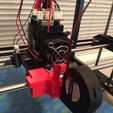
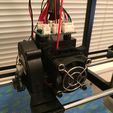
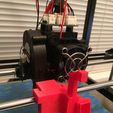
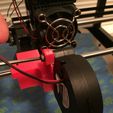
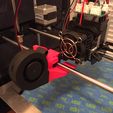
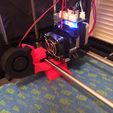
This is a high efficiency fan duct upgrade for the stock part cooling fan on a Rigidbot 2. This fan duct attaches using all stock parts so no modifications or extra parts are required to install it on a Rigidbot 2 printer. For best results read the print settings carefully.

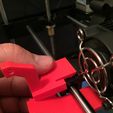
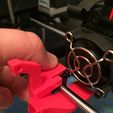
The clip on the fan snaps onto the front bearing mount easily but securely and is easy to remove if needed. The pictures show the orientation and sequence to attach the fan duct and install the stock fan.

The fan duct design directs a concentrated high flow moderate pressure stream of cool air across the tip of the nozzle parallel to the top surface of the part removing the heat quickly from the area. This results in a much more uniform cooling pattern and surface finish even across thin and small parts greatly reducing warping and curling. Bridging capabilities are enhanced and features on the far side of the nozzle are stabilized. It is a truly awesome sight to watch the printer effortlessly create bridge spans of at least 15 mm with no visible sag and horizontal overhangs of up to 5 mm that are flat by the third layer. I use this piece as a test piece. https://www.thingiverse.com/thing:1088310 I'm going to have to scale it up to test the limits of this fan duct.

The air stream passes below the heater block so as to not cause temperature fluctuations across the head. The duct will clear all parts of the printer and does not interfere with or touch the guide rods.

Since this is a precision fit part I highly recommend using calibrated filament. My filament calibration object of choice is found here as it calibrates for the average diameter of the filament being used and its thermal expansion and cooling properties: https://www.thingiverse.com/thing:1037301

To avoid melting the end of the installed duct it is recommended that the heater be pushed in nearly flush with the front of the heater block.

The STL file is Cura scaled and oriented for printing.

3D printing settings

-

Advertising


Issue with this design? Report a problem.

Would you like to support Cults?

You like Cults and you want to help us continue the adventure independently? Please note that we are a small team of 3 people, therefore it is very simple to support us to maintain the activity and create future developments. Here are 4 solutions accessible to all:

  • ADVERTISING: Disable your banner blocker (AdBlock, …) and click on our banner ads.

  • AFFILIATION: Make your purchases online by clicking on our affiliate links here Amazon.

  • DONATE: If you want, you can make a donation via Ko-Fi πŸ’œ.

  • WORD OF MOUTH: Invite your friends to come, discover the platform and the magnificent 3D files shared by the community!


Sharing and downloading on Cults3D guarantees that designs remain in makers community hands! And not in the hands of the 3D printing or software giants who own the competing platforms and exploit the designs for their own commercial interests.

Cults3D is an independent, self-financed site that is not accountable to any investor or brand. Almost all of the site's revenues are paid back to the platform's makers. The content published on the site serves only the interests of its authors and not those of 3D printer brands who also wish to control the 3D modeling market.

100% secure payment by credit card, PayPal, Apple Pay, Google Pay, etc.
View all payment options.