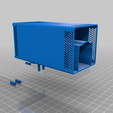
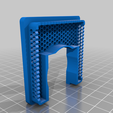
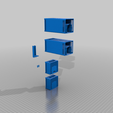
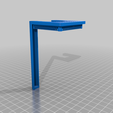
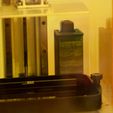
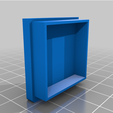
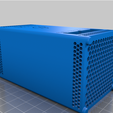
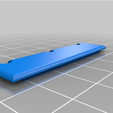
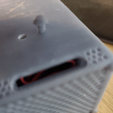
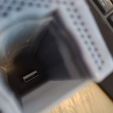
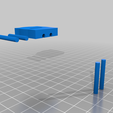
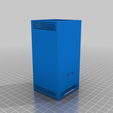
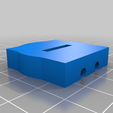
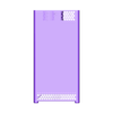
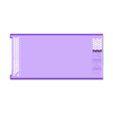
Version 2 moves the usb mounting slot to the middle of the battery chamber.
There are still improvements to be made - if you make any, please let me know and I'll add a link to your changes. Or include them here.
Suggestions for how to install the USB plug:
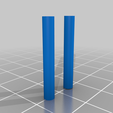
1 - make sure the locking pins fit. You may need to file the holes to be larger. (or if you'd like, please edit the files to increase the size of the holes - and share the changes!)
2 - make sure your usb plug fits and locks.
* put the plug in the bottom of a battery
* lower the battery into the chamber to guide the card into the slot
* put a locking pin in place
* remove the battery - the usb plug should be held in place
3 - run the wires
* Clip the white connector off the end of the wires - leave them as long as you can
* Find where the wire will run into the body when the fan is mounted
be careful here. I got this wrong 3 or 4 times!
-- the fan blades face UP
-- the output vent faces into the body
* Feed the wire through the honeycomb hole at the top of the fan chamber that is closest to where the wire leaves the body of the fan
* pull the wire most of the way into the space above the battery chamber and back out the battery mount hole
leave some working space so you don't break the wire off the fan
* feed a loop of string through the air exit at the bottom of the body, opposite the fan insert slot
* staying inside the loop of string, feed the end of the wire up through the usb slot into the battery chamber
* Trim the wire and solder it to the usb card. Make the solder joints as small as possible, because the usb slot is pretty tight. (this is another opportunity for someone to improve the design!)
* using the wires attached to the fan (not the fan itself - you don't want to break the wires off!), pull the USB card into the mounting slot
* put a toothpick into the locking holes to keep the usb card in place (a toothpick can be removed - the locking pins should mount flush and it's a pain to drill them out)
* test your connections by mounting a charged battery. The fan should start up.
* using the loop of string, pull the fan up to the fan mounting slot
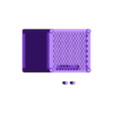
* gently !!!GENTLY!!! slide the fan into the fan chamber (you don't want to cut the wires or break them off the fan). use the string to help keep the wire straight and out of the way.
* Remove the loop of string
* tuck the wires up into the exit port so you can't see them. Yes, this will interfere with airflow a bit. If you have any ideas to improve that, go ahead! Let me know so I can point others to your changes, or add them here.
* Test your work again
* replace the toothpick with the mounting pins
* improve the models and share your changes with the rest of us!
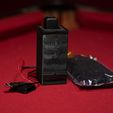
The difference between this and the original is that I have add a version of the body which has an opening between the battery chamber and the fan chamber, sized and shaped to match a small board-mounted male Type A Male plug like this one:
https://www.amazon.com/dp/B07QWDG321?psc=1&ref=ppx_yo2_dt_b_product_details
The design allows feeding the fan power wires up into the battery cavity, attaching them to the USB board, then pulling the board back down into the bottom of the chamber.
A set of pins are then used to secure the board in place.
Summary
The Mini P is intended to increase accessibility to filtration equipment associated with resin printing. This is accomplished by releasing files for non-commercial use (don't make and sell these) and providing a sourcing & build guide.
Designed for resin printers only - prints on even the smallest resin printers in one go.
Sourcing & Build Guide: https://4dfiltration.com/resources/mini-p-guide.html
This unit is in no way a replacement for proper ventilation that is HIGHLY recommended in any resin setup - it is supplemental to a setup by assisting to contain 'fumes' at the source.
Ultimate Resin Guide: https://4dfiltration.com/resources/ultimate-sla-guide.html
Ventilation Animations: https://4dfiltration.com/resources/diy-ventilation-filtration.html
Resin FAQ: https://4dfiltration.com/resources/sla-safety.html
If you need assistance building this, join our discord https://discord.gg/H8nK7ABrwk

/https://fbi.cults3d.com/uploaders/14109157/illustration-file/462e38b1-9900-4fae-8c32-af17a14ee733/P_Mini_Body_with_USB_opening.png)
