Skip to content

Railway Cargo Wagon - OS-Railway System

Advertising
?
Creation quality: 5.0/5 (1 vote)
Evaluation of members on the printability, utility, level of detail, etc.

  • 2.3k views
  • 14 likes
  • 147 downloads

License
3D design format
Folder details Close
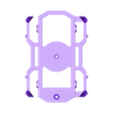
  • Baseplate.stl
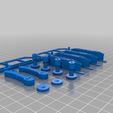
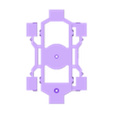
  • Buildplate_1_Trollys_Wheels.stl
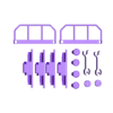
  • Buildplate_2_Small_Parts.stl
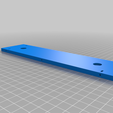
  • Buildplate_3_Baseplate.stl
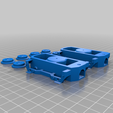
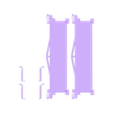
  • Buildplate_4_Walls.stl
  • Bumper.stl
  • Coupling_V2.stl
  • Front.stl
  • Handrail.stl
  • Sidewall.stl
  • Sidewall_brim.stl
  • Trolly.stl
  • Trolly_Side_Panel.stl
  • Trolly_brim.stl
  • Turnplate.stl
  • Wheel.stl

Learn more about the formats

Publication date 2022-11-09 at 07:34
?
Published to Thingiverse on: 2022-01-09 at 11:48
Design number 916927

3D printer file info

3D model description

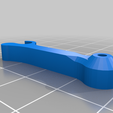
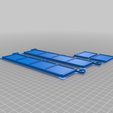
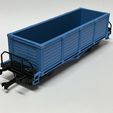
This Railway Cargo Wagon is my first contribution to the OS-Railway system. All 3D parts can be printed without supports and there is no other material needed than PLA filament for assembly.

To build this cargo wagon you will need the following tools:

  • Cutter
  • 2mm drill
  • Hot knife
  • File

3D Parts List:

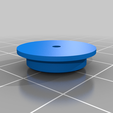
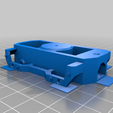
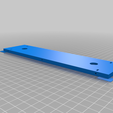
1 Baseplate
4 Bumper
2 Coupling
2 Front
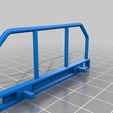
2 Handrail
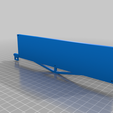
2 Sidewall
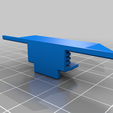
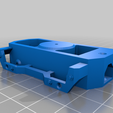
2 Trolly
2 Trolly_Side_Panel
2 Turnplate
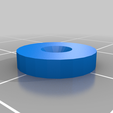
8 Wheel

For your convenience I put the parts onto 4 build plates.

Additionally you will need straighten out 3D printer filament (1.75mm) in different length for the axes and connectors.

Steps to build the wagon:

  1. Remove the brims and drill all holes with the 2mm drill.
  2. Make sure the wheels fit into the cages in the trollies. If they donโ€™t fit you can warm up the trollies with a hair dryer or a heat gun and bend the cages slightly outwards.
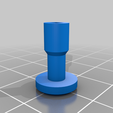
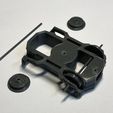
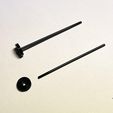
  3. Create 4 axes out of PLA. Place the wheels in the trolly cages and push the axes through (Image_1.jpg). Make sure the wheels can turn freely otherwise repeat step 2.
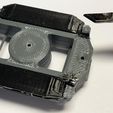
  4. Use the hot knife to melt the endings of the axes so that they canโ€™t slip out of the trolly anymore. (Image_2.jpg)
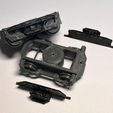
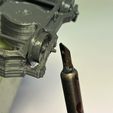
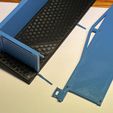
  5. Fit the Trolly_Side_Panel parts into the trolly. You may need to file the fit down to make it slip in. (Image_3.jpg)
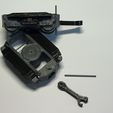
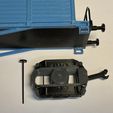
  6. With the hot knife melt then endings of the Trolly_Side_Panels onto the Trolly. Make sure the surface is smooth because this is where the Baseplate will be laying on. (Image_4.jpg)
  7. Fit the coupling into the trolly. make sure the can move sideways if the train will run curved tracks. Use another piece of PLA as an axis to lock the couplings into their housing. Melt the Endings with the hot knife and make sure the top is flat with the surface. (Image_5.jpg)
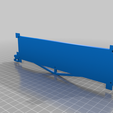
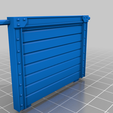
  8. Make 3 straight PLA connectors to to be put into the Baseplate. Now place 2 Front parts on the Baseplate. To fix the walls push two Sidewall onto the connectors from each side. To lock everything in place use the hot knife to melt the endings of the connectors. (Image_6.jpg)
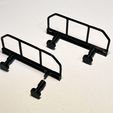
  9. Put the 4 Bumpers onto the knobs of the 2 Handrail parts. (Image_7.jpg)
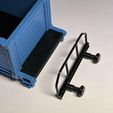
  10. Fit the Handrail parts onto the front and rear of the wagon body. Fix the parts by melting the endings of the body that are looking through the Handrail parts. (Image_8.jpg)
  11. Make 2 axes out of PLA for the Turnplates. Connect the Turnplates and the axes by melting the axes with the hot knife. (Image_9.jpg)
  12. Stick the axes of the Turntable through the Baseplate and through the trolly. Fix the axes with the hot knife. (Image_10.jpg)

3D printing settings

-

Advertising


Issue with this design? Report a problem.

Would you like to support Cults?

You like Cults and you want to help us continue the adventure independently? Please note that we are a small team of 3 people, therefore it is very simple to support us to maintain the activity and create future developments. Here are 4 solutions accessible to all:

  • ADVERTISING: Disable your banner blocker (AdBlock, โ€ฆ) and click on our banner ads.

  • AFFILIATION: Make your purchases online by clicking on our affiliate links here Amazon.

  • DONATE: If you want, you can make a donation via Ko-Fi ๐Ÿ’œ.

  • WORD OF MOUTH: Invite your friends to come, discover the platform and the magnificent 3D files shared by the community!


Sharing and downloading on Cults3D guarantees that designs remain in makers community hands! And not in the hands of the 3D printing or software giants who own the competing platforms and exploit the designs for their own commercial interests.

Cults3D is an independent, self-financed site that is not accountable to any investor or brand. Almost all of the site's revenues are paid back to the platform's makers. The content published on the site serves only the interests of its authors and not those of 3D printer brands who also wish to control the 3D modeling market.

100% secure payment by credit card, PayPal, Apple Pay, Google Pay, etc.
View all payment options.