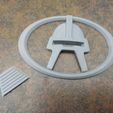
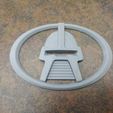
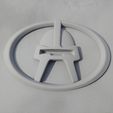
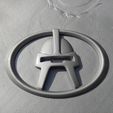
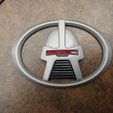
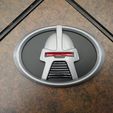
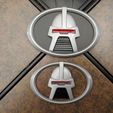
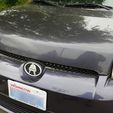
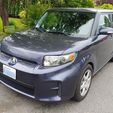
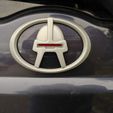
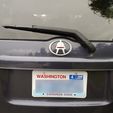
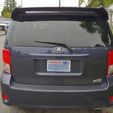
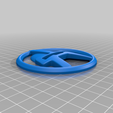
I designed this badge for my 2012 Scion xB, but if resized it should in theory work for any Scion. And I believe the Toyota badge shares the same dimensions, so it would probably work for them too. Lexus and Mazda logos are also of similar dimensions.
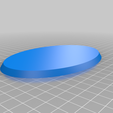
I've also included an alternate circular version, which should work for any number of vehicles using circular logos, including Acura, Alfa Romeo, BMW, Buick, Cadillac, Fiat, Holden, Lotus, MG, Nissan, Opel, Skoda, Vauxhall, Volkswagen, and Volvo.
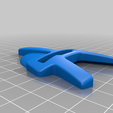
With a bit of further modifications, it could be used for any vehicle. To facilitate such modifications, I've also included the Cylon head by itself without the ring around it.
Of course whether or not it actually works for your car is entirely up to you. And while it should go without saying, ANYTHING YOU DO TO YOUR CAR IS AT YOUR OWN RISK. I AM NOT RESPONSIBLE FOR ANY DAMAGE CAUSED TO YOUR VEHICLE.
For the following instructions, I'm assuming a 2012 Scion xB. Be sure to get accurate measurements for your specific vehicle before proceeding.
The files Head.stl and Circle.stl are only needed for other vehicles. For the Scion, you should only need Main.stl, Grille.stl, and Mount.stl.
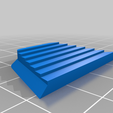
Main.stl is obviously the main piece. Grille.stl fits in place behind it. And Mount.stl goes behind that. Mount.stl is only needed for the front badge.
Main.stl and Grille.stl should be sized to the rear badge by default. (But again, measure your own vehicle to be sure.) For the front badge, scale Main.stl to 140 mm on the X axis, which should be around 116.67% and bring the Y axis to about 95.6667 mm. Scale Grille.stl to the same percentage. Mount.stl should be the correct size for the front already.
Print in PETG or ABS, not PLA.
Finish as you see fit. Personally, I sanded, used primer/filler spray, sanded some more, primer/filler again, spray paint, and then clear coat. I probably should have used automotive paints, but I just used regular outdoor spray paints. We'll see how it holds up. You don't need to paint the back of any part, and that may affect adhesion if you do. I didn't paint the mount at all.
You can use a thin strip of red reflective tape behind the eye area to somewhat simulate the scanner effect. I think it looks pretty good anyway.
For the front badge with the mount backing, I applied matte black vinyl over the mount part. Apply it to the side that is larger (the side which should print down on the bed by default).
I then used a box cutter to cut out a bit of the vinyl from the middle and edges, leaving a space for adhesion. I used JB Weld to attach the parts together, but use whatever glue you prefer.
Finally, I used double-sided automotive foam tape to attach the badges to my car.
Getting your existing badges off your car will vary by vehicle, but for my 2012 Scion xB, the rear badge was held on by foam tape, which I removed using dental floss to saw through it. (There were also two plastic pins positioning it in place.) And the front badge was just clipped in place. I was able to go in through the hood, remove the plastic cover from the front area, and reach down to undo the clip and pop the badge out.
Let me know if you have any questions. Be sure to post pics of your finished badges on your vehicles. And if you enjoy this design, feel free to tip me a coffee!

/https://fbi.cults3d.com/uploaders/14555659/illustration-file/9feac2f6-08a8-4300-b83e-3965d0929030/20200609_161114.jpg)
