Skip to content

Christmas tree spiral

Advertising
?
Creation quality: 5.0/5 (1 vote)
Evaluation of members on the printability, utility, level of detail, etc.

  • 3.4k views
  • 9 likes
  • 9 downloads
  • 2 collections

License
3D design format
STL Folder details Close
  • Axe sapin boitier et piles leds.stl
  • Boitier piles leds.stl
  • Bouton boitier piles leds.stl
  • Couvercle boitier piles leds.stl
  • Lot lattes 1.stl
  • Lot lattes 2.stl
  • Lot lattes 3.stl
  • Lot lattes 4.stl
  • Lot lattes 5.stl
  • MAT.stl
  • Pointe sapin.stl
  • rallonge MAT.stl

Learn more about the formats

Publication date 2022-11-22 at 18:19
Design number 932739

3D printer file info

3D model description

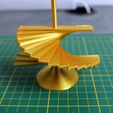
Christmas tree spiral

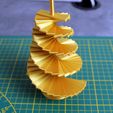
Table decoration that will have all its effect!

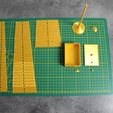
composed of several parts:

  • 1 mast with its support

  • 1 mast extension ( Required to go through an extension to facilitate printing)

  • 65 slats

  • tip of the tree

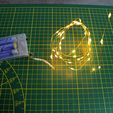
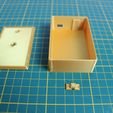
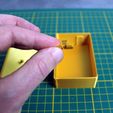
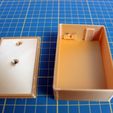
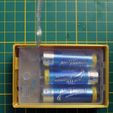
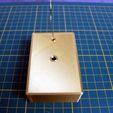
If you want even more effect I advise you to stick a small garland light! I made a box with switch that will allow you to hide the battery box. Designed for the LED garlands from Action or similar box, ie 3 battery box with switch on the side (see photo)

The box is compsรฉ:

  • 1 box

  • 1 switch

  • 1 cover

  • 1 axis to center the tree on the lid

Stage of manufacture fir tree:

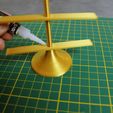
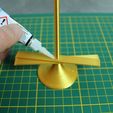
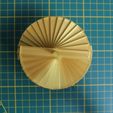
1 - Arrange the slats in ascending order (pay attention to the direction)

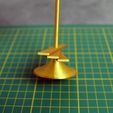
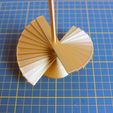
2- Thread and glue the slats from the largest to the smallest

3- When you reach the height of the mast (about 1 cm before), glue the extension

4- finish putting the slats on

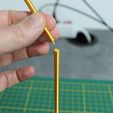
5- After the last slat, cut the rest of the mast with a cutter, taking care to leave about 5mm for the tip of the tree ( since all printers are calibrated differently, I preferred to see longer to be sure you have a good length of mast) .

Manufacturing stage of the battery box:

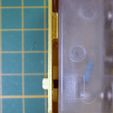
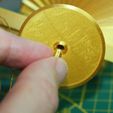
1 - Insert the button

2 - Insert the battery box, taking care to position the switch correctly

3 - Pass the garland in the small hole of the cover (provide some slack inside the box to be able to open the cover easily).

4 - close the lid

fir assembly on the box:

1- glue the axis under the base of the tree

2 - position and glue the tree support on the cover (tree axis in the hole of the battery box cover)

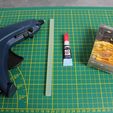
3- you have to glue the garland to your liking on the tree (as far as I am concerned, I used hot glue.)

#XMASCULTS

3D printing settings

Printed without support

Advertising


Page translated by automatic translation. See the original version.
Issue with this design? Report a problem.

Would you like to support Cults?

You like Cults and you want to help us continue the adventure independently? Please note that we are a small team of 3 people, therefore it is very simple to support us to maintain the activity and create future developments. Here are 4 solutions accessible to all:

  • ADVERTISING: Disable your banner blocker (AdBlock, โ€ฆ) and click on our banner ads.

  • AFFILIATION: Make your purchases online by clicking on our affiliate links here Amazon.

  • DONATE: If you want, you can make a donation via Ko-Fi ๐Ÿ’œ.

  • WORD OF MOUTH: Invite your friends to come, discover the platform and the magnificent 3D files shared by the community!


Sharing and downloading on Cults3D guarantees that designs remain in makers community hands! And not in the hands of the 3D printing or software giants who own the competing platforms and exploit the designs for their own commercial interests.

Cults3D is an independent, self-financed site that is not accountable to any investor or brand. Almost all of the site's revenues are paid back to the platform's makers. The content published on the site serves only the interests of its authors and not those of 3D printer brands who also wish to control the 3D modeling market.

100% secure payment by credit card, PayPal, Apple Pay, Google Pay, etc.
View all payment options.