Pinoc Picture / Video Capture System for Binoculars / Telescopes
The full project is here: https://github.com/jdcasey/pinoc
This application is designed to allow Raspberry Pi single-board computers to be mounted on binoculars (or, really anything like that...telescopes for instance). It uses the RPi GPIO interface to read input signals
from momentary buttons (wired to GPIO/BCM 22 & 27), and output status to two LEDs (GPIO/BCM 17 & 24).
Pinoc relies on the use of a Raspberry Pi camera module, which wires directly into the board via ribbon cable. It uses the picamera Python 2 module to interface with the hardware.
Associated Hardware
Raspberry Pis
The large binocular system I came up with uses a Raspberry Pi B+ (or probably, 2 / 3), mainly because I had one laying around. The small binocular system uses a Raspberry Pi Zero / Zero W, mainly because it works well with the compact size (also, they're cheap).
Battery Packs
The battery pack these models are design for is the PNY T2600. It's easy to use and is a convenient way to supply 5V input for the RPi (where other batteries of similar size / capacity are often 3.7V and require extra circuitry to boost the voltage).
Solar Filter Film
If you're gearing up for solar viewing, you'll need film to protect your optics (and your EYES!). You can get that on Amazon. It goes under a heading like Solar Filter Sheet for Telescopes, Binoculars, and Cameras, and usually costs around $20-$30.
Miscellaneous Non-Printed Hardware
- Hot glue is very useful to keep wires out of trouble (avoid short circuits).
- Ventilator tubing is useful to line the visor part of the eclipse goggles, where they make contact with your face.
- Felt is useful to pad the nose piece for the eclipse goggles. You can usually find remnants at fabric stores.
- M3 screws, or similar.
In the end, I had a bunch of old leftover PC case screws (from PCI slots, etc.) that worked well for putting the different printed parts together, where press-fit wasn't an option. They're about M3, and about 3-3.5mm long. The screws can be used to cut threads directly into the printed parts, which holds together well enough.
Tools
When working with mechanical / precise printed parts, I've found that acetone polishing doesn't really work well. Instead, I use sandpaper and a set of small files (round, half-round, and flat are useful shapes) to get rid of burrs and printer axis chatter that shows up sometimes. It's also useful to soften up the edges a bit, which is important when you consider rigid, sharp plastic edges can cut you...not a great feature for kids!
You may find that the RPi mounting holes are a little too small for M3 screws. To handle this, I used a hand reamer to open them up a little bit. For button plates, I used a push drill with a ~1mm small bit. I've found that hand tools are much easier to control when doing things like this, since they produce results a little bit at a time (and are easier to stop).
CAD Files
The CAD files for this project use two tools: OpenSCAD and FreeCAD. I've used OpenSCAD where the geometries are relatively simple, or where high precision is important. For example, I used OpenSCAD to achieve tolerances required for press-fit parts, while still allowing the model to be parameterized.
I used FreeCAD wherever I had to consume STL files that I didn't create for this project, or when eyeballing worked well enough and having an interactive way to position
parts was more attractive.
The following CAD files are provided:
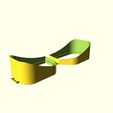
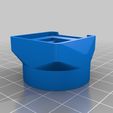
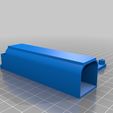
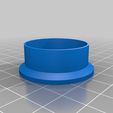
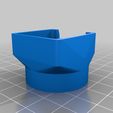
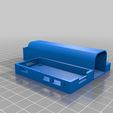
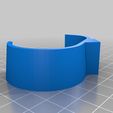
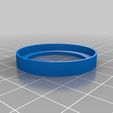
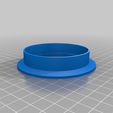
eclipse-goggles.scad - These are not strictly required for using Pinoc, but can be useful if you're gearing up for an eclipse (my original use case for Pinoc)large-pinocs.scad - These are used to mount things to large binoculars, where the barrel has a taper and aren't a strict conical shape but rather a sort of doubled/overlapped cone shape. It includes a button panel you can drill out and use to mount LEDs / buttons for interacting with the RPi.picam-case.scad - This contains the models for mounting the RPi camera board to the eyepiece of the binoculars. It also contains models of solar filter film caps used to fit on the ends of the binocular optics.pinocs-piB.fcstd - This is a FreeCAD file that contains the plate and battery sleeve to mount a RPi B+ / 2B / 3, along with a battery pack, onto a large binocular cuff (from large-pinocs.scad).pinocs.FCStd - Another FreeCAD file, this contains the models necessary to mount a RPi Zero and battery pack to a small, folding binocular system.
In the OpenSCAD files above (*.scad), I've commented the individual modules and parameter sets to make them easier to adjust.

/https://fbi.cults3d.com/uploaders/14655274/illustration-file/82fc5f3d-75df-4b02-af11-86c9e9d1e5e1/fe662e2122213a0b6e2f1cd51f41480c.png)
