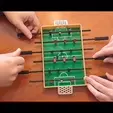
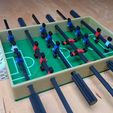
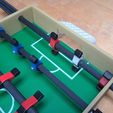
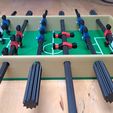
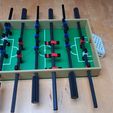
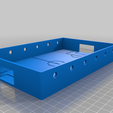
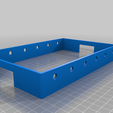
Maybe inspired by the World Cup going on I decided to make a small mini table football game.
I made my game reds against blues but you can make yours the way you like, featuring your team and biggest rival, like in my case Benfica vs Porto.
I made this model to fit (barely) to most print beds (sorry Prusa Mini) with a little less than 220mm width, and also I have a single color (you can still change color mid layer) and a mmu version.
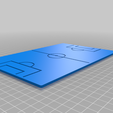
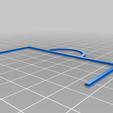
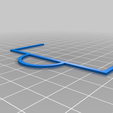
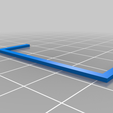
For the Single Color edition you have to print the field lines in separate and glue it in the field.
The first time you play in this mini foosball you might feel the sticks a bit "lazy" but after a while they will be better with some use. You can also enlarge the side holes a bit if you prefer.
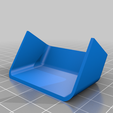
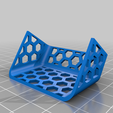
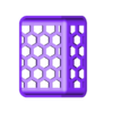
I have include two types of goal, since the hexagon net one is a bit of a print stress test, just in case you have trouble making it.
So that's it now for the printing instructions:
Material: PLA or PTEG (or similar…)
Layer Height: .2
Infill: 15%
Supports: Maybe for the field goal area. Tree supports work fine.
Change filament during print: Yes or MMU
Brim: Recommended for the field
Raft: No
All models are print ready oriented.
Print 1 Color:
2xArea 1C.stl
2xBaliza.stl or 2xBaliza_hex.stl (Goal)
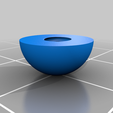
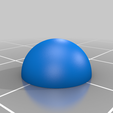
Bola B.stl, Bola C.stl and Parafuso.stl (this make a ball, print as many as you want)
2xPArea 1C.stl
1xCentro 1C.stl
1xCampo.stl (Color switch to made the field and the sides with different colors)
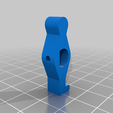
6xHandle.stl
8xJogador1.stl (Team color scheme A)
8xJogador1.stl (Team color scheme B)
2xJogador1.stl (Team color scheme Goal Keeper)
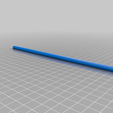
6xRod.stl
Print MMU (only the field is available, the rest require layer switch):
White: Area1 mmu.stl + Area2 mmu.stl + Campo 1 mmu.stl + Campo 2 mmu.stl + Centro mmu.stl
Green: Campo 2 mmu.stl
Any you like: Campo 1 mmu.stl
The rest is the same as 1 color:
2xBaliza.stl or 2xBaliza_hex.stl (Goal)
Bola B.stl, Bola C.stl and Parafuso.stl (this make a ball, print as many as you want)
6xHandle.stl
8xJogador1.stl (Team color scheme A)
8xJogador1.stl (Team color scheme B)
2xJogador1.stl (Team color scheme Goal Keeper)
6xRod.stl
Assemble Instructions:
Materials: 18 Screws M2.5 8mm and glue
Step 1:
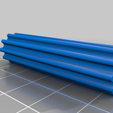
Glue the rod to the handle. The Rod with a H in the side should be the one to connect to the handle.
Do this for all handles/rods.
Step 2: Insert the rod in the field and test the movement. If the movement is not fluid enlarge the hole a little until you have smooth movement.
Step 2b: This step is only for single color prints. Test fit the lines in the field and see if they fit properly. If they do glue them together. If not some sanding might be required (sorry).
Step 3: With the rod half inserted in the field, insert the 3 players in the rod. Make sure they are correctly oriented. Repeat until all player are in the respective rods.
Step 4: Align the players with the holes in the rod and screw them (literally).
Step 5: Glue the goals with the field.
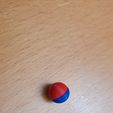
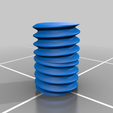
Step 6: Balls! The balls are made by 2 halfs and a screw. The screw have a turn left side and a turn right side, so if it doesn't fit in the ball rotate the screw and try the other side. Working properly the two sides of the ball should screw themselfs into place. This part doesn't require glue, unless you decide the screw isn't working for you.
Play tip:
I find it better to limit the game to one hand per player, and the other hand to hold the field in place. This way both player secure the field, and play without major earthquakes.
And that's it! Have lots of fun!
Ps: If you like this model and want to support me in a simple way, like, download and share this model with your friends.
Ps2: Also if you could do it in Printables.com (https://www.printables.com/model/330630-mini-table-football) so I can have access to the rewards program would be very generous on your side :)

/https://fbi.cults3d.com/uploaders/20720665/illustration-file/a42dfcde-7eb2-4466-a7a9-ea7bf8c42cca/matrecos2.gif)
