MyMiniFactory : https://www.myminifactory.com/fr/object/3d-print-99938
###Videos
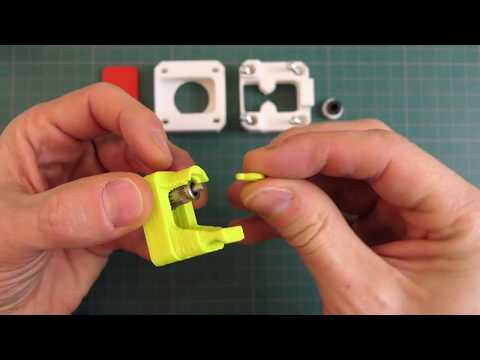
Notice d'assemblage/Assembly instructions : https://youtu.be/PDSPHNbxgoI
Principe / Principle : https://youtu.be/K5fC5n-m__4
- 31/08/2019 Upgrade :
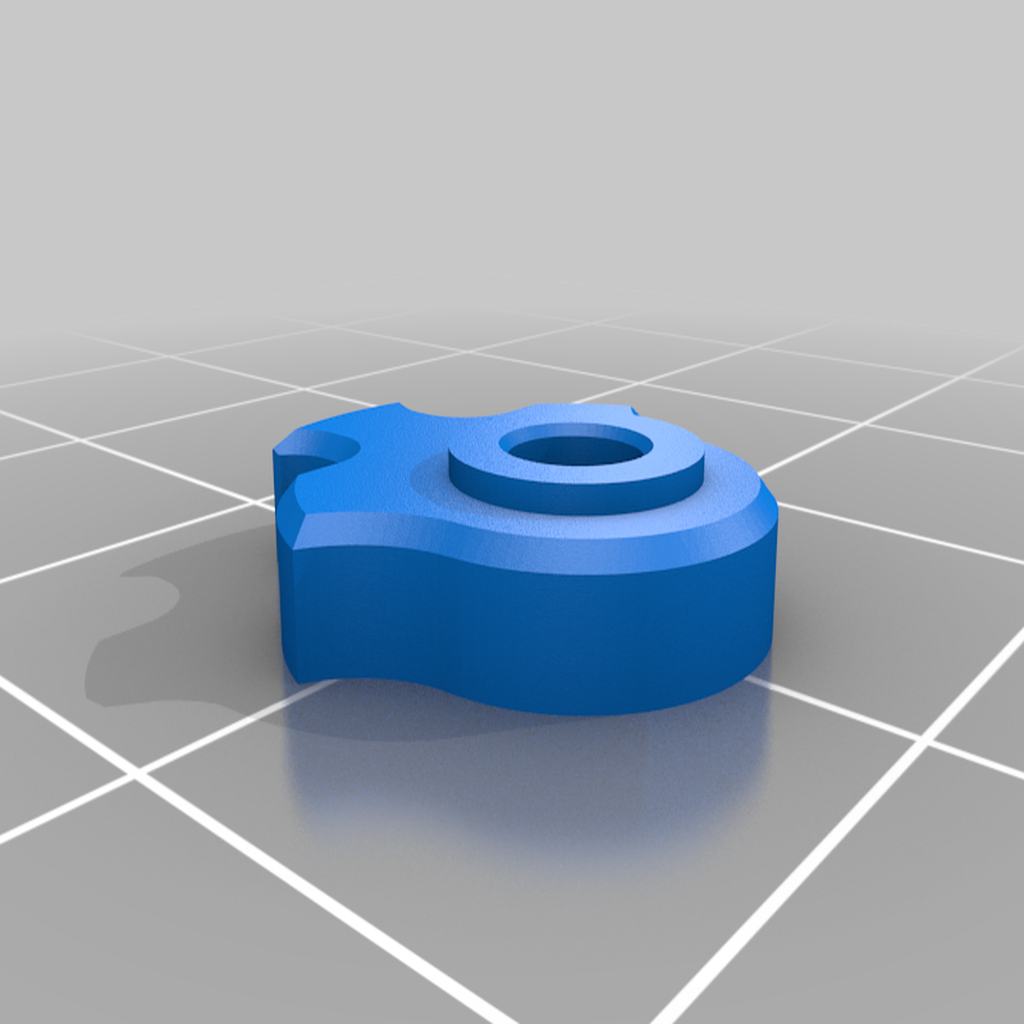
Fr : Amelioration de l'assemblage de la bague de maintien de l'axe de la roue crantée sur le chariot coulissant
En : Improved assembly of the notched wheel axis holding ring on the sliding carriage
--- Français (English below) ---
-> Cette pièce est un élément de l'imprimante 3D Delta pliable DeltaFold
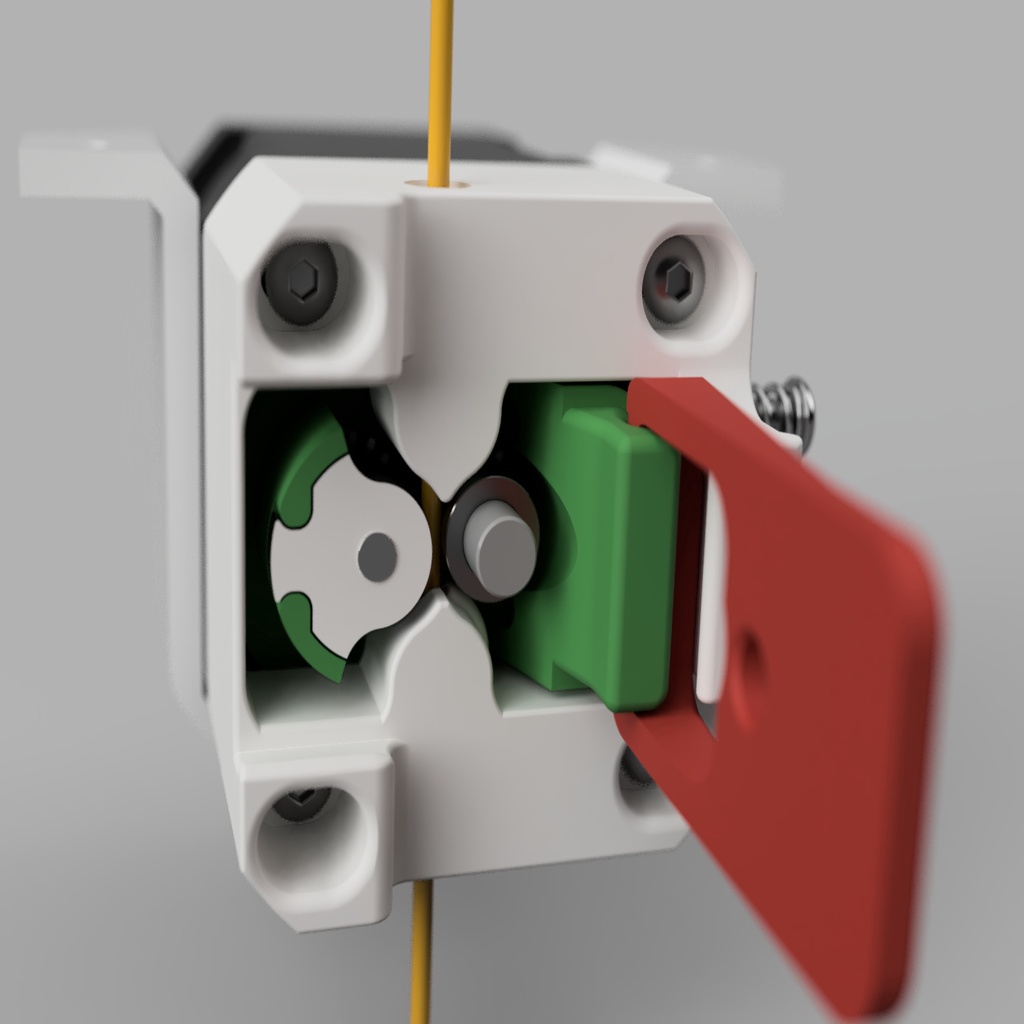
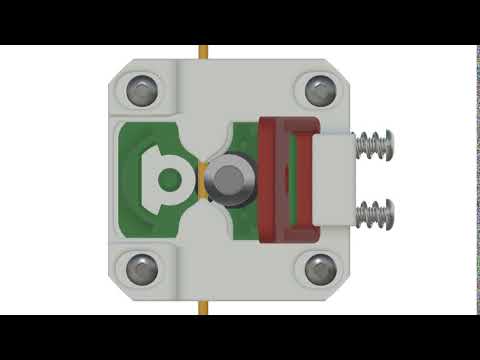
Le "Clap Extrudeur" tient son nom du bruit que fait son levier lorsqu'on le clips. L'avantage de ce modèle, c'est notamment qu'on a pas besoin de tenir un levier d'une main pendant qu'on essaie de charger le filament de l'autre. On peut se servir de ses deux mains... et c'est plutôt pratique ;)
Cet extruder est conçu pour les filaments 1,75mm et permet l'utilisation des filaments souples. Je l'ai conçue pour un montage de type bowden, mais rien ne vous empêche de l'utiliser avec un montage en direct feed.
Le réglage de la pression exercée sur le filament s'effectue par deux vis situés sur le coté du dispositif.
Les pièces sont conçues pour être imprimées sans support matériel. Le dispositif a été modélisé avec Fusion 360
La version du ClapExtruder présentée ici est celle équipée d'un entrainement à deux roues crantées. Il existe également une version avec une seule roue crantée de type MK8 que vous retrouverez ici (https://www.thingiverse.com/thing:2823957)
Liste des composants non imprimables :
* six vis à tête creuse six pans M3 x 20
* deux ressorts : diamètre intérieur 3,45mm, diamètre extérieur 4,8mm, hauteur 8mm
* un kit double roues crantées
* un raccord pneumatique incorporé ou un raccord à visser M6
* En option : deux écrous hexagonaux M4 si vous utilisez le chariot coulissant avec deux empreintes pour les écrous M4 (Extruder_DualGear_Coulissant_Nuts.stl)
Assemblage:
Regardez la notice d'assemblage vidéo !!
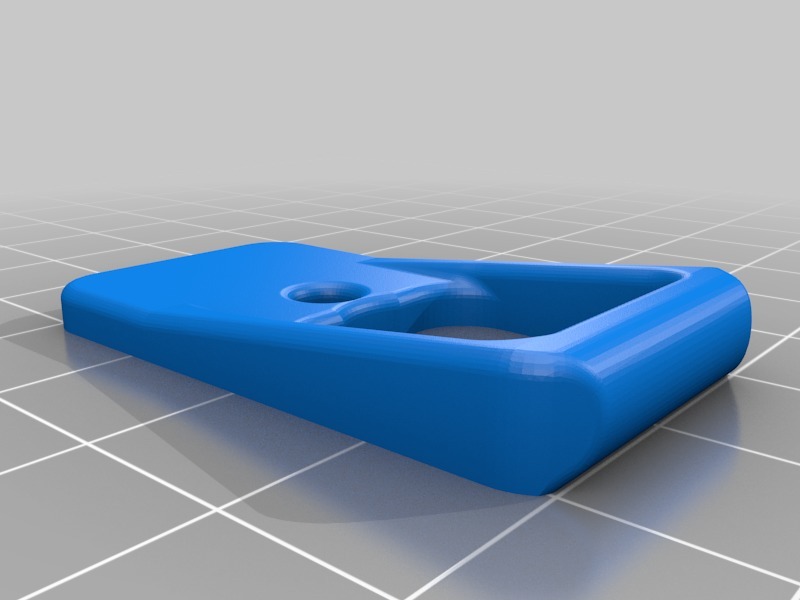
- Sur le carter coulissant (en vert sur la vidéo), montez l'axe en métal, les deux roulements à galets puis la roue crantée (celle qui n'a pas de vis sur le coté).
- Placez la bague au sommet pour maintenir l'axe en place
- Montez la seconde roue crantée sur l'axe du moteur et réglez sa position de sorte que le creux de la gorge de la roue crantée soit aligné avec l'axe de passage du filament
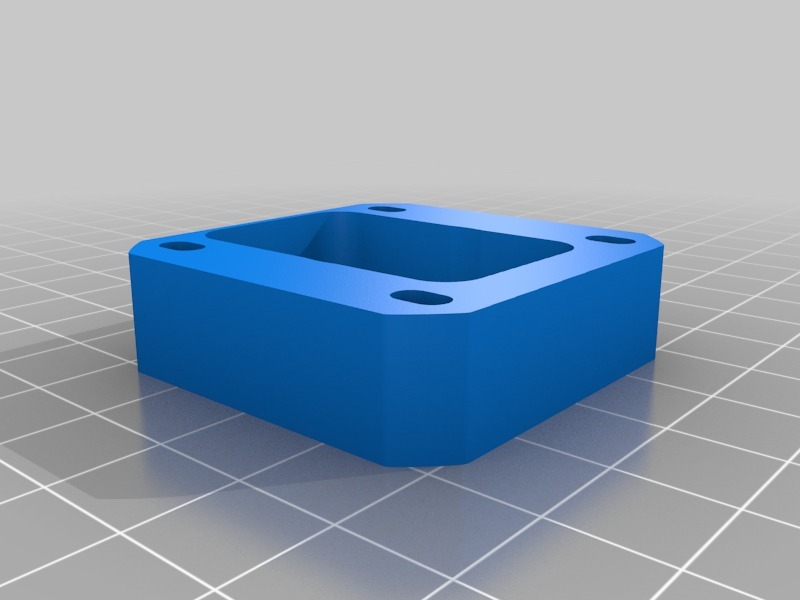
- Placez le premier carter (la semelle) sur le moteur
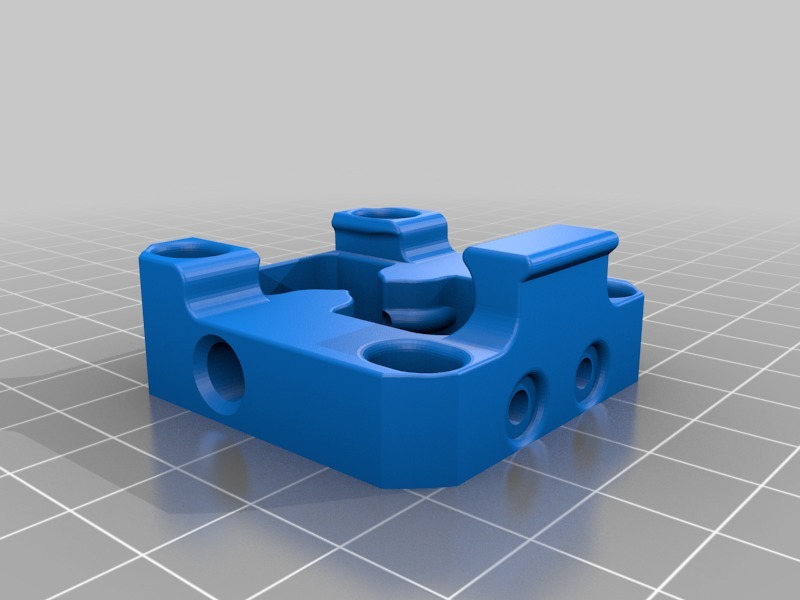
- Positionnez le carter coulissant à l'intérieur du premier carter
- Coiffez le tout avec le carter principal
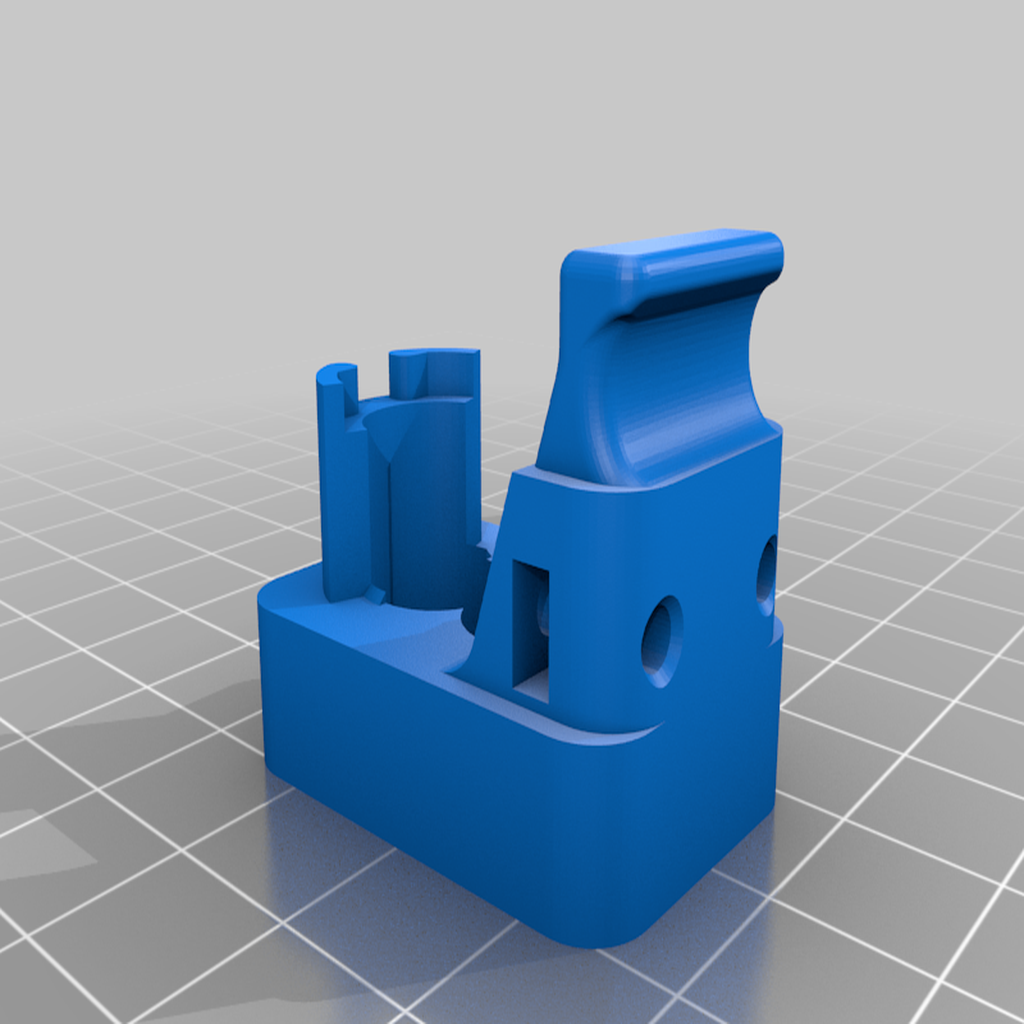
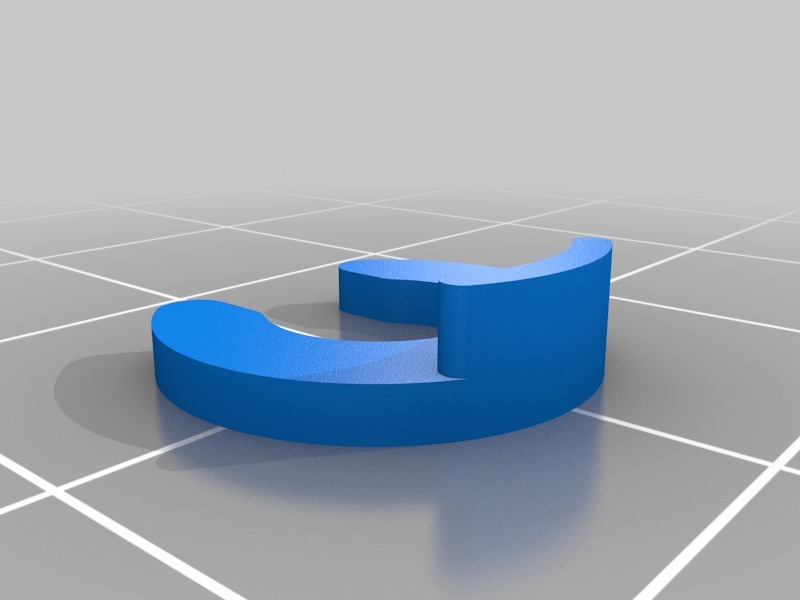
- Insérez le levier dans son logement et mettez-le en position "chargement du filament" (à la verticale)
- Approchez les quatre vis de fixation du carter sur le moteur sans les serrer
- Chargez un bout de filament dans l'extruder
- Faites maintenant coulisser l'extruder, jusqu'à serrer le filament entre les deux roues crantées, puis faites une petite marche arrière, juste assez pour libérer le filament. Dans cette position, le filament est libre et les roues crantées l'entourent de très près.
- Serrez les quatre vis de fixation du carter en maintenant cette position.
- Mettez le levier en position "entraînement du filament" (à plat)
- Positionnez les deux vis de tension avec leurs ressorts. Vissez-les alternativement jusqu'à ce que les têtes des vis soient à environ 5mm du carter.
- Si vous faites naviguer le filament, il doit maintenant entraîner le moteur. Si ce n'est pas le cas, ajustez le réglage des vis de tension ou la position de carter
En option, le cerclage pour moteur NEMA17 permets de fixer un moteur avec deux vis diamètre 3mm.
N'oubliez pas de poster une photo si réalisez ce montage, ça fait toujours plaisir :)
*--- English --- *
-> This piece is an element of the foldable Delta 3D Printer DeltaFold
The 'Extruder Clapper' takes its name from the noise made by the lever when it is clipped in. The advantage of this model is that you do not need to hold a lever with one hand while attempting to load the filament of the other. Both hands can be used... and it's quite practical;)
This extruder is designed for 1.75mm filaments and allows the use of flexible filaments. I designed it for a bowden mount, but nothing prevents you from using it for a direct feed installation.
The pressure on the filament is adjusted by two screws located on the side of the device.
Parts are designed to be printed without material support. The device has been modeled with Fusion 360
The ClapExtruder version presented here is the one equipped with a dual notched wheels. There is also a version with a single MK8 notched wheel that you will find here (https://www.thingiverse.com/thing:2823957)
Nonprintable components list :
* two springs : inner diameter 3,45mm, outer diameter 4,8mm, height 8mm
* one dual notched wheels kit
* one embedded pneumatic connector or an M6 screw pneumatic fitting system.
* Optional: two M4 hex nuts if you use the sliding carriage with two thumbprint for the M4 nuts (Extruder_DualGear_Coulissant_Nuts.stl)
Assembly:
See the video assembly instructions !!
- On the sliding cover (in green on the video), mount the metal shaft, the two roller bearings and the notched wheel (the one that does not have a screw on the side).
- Place the ring at the top to keep the axle in place
- Mount the second toothed wheel on the motor shaft and adjust its position so that the hollow of the throat of the toothed wheel is aligned with the axis of the filament passage
- Place the first carter on the NEMA motor
- Position the sliding cover inside this first carter
- Cover all of this with the main carter
- Insert the lever into its housing and put it in position 'filament loading' (vertically)
- Approach the four fastening screws without tightening them
- Load a piece of filament into the extruder
- Now slide the extruder up to tighten the filament between the two toothed wheel, and then back up just enough to release the filament. In this position, the filament is free and the toothed wheels surround it very closely.
- Tighten the four crankcase fixing screws holding this position.
Move the lever to the 'filament drive' position (flat)
Position the two tensioning screws with their springs. Screw them alternately until the screw heads are about 5mm from the housing.
If you navigate the filament, it must now drive the engine. If this is not the case, adjust the tension screw setting or crankcase position
As an option, the NEMA17 motor strapping allows to fix a motor with two 3mm diameter screws.
Do not forget to post a photo if you do this assembly, it's always nice :)
:format(webp)/https://fbi.cults3d.com/uploaders/12913395/illustration-file/36a6c6b0-ef5b-4715-bb7d-75c70e8b97aa/Dual_Gear_Extruder_2019-Feb-03_10-12-50PM-000_CustomizedView12545914528_jpg.jpg)


/https://preview3d-images.cults3d.com/9cshft5qyj1yju3yi832q7slq3nr)
/https://preview3d-images.cults3d.com/blohr5t5y9fbr4swjed2k20lf2ig)
/https://preview3d-images.cults3d.com/fkq4sz5h0shp2ub2zcwc3hup16n4)
/https://preview3d-images.cults3d.com/jdm2u1zzeoa7aqq4phfmma61b38g)
/https://preview3d-images.cults3d.com/1w6m6hk2ufkv1p07paex1t7jt140)
/https://preview3d-images.cults3d.com/swgl2vskh4wccu84pbshkzv768t8)
/https://preview3d-images.cults3d.com/5e4vcqs70gf4rl6zu9rg7n21df5x)
/https://preview3d-images.cults3d.com/qjt2ragdz6hj5idz0mssi5y9wkql)
/https://preview3d-images.cults3d.com/coio5ck22hwkniy2fqkv7lnx6fqs)


