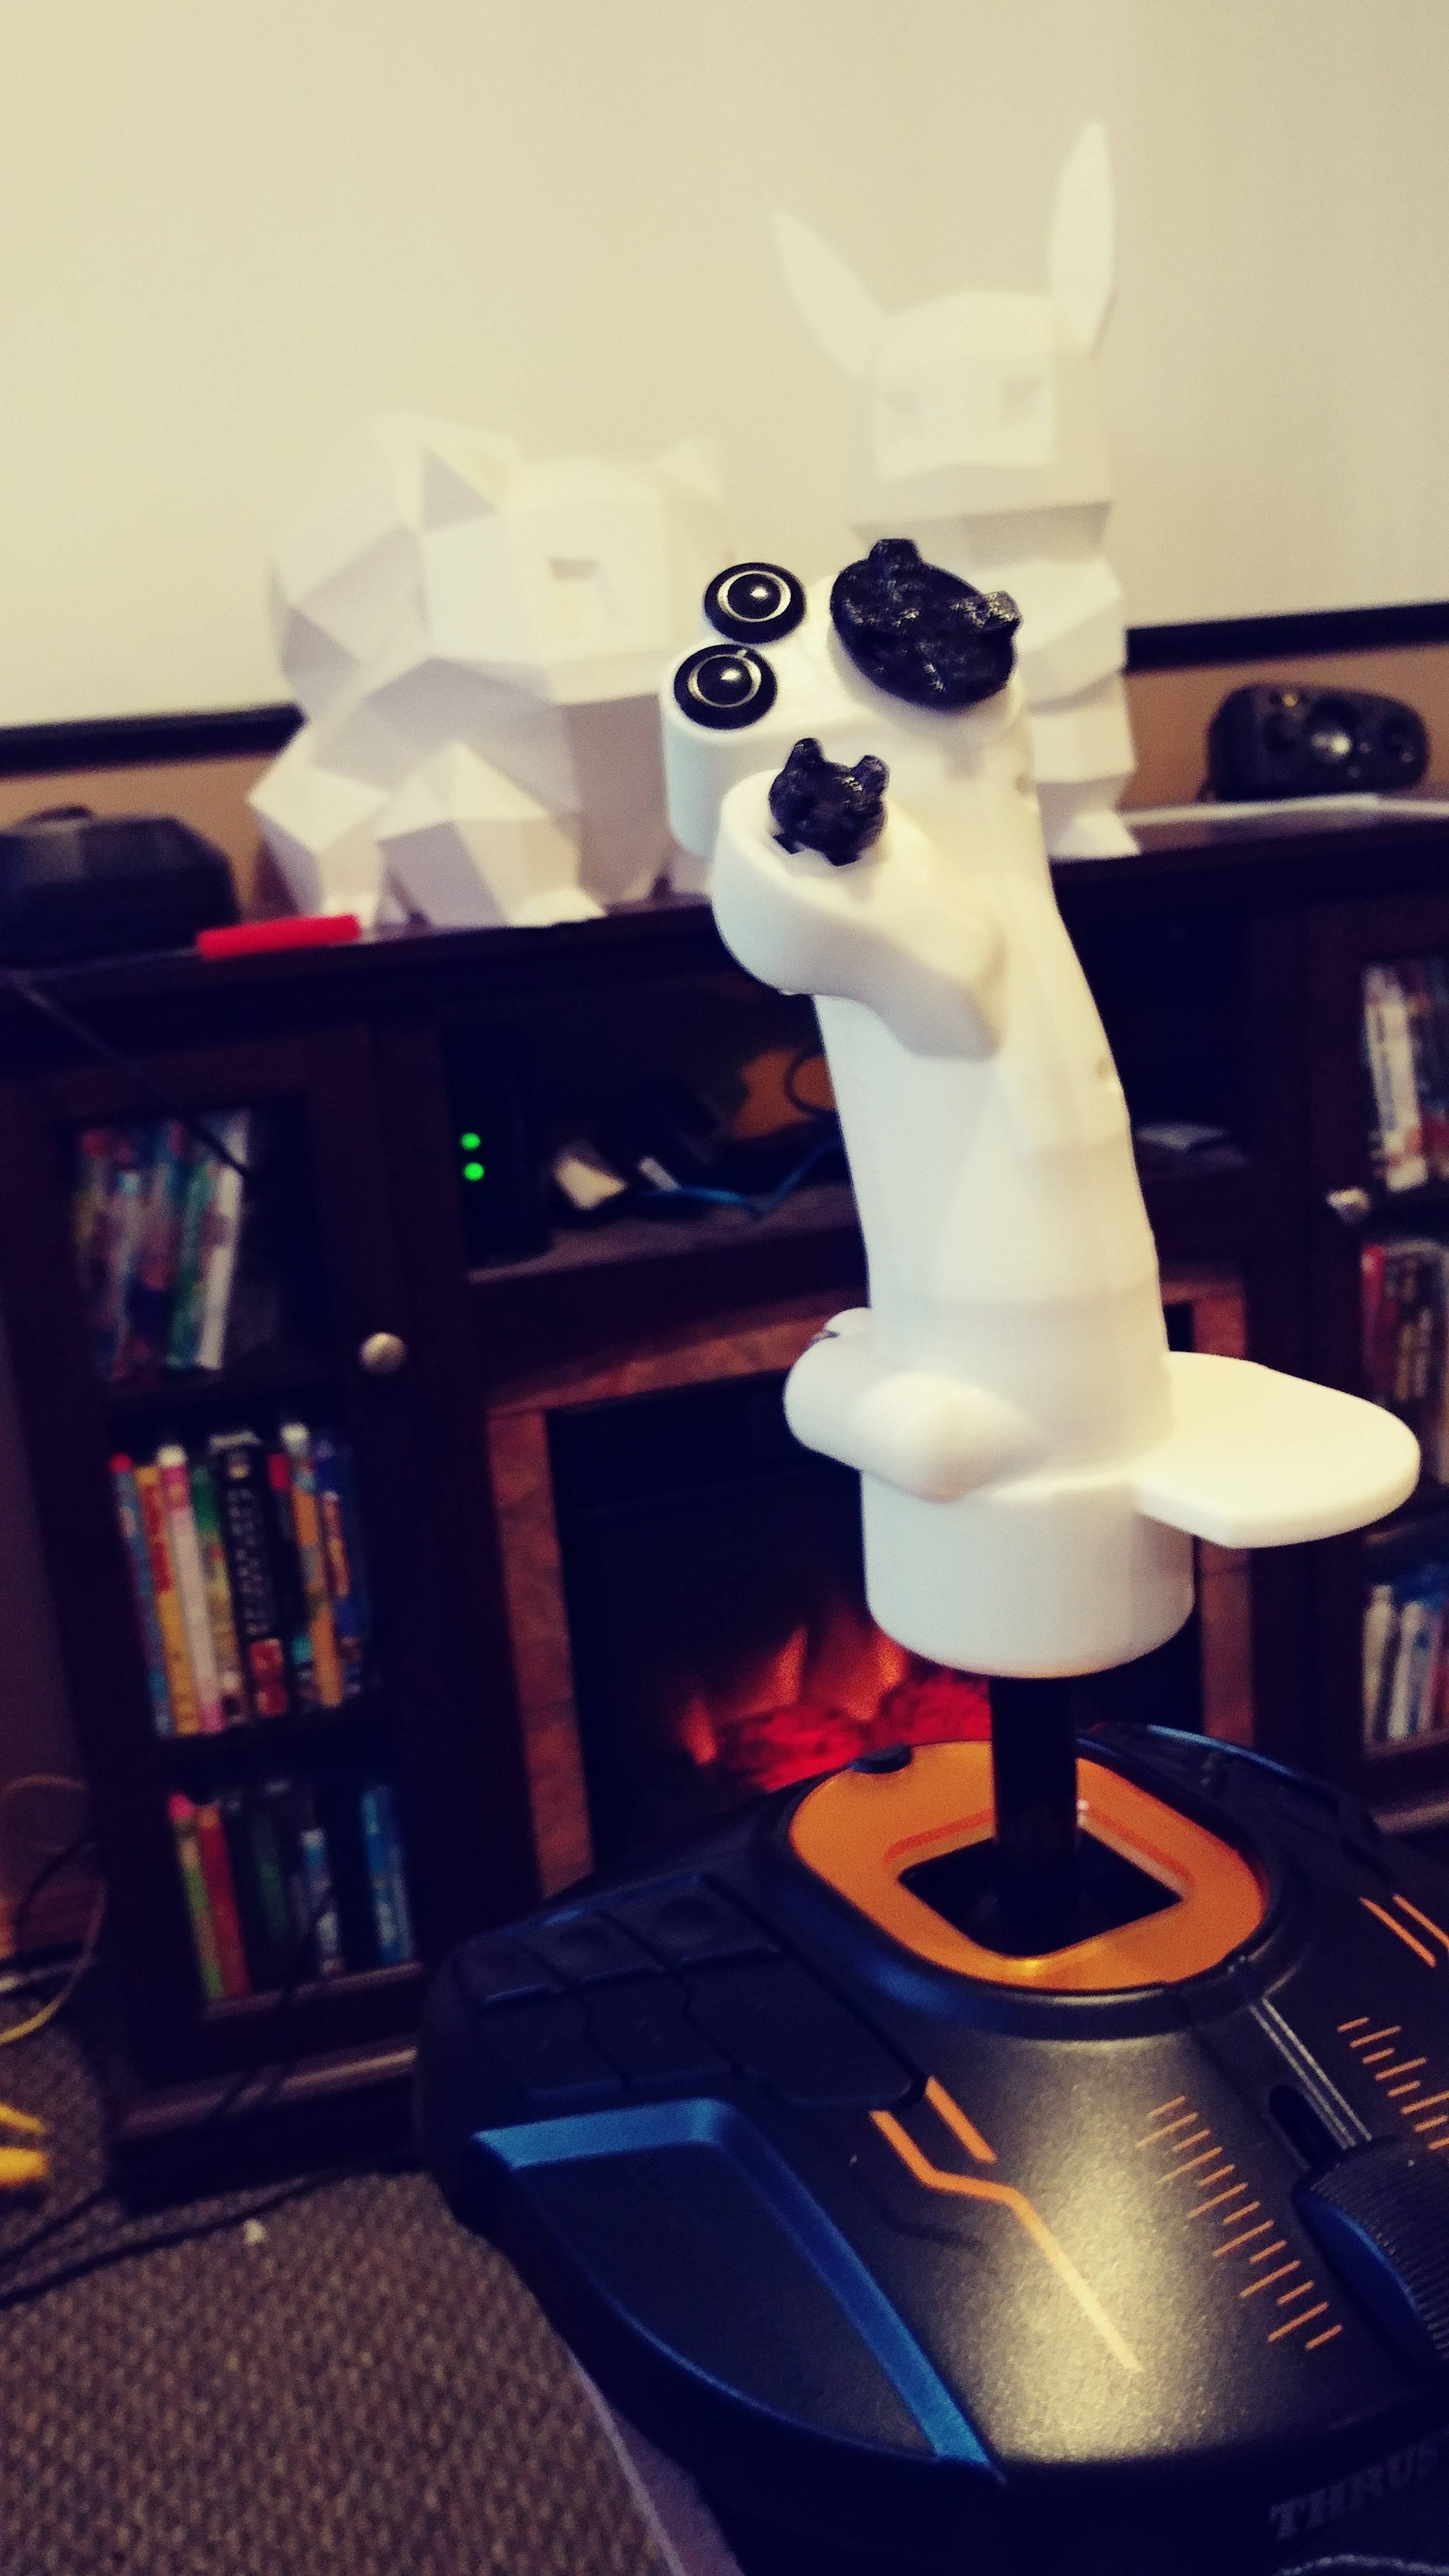
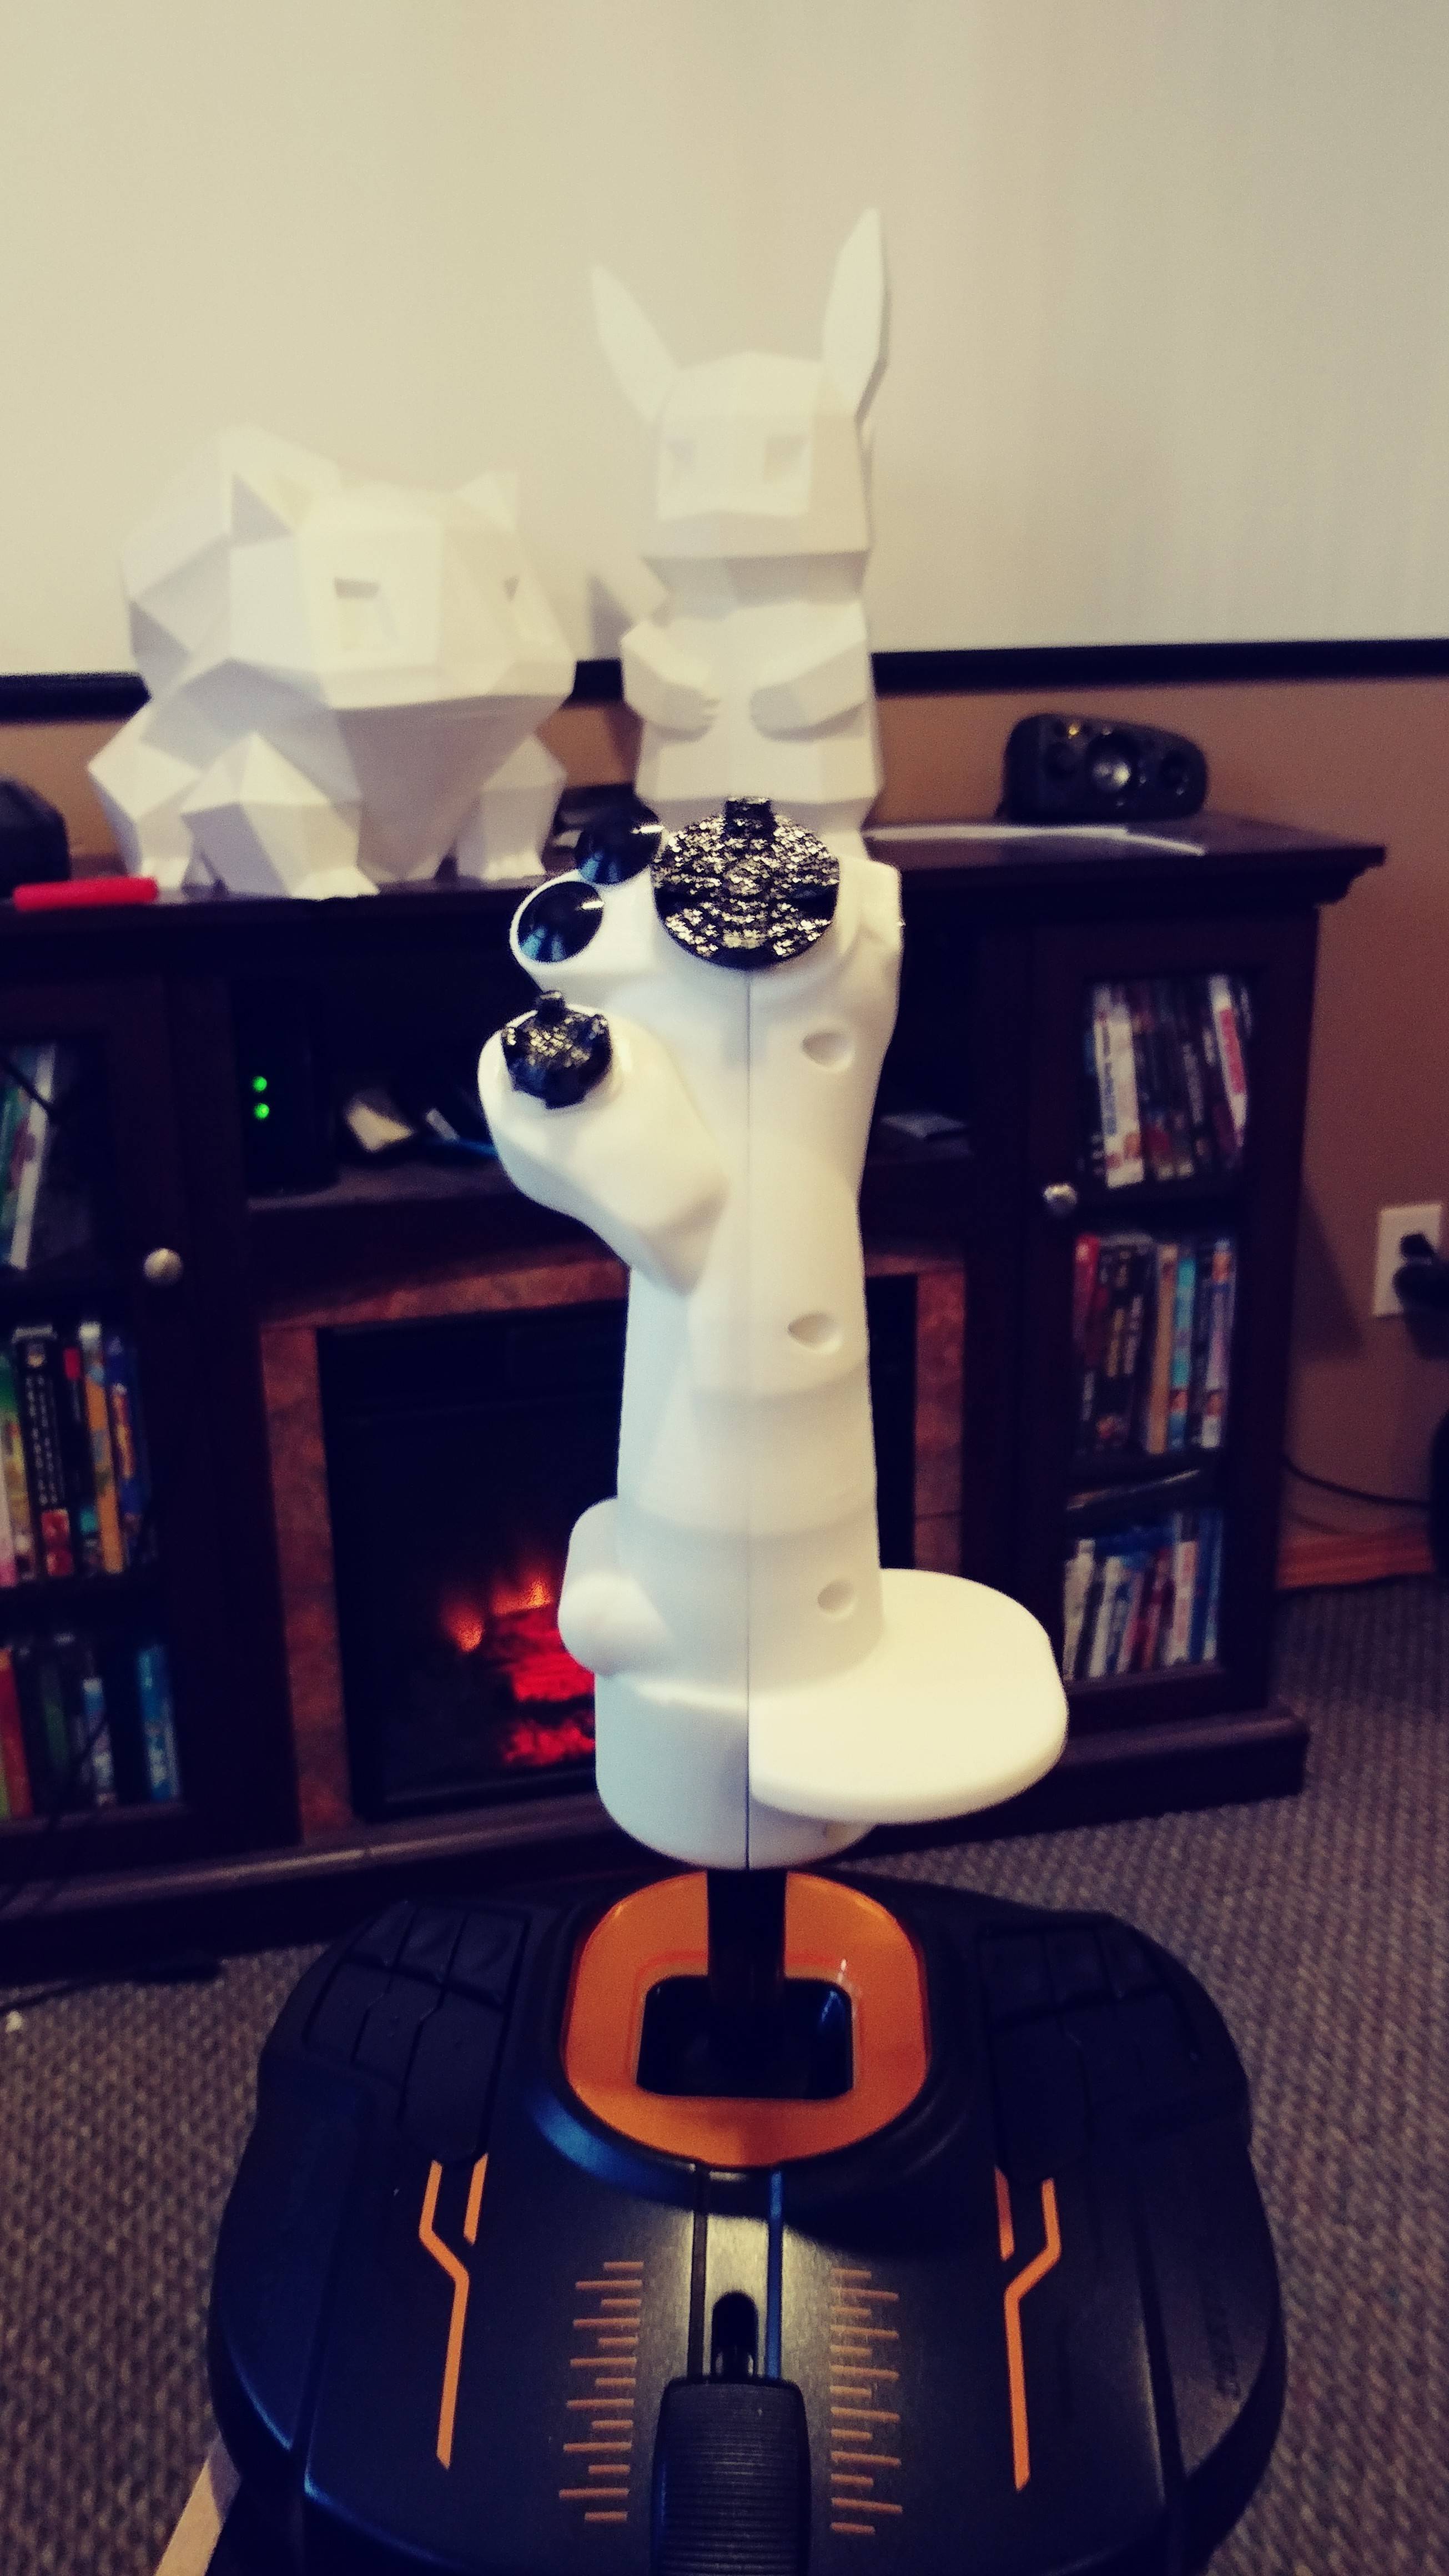
This joystick mod adapts all functions of the t16000m budget hotas flight stick to a more suitable form factor and integrates a number of the base buttons into the flight stick itself to make it more usable. The reason for this design is simply that the t16000m actually has a great gimble and is one of the few remaining joysticks with twist yaw (something I personally think is a must for joysticks) but the flight stick and button layout itself is absolutely god awful.
Originally I started with the b8 flight-stick model from @schrodingers_cat and modified in more buttons, made it bigger, hollowed out wire channels and started making it a fully functional joystick and ended up with what I've shared here.
I had a number of goals when starting this project. I wanted a two stage trigger, two hats, a pinky trigger/button, working twist yaw and quite a few more buttons than the original t16k. And I'm pretty proud to say I managed to accomplish all of them. The most difficult part was defiantly the two stage trigger but some trial and error later I finally achieved a design I'm quite happy with.
Photos of the CAD: https://imgur.com/a/W3PXM81
Photos of the final result: https://imgur.com/a/12VBn5L
Created a discord channel for anyone who has any questions about the project or assembly https://discord.gg/G7jQGGZ
hardware List
3x 12mm through mount push buttons (proud caps suggested)
9x 6mmx6mm tac switches
2x 6mmx6mmx8mm tac switches
1x Levered microswitch
1x piece of breadboard
1x 3-4.5mm spring (generic pen spring)
1-2x 5.5 mm spring (forney 72605 )
3x 45mm smooth collar m3 screw
1x 10-15mm m3 screw cut into stud
7x 10mm m3 screw
9x Brass m3 thread inserts
1x m3 stand off 10mmish
Assembly instructions:
Full disclaimer, this is not a plug and play swap. It requires a fair bit of components, a lot of fiddly soldering as there's not really room to have connectors so everything is soldered in place, and a fair bit of trial and error to set the dual stage trigger up. But I think the result is well worth the effort.
Printing is pretty simple, I recommend .2 layer height and 15% infill with 3 shells and you will need decent supports to print it.
Start by inserting the m3 inserts into the left side shell by heating them well on a long screw and pressing them into place, when the plastic hardens you are left with a solid mounting thread to attach both half's. You will also need to install two m3 threads into the right half for the trigger mechanism,
Since the new stick has many more buttons then the old stick we need to fetch those inputs from somewhere and since the t16k has 12 buttons in its base that are largely useless those piggy backing off those is quite easy. Just solder in some wires in place of the second board and run them up the shaft where the original wires were ran, it's tight but you can fish the wires through with a bit of effort. After that you can route the wires to there necessary locations on the new half using the left half attached to the stick as a template.
At some point when you have the base open your going to need to take the 4 screws holding the gimbal base plate out and shift everything 90* to the left. The yaw retainer spring should be pointing to the left side. This is just done to make room for the spring inside the model, so you will have to manually remap your axis's in each game unfortunately.
Assembly of the hats is simple, sand them so the tacs fit nicely and stick two legs out the bottom of the hat assembly. Solder in the grounds and then you can solder the positive leads, figuring out what wire goes were can be a bit trial and error if you didn't make a good wiring diagram before hand like I didn't. The lower hat has a open bottom and the upper hat has a closed bottom, pay attention that they go where there needed. Once wired in both hats just slot into place (minding the wires as best you can) and can be fully secured with a few dots of super glue.
Trigger group is a bit more complex, here's a few photos on how I positioned and wired everything. Keep in mind the board must sit in the trigger at an angle equivalent to the photo, if you don't the trigger arch will cause you to miss the endstop for the switches. I just used a bit of hotglue to secure the angle of the breadboard. Cut about 10-13mm of thread off a average m3 screw, and thread that into the corresponding brass thread on the right half, this will act as the endstop for the second stage of the trigger. You can use any old m3 standoff peg to set the endstop for the first stage. The trigger is technically capable of 3 stages but is incredibly fiddly so I never attempted it and don't recommend it. You can install the second tac or leave it empty you only really need it if you intend to use two springs or want to take a crack and making the 3 stage trigger work.
Wiring the right half and trigger group up is a bit tricky as it all has to be done in place with little room, good fucking luck, its a nightmare, but it is possible! Remember to make sure your trigger group wires are tucked up towards the top of the stick and do not bind when the trigger is actuated.
Once your halves are together you can just drop the hat caps in, they are removable and you can print different styles and sizes to your liking, liquid electrical tape makes a good grippy coating for the hats if you don't like the feeling of printed plastic.
The pinky trigger requires to two m3 screws with a smooth collar of about 20-5mm, chop all but about 5mm of thread off the end of the screw so you can create a nice sliding rail for the pinky trigger, add one or two pen springs to your liking and your good to go. Make sure the pinky buttons rail holes are smooth to insure a nice action and just tinker with spring size until you are happy with the result.
EDIT: Recent production of the t16000m Joysticks has changed slightly, new units are still fully compatible with my design with a small modification. New units have two small wings protruding from the shaft that don't exist on earlier versions of the joystick(see below image), these appear to be just a manufacturing by product with no use and will need to be removed in order for my joystick designs to mate up with the t16k shaft.
https://i.imgur.com/gLUgQju.png
:format(webp)/https://fbi.cults3d.com/uploaders/12979145/illustration-file/7ca765b9-bbfb-4b7a-849a-9ce353bd232a/5f7FiVZ.jpeg)


/https://preview3d-images.cults3d.com/sj19ik0xs175v9xt14hg4vhw7bdn)
/https://preview3d-images.cults3d.com/5d8hpruav7ugj4fz5xfbbaycuqsk)
/https://preview3d-images.cults3d.com/v56ytcpbuu1yuomtmtwugorvvtv8)
/https://preview3d-images.cults3d.com/6cg6i864e2076euga8djimuu5hjy)
/https://preview3d-images.cults3d.com/gfsoz64wucrb0pynomxr79mblzvj)
/https://preview3d-images.cults3d.com/hvhxcqxp3ooy66rblxpeossy1y8p)
/https://preview3d-images.cults3d.com/orjyt1w06fgki25zcqvcwdd4uodt)
/https://preview3d-images.cults3d.com/j6gpw95cfr30d5t04crfwuu0o8ej)
/https://preview3d-images.cults3d.com/0ylrzyxpgica6nfkasyibvj8h64t)
/https://preview3d-images.cults3d.com/48jrlgftolmbr34capswska3qwc4)
/https://preview3d-images.cults3d.com/0vg53zuyqz0in8oh3fgqlrzkv8fl)


