Skip to content

Mpcnc Primo Kress suction without xy loss

Advertising
?
Creation quality: 5.0/5 (1 vote)
Evaluation of members on the printability, utility, level of detail, etc.

  • 1.2k views
  • 6 downloads

License
3D design format
DXF and STL Folder details Close
  • Core_Clamp_Gelenk_v2.stl
  • Deckel Adapterl Absaugung.dxf
  • Deckel Adapterl Absaugung.stl
  • Deckel Unterteil Absaugung kurz.dxf
  • Deckel Unterteil Absaugung.dxf
  • Deckel Unterteil Absaugung.stl
  • Deckel kurz.stl
  • Halterung Absaugung.stl
  • Klemmbacken Absaugung.stl
  • Oberteil Absaugung.stl
  • Unterteil Absaugung kurz.stl
  • Unterteil Absaugung.stl

Learn more about the formats

Last update 2023-01-04 at 23:12
Publication date 2022-12-11 at 01:30
Design number 957220

Bulli78

3D printer file info

3D model description

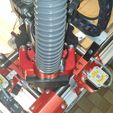
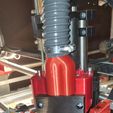
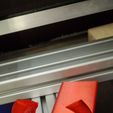
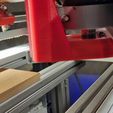
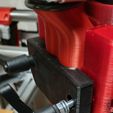
I didn't want to give away any travel because of the exhaust, so I looked for a gap and found it.

When I put the Mpcnc into operation , it was clear that I urgently need an extraction. I went online in search and chose this model:

https://www.thingiverse.com/thing:5239310

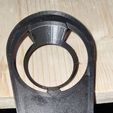
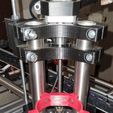
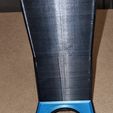
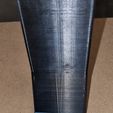
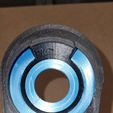
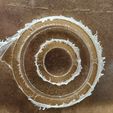
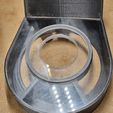
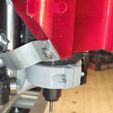
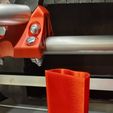
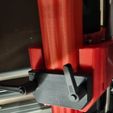
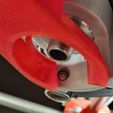
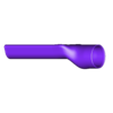
but when I printed the first parts, I realized that I would lose a lot of travel in one direction. I had to find another solution, which I present to you here. The core clamp I have taken from the link above, everything else was newly constructed by me. The maximum cutter diameter is about 35mm. Suitable for a suction hose with 40mm inner diameter. A Kärcher vacuum cleaner with a connection of ca.35mm outer diameter can be plugged in directly. I use this bracket for the engine:

https://www.printables.com/de/model/40842-mpcnc-primo-amb-1050-fme-43mm-tool-mount/comments

3D printing settings

Print:

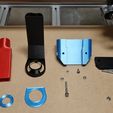
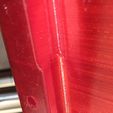
You can take PLA or Petg or whatever. Important is to set at least 2.5-3mm wall, bottom, and lid thickness. infill between 25-35%. The bottom part of the suction needs a support. All parts here were created without tolerance. with me it fit. The upper part of the suction was a little difficult to push onto the lower part. I warmed it up a bit with the hot air gun until it slid into place. The covers can be printed or milled out of a 2 or 4mm acrylic glass. You have to somehow make the third holder yourself. I made it from a piece of flat profile in aluminum 20x2mm in cross section. If you have any questions, go ahead. I wish you a lot of fun while rebuilding.

Here is another link with video of the part in action :

https://www.facebook.com/groups/MPCNC/permalink/5895671843862309/?sfnsn=scwspmo&ref=share

Advertising


Page translated by automatic translation. See the original version.
Issue with this design? Report a problem.

Would you like to support Cults?

You like Cults and you want to help us continue the adventure independently? Please note that we are a small team of 3 people, therefore it is very simple to support us to maintain the activity and create future developments. Here are 4 solutions accessible to all:

  • ADVERTISING: Disable your banner blocker (AdBlock, …) and click on our banner ads.

  • AFFILIATION: Make your purchases online by clicking on our affiliate links here Amazon.

  • DONATE: If you want, you can make a donation via Ko-Fi 💜.

  • WORD OF MOUTH: Invite your friends to come, discover the platform and the magnificent 3D files shared by the community!


Sharing and downloading on Cults3D guarantees that designs remain in makers community hands! And not in the hands of the 3D printing or software giants who own the competing platforms and exploit the designs for their own commercial interests.

Cults3D is an independent, self-financed site that is not accountable to any investor or brand. Almost all of the site's revenues are paid back to the platform's makers. The content published on the site serves only the interests of its authors and not those of 3D printer brands who also wish to control the 3D modeling market.

100% secure payment by credit card, PayPal, Apple Pay, Google Pay, etc.
View all payment options.