EDIT: Revision II is out. Simpler arrangement.
https://www.thingiverse.com/thing:4617873
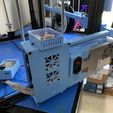
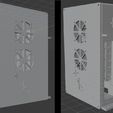
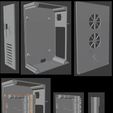
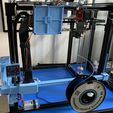
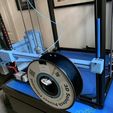
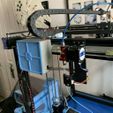
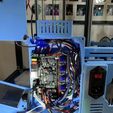
This is an amalgamation that grew as I worked on an upgrade for my X5SA Pro. I started designing the main board box, power supply support, and structure while waiting to receive my SKR 1.4 and peripherals from BTT. Once I received the items and began to understand other things needed, I expanded the design. Using items I had already printed and working around them. It became more work of art over functionality. While still keeping the functionality in it. I "finished" the design to a point where everything works and is safely enclosed. Now I plan on taking this design and reworking it for my other X5SA I am upgrading.
All parts were printed from PLA. As they are structure items with little exposure to heat or vibration. Parts can be printed from any non-flexible material.
I printed the parts on my older X5SA; that is in dire need of maintenance too. Hence the Z-banding seen on many items. Now that I have upgraded this printer, the next revision of parts will be much smoother :)
Feel free to use any or all of it for your own purposes. A lot of items can be utilized in other applications. A full breakdown is covered below:
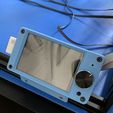
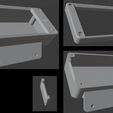
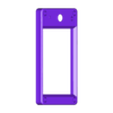
TFT 35 Case:
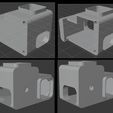
Simple case, similar to the many out there. Has mounting bracket and holes to mount to standard 2020/2040 rails at bottom of printer frame; facing upward.
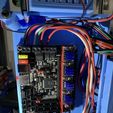
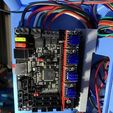
SKR 1.4 Turbo Board Box:
SKR 1.4 Turbo has same dimensions as SKR 1.4
STL of SKR 1.4 Board was provided by chrstrvs https://www.thingiverse.com/thing:4329049. (Don't need to print.)
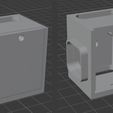
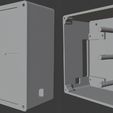
Box was designed to attach to support shelf below. And attach to power supply support on side.
Front panel cover was made to glue on as I was not sure of final design. I do not recommend using current front panel design without modifying MicroSD access as it is currently too tight.
Cooling fans bolt to lid and lid bolts to box using M3 screws and nuts.
Wire guide fits under SKR 1.4 board. Held in place with same bolts for board. Used to keep heater and power supply wires away from sensor and stepper motor wires.
Power Supply Mount:
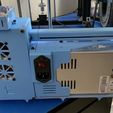
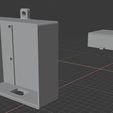
Included STLs I made of power supply and power switch (don't need to print). Power supply is sized from Tronxy S-360-24 model that came with the printer. Power switch is sized from switch that came with printer; recommend verifying sizing for your parts.
Power Supply bracket originally designed to be mounted with the long side on bottom. At the last minute I inverted it to move the entire assembly to other side of printer and have power switch on outside. Instead of remodeling and printing a new bracket, I added a small support piece to fit between the power supply and support stand.
Rails: (Don't need to print)
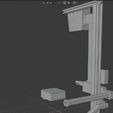
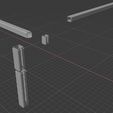
Included rails in my modeling to show exact locations of various parts. I included a 2020 and 2040 STL in the files so that others can use them in their own modeling.
Stand (Shelf):
Attaches to 2020 bottom rail with three bolts in side and one in top tab. Use standard T Nuts and bolts.
Various cutouts in design to allow for wire routing and my printer's Z Motor assembly. For standard X5SA Z Motor assembly, you will need to modify cutout or manually cut the printed shelf.
Buck Boxes:
Separate boxes designed to hold 2 Buck Converters each.
Kept them separate from main box as you may or may not need them depending on the power supply/fans used.
Sized for the type Buck Converter I used. Check your specific dimensions.
Breakout Box and Ribbon Cable:
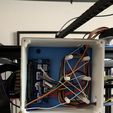
My model X5SA and X5SA Pro both came with the individual Breakout Boards on top and bottom of assembly. (Later models have an integrated Ribbon Cable connection directly on main board.)
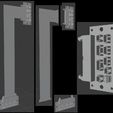
I modeled and included STL's for the Ribbon Cable and Breakout Boards for assembly mock up. (Do not print these.)
I wanted to re-use this ribbon cable for two reasons. First, it made for a neat assembly look with a single pass through cable. Second, it provided a common connection location for all hotend wiring at the top of the machine. Going forward, I will likely forego the ribbon cable/breakout boards and simple provide a box to have quick disconnects for the wires.
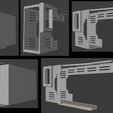
Channels (wire channels/conduit/connection points)
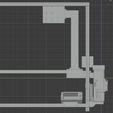
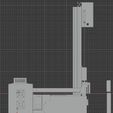
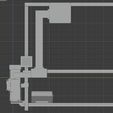
Included these as I like to hide/protect all wiring. Main parts identified from included picture are as follows:
1) Channel Box 1. Small connection box on far side of printer. Acts as an anchor point for long Channel on back side.
2) Channel Box 2. Acts as an anchor point for all Channels from main wire run. Also a mounting location for bottom Breakout Board. Has two lids for separate sections to aide in passing wires through. Also,three connection points to 2040 riser bar for stability and strength.
3) Channel Box 3. Connection point for bottom Channels. Provides pass through point for heater wires to route separately from signal wires.
4) Channel End. Anchor point for Channel leading in to Board Box.
5) Angled Channel End. Anchor point for Angled Channel leading to bottom of Board Box.
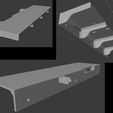
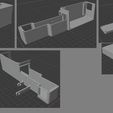
6) Angled Channel. Channel route for heater wiring. Made from two pieces due to angle. Can print both face side up without support. Tabs included to help alignment when glueing together.
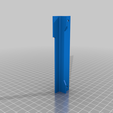
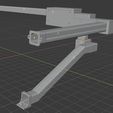
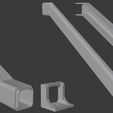
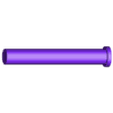
7) Channels (Conduit). Designed with an open grove across entire length to make routing wires easier. Five different lengths used (25, 50, 100, 200, & 380mm). STLs for each included. Can easily modify length to fit need. All use same end connections.
- Top Box:
Mounting point for top Breakout Board.
Provides location to hide excess wire length. Included 6 post to wrap wires around. (I use rubber bands for ease of holding them in place.)
Included STL's of box with and without post. Depending on your printers setup (i.e. if you have stringing issues) you can print the one without post. Then print 6 post and glue them in. Or just leave them out if you don't need/want them.

/https://fbi.cults3d.com/uploaders/14619916/illustration-file/3a8adb3d-ee5c-4789-b27f-ec2fa62f8aec/101_Full_1.jpg)
