Skip to content

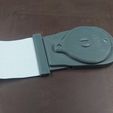
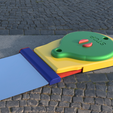
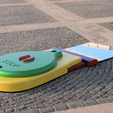
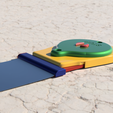
LevelMouse slim

Advertising
Advertising
?
Creation quality: 5.0/5 (1 vote)
Evaluation of members on the printability, utility, level of detail, etc.

  • 2.2k views
  • 5 likes
  • 2 downloads
  • 1 collection
  • 3 makes

License
3D design format
ZIP Folder details Close
  • LevelMouse.zip

Learn more about the formats

Publication date 2022-12-25 at 21:25
Design number 977854

3D printer file info

3D model description

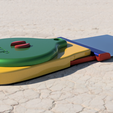
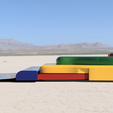
Successor to the LevelMouse

https://cults3d.com/en/3d-model/tool/levelmouse

Now easier to print and without support material.

Everyone knows it - nobody likes it.

The bed on the 3d printer must be well leveled. Of course, there are now sensors for auto bed leveling. - Nevertheless, the better the mechanical leveling beforehand, the less the ABL has to compensate or the print can be started immediately without ABL.

Unfortunately, many sensors do not function reliably at higher bed temperatures and have considerable tolerances.

Older 3D printers do not yet have an ABL.

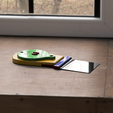
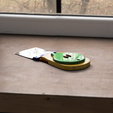
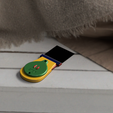
This is where our LevelMouse comes into play. Bed leveling has never been so easy.

After reading in forums time and again - despite auto bed leveling - that many errors still occur during bed leveling, no feeler gauge, no subjective perception of when the feeler gauge "scratches easily, is free" is required here.

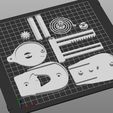
Only 2x M3x6mm cylinder head screws are required.

The download of the LevelMouse slim also includes the Levelmouse :)

Added two different clamping parts for 0.05mm and 0.1mm feeler gauge plate.

The 0.05 version is recommended when using a checkout slip.

Otherwise the bed level works as usual:

Heat the print bed and nozzle to print temperature

Screw the print bed down so that the nozzle does not touch the print bed.

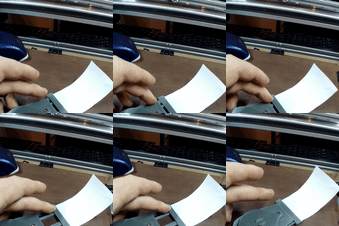
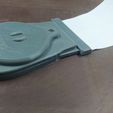
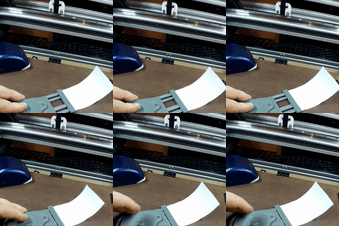
LevelMouse slim underneath. Screw the print bed upwards until the feeler gauge is clamped.

Clamp the LevelMouse.

Screw the print bed down until LevelMouse is released.

Done. Bed is leveled to the dimension clamped in the LevelMouse.

Receipt or feeler gauge plate up to max. 57mm width can be used.

Tip: If the paper does not hold, simply fold it once to make it thicker and then insert it into the slot.

The feeler gauge plate can be provided with a small edge.

During installation, make sure that all moving components can move freely and do not catch.

If the mouse sticks after tightening the two screws, loosen them a little. It is and remains plastic, which tightens under pressure.

Assembly video:

https://youtu.be/3xU_qgDg65A

Application example:

https://youtu.be/eNdAxgBSkKM

3D printing settings

At least the bottom.stl should be printed from at least PETG - better ABS.

The spring must be made of PLA

First layer: 0.2mm

Layer height: 0.2mm

Infill: max. 10% the less mass, the better :)

Material used: PLA nib!!!

Otherwise: PETG, ABS

Advertising


Page translated by automatic translation. See the original version.
Issue with this design? Report a problem.

Would you like to support Cults?

You like Cults and you want to help us continue the adventure independently? Please note that we are a small team of 3 people, therefore it is very simple to support us to maintain the activity and create future developments. Here are 4 solutions accessible to all:

  • ADVERTISING: Disable your banner blocker (AdBlock, …) and click on our banner ads.

  • AFFILIATION: Make your purchases online by clicking on our affiliate links here Amazon.

  • DONATE: If you want, you can make a donation via Ko-Fi πŸ’œ.

  • WORD OF MOUTH: Invite your friends to come, discover the platform and the magnificent 3D files shared by the community!


Sharing and downloading on Cults3D guarantees that designs remain in makers community hands! And not in the hands of the 3D printing or software giants who own the competing platforms and exploit the designs for their own commercial interests.

Cults3D is an independent, self-financed site that is not accountable to any investor or brand. Almost all of the site's revenues are paid back to the platform's makers. The content published on the site serves only the interests of its authors and not those of 3D printer brands who also wish to control the 3D modeling market.

100% secure payment by credit card, PayPal, Apple Pay, Google Pay, etc.
View all payment options.