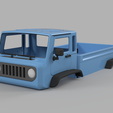
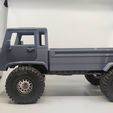
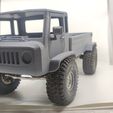
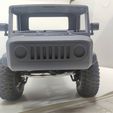
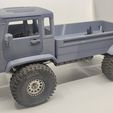
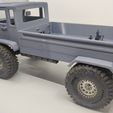
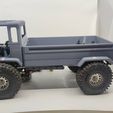
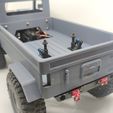
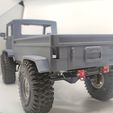
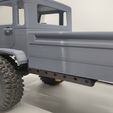
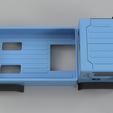
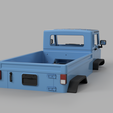
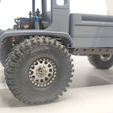
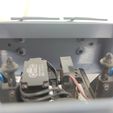
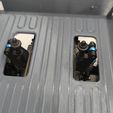
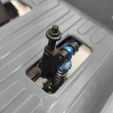
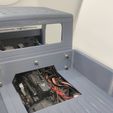
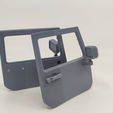
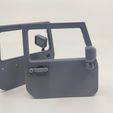
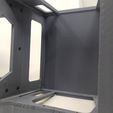
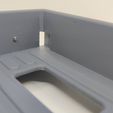
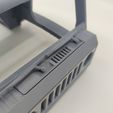
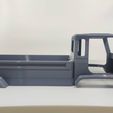
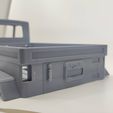
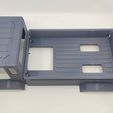
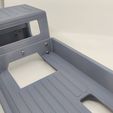
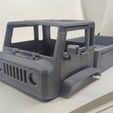
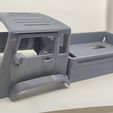
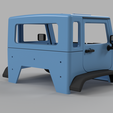
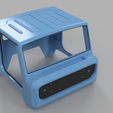
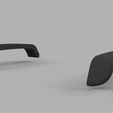
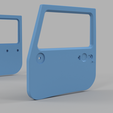
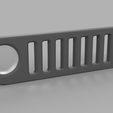
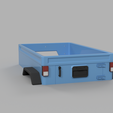
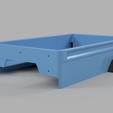
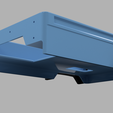
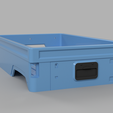
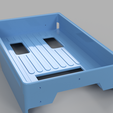
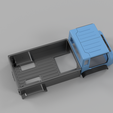
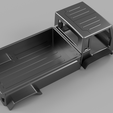
The Crawler FC Body took very heavy inspiration from the Mighty FC Concept, in a slightly modernized form.
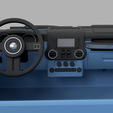
*UPDATE: Dashboard with steering wheel now added! A new cab designed with mounting holes is also provided. *
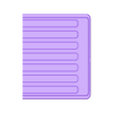
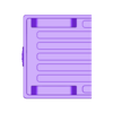
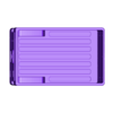
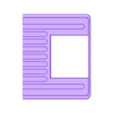
To mount the dashboard to your existing printed cab, please do the following:
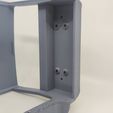
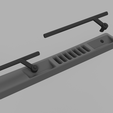
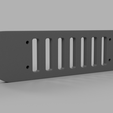
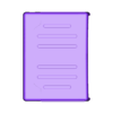
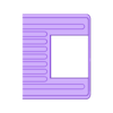
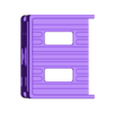
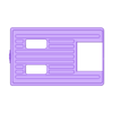
Print the provided drill guide plate, remove the original front grille, place the drill guide into the grille slot, and drill through the body using a 3mm drill bit, countersink the hole from the grille side. Countersinking can be done with a countersink bit (or a ~8-10mm drill bit by hand).
The following hardware are required:
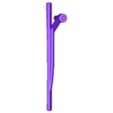
- 2x M2*5mm socket head screws to mount the steering column to the dashboard.
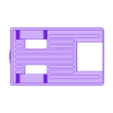
- 2x M3*10mm countersunk screws to mount the dashboard mounting plate to the dashboard.
- 2x M3*15mm countersunk screws to mount the dashboard mounting plate to the body.
- 1x M3*10mm grub screw to mount the steering wheel to the steering column.
UPDATE: .DXF files for all windows are now available for download here: https://www.aheadrc.com/dxf-files
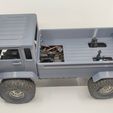
With high amounts of detail and shaping, the body is made to look as realistic as possible, and is designed for the standard 313mm or 12.3in wheelbase of 1/10 scale RC crawlers. However it can be printed without the bed for custom wheelbases and builds. Please keep in mind an FDM printer with a build volume of at the very least 185*185*145 is required.
Optimized for printing, the cab and bed comes in a variety of included options.
Cab:
- Cab cut version (Roof is separated from cab for less supports while printing, saves more time and filament)
Cab full version (roof and cab are 1 piece, looks more clean when assembling, but uses dramatically more supports and requires much longer print times)
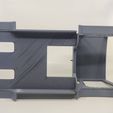
Cut version (has an opening on the rear wall to clear the transmission.)
Bed:
- Flat version (This is specifically designed to fit on a flat ladder chassis such as the RC4WD Beast ii. The bed’s floor is at ground level.)
Cut version (This is the flat version but with shock tower and transmission clearance holes cut in, takes away the hassle of having to cut the body yourself.)
Cut and raised version (The floor is now raised by 20mm and is designed for use with a curved profile ladder chassis. This option will best fit typical 313mm crawlers such as the Axial SCX10, Vanquish VS4-10, Traxxas TRX-4 (further modifications will be necessary to mount the body to the chassis.)
Fenders (standard rear fenders for the flat version, and the cut version. “Cut and Raised” version uses a different version of the fenders with the matching name.
Split versions (Allows to print the front and rear half of the bed separately for printers with volumes of no less than 160x195x70mm
Front grille:
LED version (allows you to fit a 5mm LED into the headlight socket in the grille.
Non LED version (no hole socket for LED)
Hardware required:
11x M3*10mm Countersunk
18x M2*10 Socket head
6x M2*5 Socket head
5x M3 Nylon Lock nuts
Assembly instructions:
Cab:
For the separated roof and cab version, simply sand flat the points that join the roof to the cab. Line up the points and use superglue to bond the roof to the cab
Wiper grille fits loosely in the slot, it is recommended to superglue the wiper grille to the slot in the cab. Wipers can be press fitted into the holes in the wiper grille, and does not need superglue.
Front grille can be mounted with the use of 4x M3*10mm countersunk screws. Grille lenses can be just super glued in place.
Fenders are mounted to the body with a total of 10x M2*10mm socket head screws
Door:
Mounts onto the cab with a hinge or super glued shut
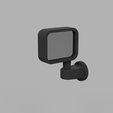
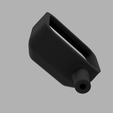
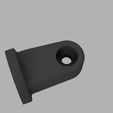
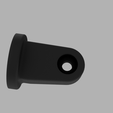
Mirror assembly; Put the mirror’s stub in the mirror mount hole, it should be a light press fit so take note of which side of the mount is correct. Use a M2*5mm socket head screw to secure the mirror from the bottom of the mount. (DO NOT OVERTIGHTEN)
Wing mirror assembly can be mounted on with a M3* 10mm countersunk screw on each door
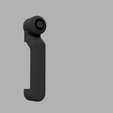
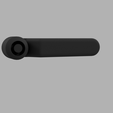
Door handles can be mounted on with 2x M2*5mm socket head screws on each door. The door has indented grooves to help assist with mounting the door handles.
Bed:
The front half or full bed can be mounted to the body using 5x M3*15mm countersunk screws and 5x nylon locknuts.
If a half bed is printed, it is recommended to superglue the two halves together.
Fender can be mounted on with either 2 or 3x M2*10mm socket head screws on each side, depending on the version printed.
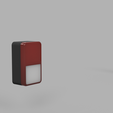
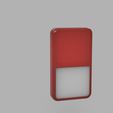
Tail lamps are a press fit into the slot in the rear of the bed. Use super glue to mount if tail lamps feel loose. Lenses can also be super glued onto the tail lamps.
Rear door handle is secured with either 1x or 2x M2*10mm socket head screw, depending on the version printed.
Rear mock hinges can be super glued on into their slots.
All files are compressed in a .zip folder, and are also separated to allow for browser 3D viewing.
Should you need any help, please do not hesitate to contact us!

/https://fbi.cults3d.com/uploaders/22584811/illustration-file/e8b37263-8aba-4ec3-842b-848ca006c09f/Jeep-FC-Concept-1.png)
