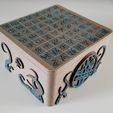
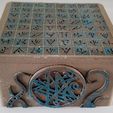
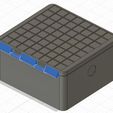
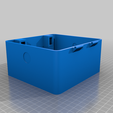
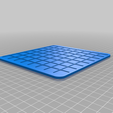
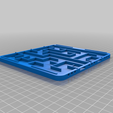
I lost all my documentation so from scratch and alas less detailed.
First off, this is a remix of juangrs' box which I liked but though I could do better and saw this as a good fusion 3D exercise. Hence EVERYTHING has been created from scratch but based on the design of juangrs with some changes like:
- fully closed lid (so the magnet cannot leave the lid!)
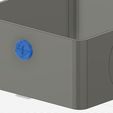
- print in place magnets in the side circles
- tighter lock
- indents for the circles
- print in place hinges (well at least for the bottom part)
- print in place shafts (with supports)
- easier assembly.
Most notably I've extended the puzzle with additional material, I created an excel sheet so you could create your own maze system but that one got lost in the grand clean up, maybe I remake it and upload it.
ASSEMBLY:
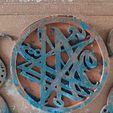
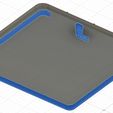
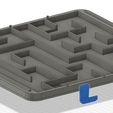
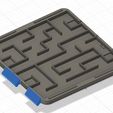
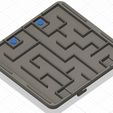
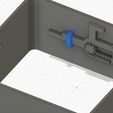
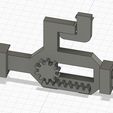
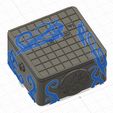
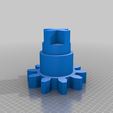
you can have a look at the doc that juangrs created but ill add some pics which shows what goes where. I was trying to prevent glue altogether...but that was one bridge too far. E.g. the tiles need to be glued or they fall out. Same for the lock holders, the inside magnets, the gear in the big circle and the tentacles. The top hinges might not be needed same for the entire lid assembly although I ended up using a heated pen to close the gaps. You can also use glue.
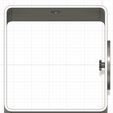
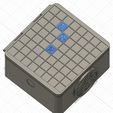
Have a look at the assembly pictures (also in the pdf) the blue parts are glued (except for the magnets inside the maze).
STAINED LOOK:
thats a trick I learned from the cthulhu idol dice tower:
- Everything is printed with wood filament (not really required but I liked to try it). Except for
- The tiles
- The circles
- The tentacles
- The gear (although in retrospect I would suggest using petg as the teeth tend to break!!)
After assembly (so when the box is finished). Get a bucket fill the bottom with vinegar and then add salt until it does not dissolve anymore. With a cloth apply the acid-salt mixture to the copper parts (just rub it on) then place the entire box in the bucket (but NOT let it touch the acid mixture), cover the bucket with wrapping plastic (or something else transparent) and place it in the sun! Effect takes place varying from a few hours to a few days.
MAGNETS
The magnets I've used are 2mm x 10mm and can be bought at Amazon. Be sure to have the neodynium magnets (rare earth) as they need to be strong.
There are two mazes: left and right and thus the circles left and right and the bolts left and right should have to right polarity. Also you should make sure that the magnet in the left maze has opposite polarity then the one in the right maze.
The way I did it was to start with the print in place magnets in the left and right circles.
Print these in cura at 0.2 and add a script:
menu-> extensions-> post processing -> modify G-code -> add script -> pause @ height.
Setting:
- pause at 'layer number'
- pause layer: '12'
The printer will stop at layer 12, then you can put in the magnet and resume printing.
Assembly_9 shows the 'right side circle' (left and right can be ambiguous but now you know what I mean).
- Place the magnet in it as described above.
- When you assemble the lid make sure that the maze on that side of the box (so where the circle is) has a magnet in it that is ATTRACTED by that magnet when you place it on top. When you place the circle on the lid it should pull the magnet inside up.
- When you place the magnet in the bolt on that side also make sure that it is ATTRACTED by that magnet when you place it on top.
- The magnet on the inside of the box should attract the circle magnet so it remains in place.
I hope this makes sense.
TILES
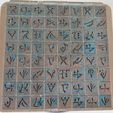
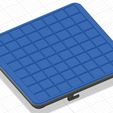
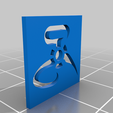
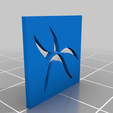
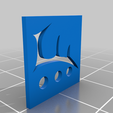
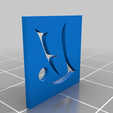
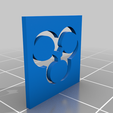
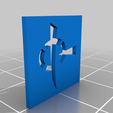
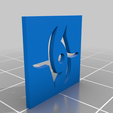
The tiles need to be placed in the same way as in the photo!! This means that you do NOT need to print all the tiles!! And that some tiles you need to print multiple times!
The tiles and the occurance of them you need to print are:
a 6
b 2
c 1
d 4
e 6
f 1
g 2
h 3
i 2
j 0
k 1
l 1
m 0
n 7
o 8
p 1
q 1
r 3
s 2
t 5
u 3
v 0
w 1
x 1
y 3
z 0
SOLVING THE PUZZLE
In order to solve the puzzle you require the
Alphabet Key.docx
The paths of abdul al hazred.docx
files. I wanted to upload pdfs but that aint working here....
Good luck!

/https://fbi.cults3d.com/uploaders/13903269/illustration-file/c7c9748b-fbae-4ff4-9611-e731ee93b8cf/Picture_2.jpg)
