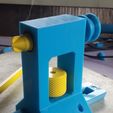
WARNING: This project is a work in progress. Although the winder is already working, it still has some quirks that needs to be improved.
For your own personal use only.
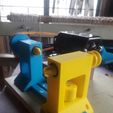
I am an amateur weaver with very limited budget. All of the equipments, tools, are all DIY, except for the metal reed. Until now i have been using my power drill to wind thread or yarn onto my bobbins. While the power drill works, it also has some issues. It was quite tiring to hold the trigger. If i use higher speed, the bobbin wobbles. So why not print a bobbin winder? So far I am quite satisfied with my build. The speed is much higher, im not scared that i might damage my drill, i can use both hands to control the winding.
The 3d printed winder may not be as durable compared to its wooden/metal counterparts but i built it cheap, just a tiny fraction of the commercially available branded models in the market. If the parts worn out, i can easily print replacements. I think with proper use, the winder can last for a very long time.
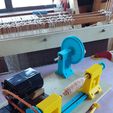
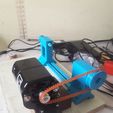
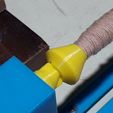
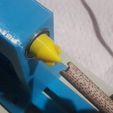
This double-ended bobbin/ pirn winder is used to wind thread or yarn onto a shuttle bobbin or pirn for weaving. I used a sewing machine motor attachment (the one with the pedal control) to power the winder. A belt drive connects the motor to the wheel.
All the parts and motor must be properly assembled on a solid board. Make sure to provide provisions to adjust the tension of the belt. The tension should not be too tight or too loose.
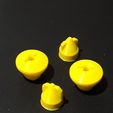
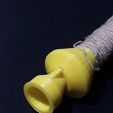
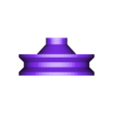
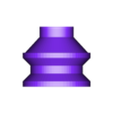
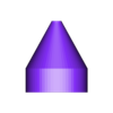
I use a custom bobbin ends which have slots similar to a camera film spool to fit the winged-cones. This prevents the bobbin will from slipping during operation. The ordinary cones have a tendency to slip and gets damage. When mounting the bobbin, provide a very very small gap for the bobbin to move around. Over tightening the bobbin, may cause the cones to unscrew from the bolt. You may download the bobbin on my page for free. The slotted bobbin ends are included here.
I can also use my diy bamboo bobbins I cut from thin bamboo reed plant. I just file notches on both ends of bobbin so the wings on the cones will fit. Please let me know if you have issues with the bobbins that you use. May be we can work out something, like making customized bobbin ends.
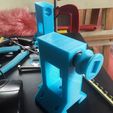
The post included in this model is the recent version with four feet so you can also mount it on the rail sideways. This may open possibilities for other functionalities in the future
You will also need the following parts
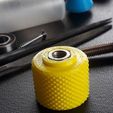
*Bearing (4 pcs)
Item type: 6800 2RS / 6800 DD
DOUBLE RUBBER SEALED
RUBBER SHIELDED BOTH SIDES
Dimension in millimeter (mm):10x19x5
Inside diameter: 10mm
Outside diameter: 19mm
Thickness: 5mm
1pc M6 Hex bolt (30mm length) with hex nut and washer
13pcs. 3mm diameter flat head screw (length 20~25 mm)
1 unit sewing machine motor attachment or equivalent.
Additional bolts, screws, depending on how you will mount parts.
1pc plywood for the base, atleast 350mm x 220mm x 20mm
*1pc small block of wood to mount the motor.
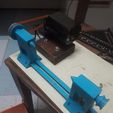
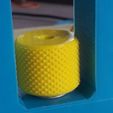
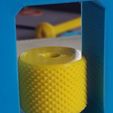
The post that connects to the motor must be fixed in place with screws. The other post should be free to slide smoothly along the rail. You may need to lightly sand the parts to get a good fit. A hex bolt with knob is used to lock the post on the rail.
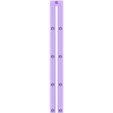
The rail is only 250mm long because that is the longest i can print safely with my bed, and i had to print it diagonally.
Only one post need to go to the rail but make sure the two posts and rail are all aligned when mounting to the board, and your bobbins will fit between the two posts.
Please send me a dm or comment if you have any questions or suggestions. You can also follow me at Instagram: @anssgarden.
Thank you.
Youtube:
https://youtu.be/RwNiJjsYjgQ
Yarn winder used with itomaki:
https://youtu.be/MtezQ5UG8Bo

/https://fbi.cults3d.com/uploaders/20992080/illustration-file/49e9565c-66b5-416f-98b2-9a81ba9efd8e/20221127_111322.jpg)
