3D model description
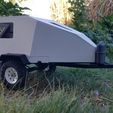
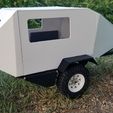
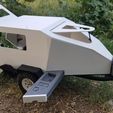
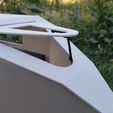
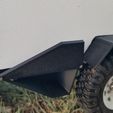
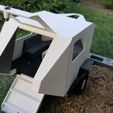
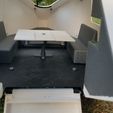
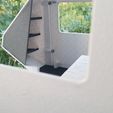
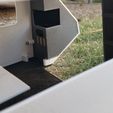
This model is roughly 1/9-1/10 scale and loosely based on an Australian off road camper trailer. You will need an assortment of M3 screws as well as a few M3 grub screws (I will try to round up a specific list), an M3 threaded rod end (I used Vaterra rod ends as thats what I had laying around), a set of leaf springs (probably just the main leaf) with the cheaper longer shackles (RC4WD brand shackles may limit suspension travel), a trailer axle (Ebay and Aliexpress is a good place to source these you will need one that is 182mm hex to hex or 167mm tube end to tube end), and a set of wheels and tires with an O.D. of approximately 85mm. This model was designed to fit on the bed of an Ender 3 and most of the parts are support free with only a few needing minimum supports.
Assembly:
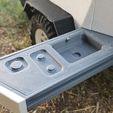
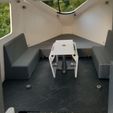
Start by installing the rod end into the hitch and then assembling the front and rear sections of the chassis, I recommend the use of glue as well as screws at this joint and to lay the chassis upside down on a flat surface as the glue cures to ensure the chassis remains straight. Next, install the ramp and leaf springs as the screws for these will soon become inaccessible. Next glue the Sink Stove into the Kitchenette and slide the assembly into False Floor A then install the Kitchenette Stop (if it's not a tight fit glue it in place carefully so as not to get glue on the kitchenette drawer) into False Floor A. Screw the Table Props to the Right and Left TBL Wing and then screw the Wings onto the Table Top (you must use a grub screw for the hinge on the side of the Table Props or else they won't work properly) then screw the Table Top assembly onto to Table Base. Once the glue on the chassis has cured, install Floor A and Floor B onto the chassis, then install the table assembly and glue the kitchenette assembly in place (be careful to only get glue on False Floor A and NOT the kitchenette drawer). Next assemble the sides, 3 pieces each (A, B and rear corner), then glue the Outlets, Power Controller and TV Shelf into the Power Wall and install the Power Wall and Shelving Unit into the Rear Corners and set them aside. Install the Latch and Latch Knob into the Rear Hatch and install the Rear Hatch to Roof A (tighten enough to provide a bit of friction to help hold the hatch open when desired). Next install the Roof Hatch Prop to the Roof Hatch and install Roof Hatch into Roof B then assemble Roof A, Roof B and the Nose together. Next assemble the sides to the roof assembly, set False Floor B into the front section, keyed into the mounting bosses and set the top portion down onto the chassis assembly. Screw the top portion to the chassis and when you get to the screws near the front, make sure the screws tighten into the holes in False Floor B to hold it down, this should be flush with False Floor A and is intended to be the place for a mattress. After the main assembly, insert the benches into place and screw them in, then screw the Tank Mount to the chassis along with the Tank Holder, glue the Valves into the Tanks and finally Screw the Tanks in place.
If you have fitment issues, contact me and i will try to help you sort them out, also check back here as I may be adding additional files at some point. (a purchase of this set will ensure you get all future updates just contact me for the separate files at that time) Enjoy!
3D printing settings
File format is mainly 3MF with a few also in OBJ for ease of resin printing. No special settings required, use your preferred filament and or resin settings. I printed mine in PLA+

/https://fbi.cults3d.com/uploaders/16642360/illustration-file/9c0a5944-a2d3-4968-8a06-f69a5b5b0ccc/284053612_390897809476571_2117114557826154125_n.jpg)
