Skip to content

2008-2014 Subaru WRX/STI Wireless Charging Mod

Advertising
Advertising
?
Creation quality: 5.0/5 (1 vote)
Evaluation of members on the printability, utility, level of detail, etc.

  • 3.7k views
  • 4 likes
  • 12 downloads

License
3D design format
SCAD and STL Folder details Close
  • 2012_STI_Wireless_Charging_Mod.scad
  • 2012_STI_Wireless_Charging_Mod_part_1.stl
  • 2012_STI_Wireless_Charging_Mod_part_2.stl
  • 2012_STI_Wireless_Charging_Mod_part_3.stl

Learn more about the formats

Publication date 2022-06-20 at 23:02
?
Published to Thingiverse on: 2022-06-20 at 06:32
Design number 761185

3D printer file info

3D model description

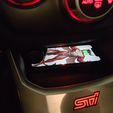
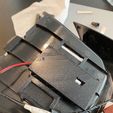
QI Wireless Charging Mod for 2012 Subaru STI

Built around (this wireless charging pad)[https://www.amazon.com/UUMAO-Wireless-Motherboard-high-Power-Transmitter/dp/B09B39Z3J1/ref=cm_cr_arp_d_product_top?ie=UTF8].

Application Notes:
For all printed parts, use a high temp plastic such as PETG - cars get hot.
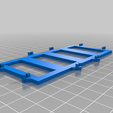
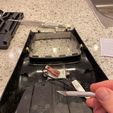
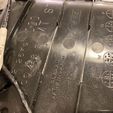
Device is secured in place by wedges that fit onto the plastic ribbing of the original Subaru center console part (part 1 to print). These are then glued in place using PETG compatible glue such as (acrylic glue)[https://www.amazon.com/gp/product/B003HNFLMY/ref=oh_aui_detailpage_o05_s03?ie=UTF8&th=1].

Foam tape is stuck to the magnetic back of the charging module to apply outward pressure from frame against back of charge mat.

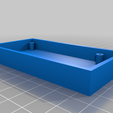
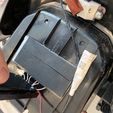
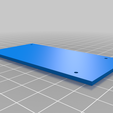
Box containing the electronics can be screwed together. 2mm self tapping screws can be screwed through the lid, holes in the PCB and into the lower case half. Ensure the blue LED is positioned in the hole and wires tucked behind circuit board. The box containing electronics can then be folded down and glued on top of the ladder frame assembly.

If car is used in a humid climate, it is recommended to spray
circuit board with electronics conformal coating. Or alternatively
use a compatible silicone to seal up the wire passthrough gap.

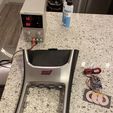
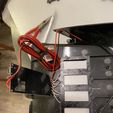
Once installing in car, you can access the 12v supply for the cigarette lighter (accessory) power. It is located behind the radio bezel / HVAC controls. You can use wire splice connectors to tap into the Yellow/Green and Black wires on the 4 pin connector (i24 in service manual). It is clipped into the dash plastic center immediately behind the HVAC module. Once disconnected, I routed the wires down under the cigarette lighter to have space to install the splice connectors. Wrap everything in tape and install optionally a disconnect (e.g. bullet connectors) to be able to take out the center console in future easily.

3D printing settings

-

Advertising


Issue with this design? Report a problem.

Would you like to support Cults?

You like Cults and you want to help us continue the adventure independently? Please note that we are a small team of 3 people, therefore it is very simple to support us to maintain the activity and create future developments. Here are 4 solutions accessible to all:

  • ADVERTISING: Disable your banner blocker (AdBlock, …) and click on our banner ads.

  • AFFILIATION: Make your purchases online by clicking on our affiliate links here Amazon.

  • DONATE: If you want, you can make a donation via Ko-Fi πŸ’œ.

  • WORD OF MOUTH: Invite your friends to come, discover the platform and the magnificent 3D files shared by the community!


Sharing and downloading on Cults3D guarantees that designs remain in makers community hands! And not in the hands of the 3D printing or software giants who own the competing platforms and exploit the designs for their own commercial interests.

Cults3D is an independent, self-financed site that is not accountable to any investor or brand. Almost all of the site's revenues are paid back to the platform's makers. The content published on the site serves only the interests of its authors and not those of 3D printer brands who also wish to control the 3D modeling market.

100% secure payment by credit card, PayPal, Apple Pay, Google Pay, etc.
View all payment options.