Skip to content

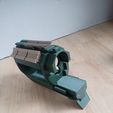
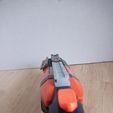
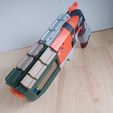
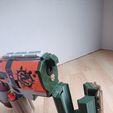
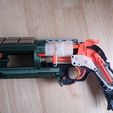
Break Action Nerf Hammershot Mod (BASH)

Advertising
Advertising
?
Creation quality: 5.0/5 (1 vote)
Evaluation of members on the printability, utility, level of detail, etc.

  • 6.5k views
  • 20 likes
  • 22 downloads

License
3D design format
STL Folder details Close
  • B.A.H slide.stl
  • Barrel Right Rail.stl
  • Barrel Right and Left rail.stl
  • Barrel left Rail.stl
  • barrel no rail.stl
  • cylinder no spring.stl
  • front v2.stl
  • frontplate short.stl
  • sear v4.stl
  • spinner Cam.stl

Learn more about the formats

Last update 2022-07-22 at 16:40
Publication date 2022-06-24 at 17:53
Design number 764462

Ks007

3D printer file info

3D model description

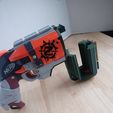
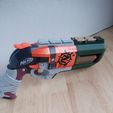
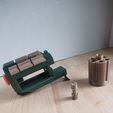
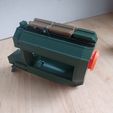
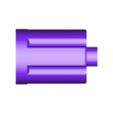
Add utility or live out your cowboy dreams with the break action nerf Hammershot mod which allows you to switch out the cylinder and reload in the heat of battle. Made to be assembled with only a few small pieces of 1/8th inch steel rod and a single compression spring it requires no extra bolts or screws to be held into place allowing for a smooth external look.

Printable with Tactical Rail on either side of the barrel, both side of the barrel or with no tactical rail at all.

Brief assembly guide -
- Remove all screws from blaster shell and separate the two halves of the shell
- Remove the internals to focus on the shell
- The shell will need to be cut in line with the black internal section that the stock cylinder rests against, be careful to keep the black section intact while cutting and just cut the outside shell.
- underneath the black inner shell there is an orange portion on the bottom of the shell that will need to be removed so that the mod frontplate can fit
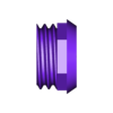
- Now take the removed internals and remove the air restrictor from the front of the plunger tube
- at this point you can take the mod frontplate and begin to wedge the shell pieces with the internals on at a diagonal angle pushing together straight as you clamp the shells together
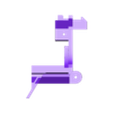
- finally you can assemble the mod taking the front barrel portion and attaching it to the front plate with a 1/8th inch steel rod and attaching the sear with another piece of the rod (remember to put the springs in place in the recessed portion of the sear and barrel section.
More detailed assembly guide coming soon.

3D printing settings

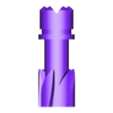
Printed in PLA at .2 mm layer height, 20% infill, and 1.2 mm thick walls, for the cam/spinner portion it may be necessary to increase settings for strength. Recommended to use a higher strength material such as ABS or PETG for the cam/spinner

Advertising


Issue with this design? Report a problem.

Would you like to support Cults?

You like Cults and you want to help us continue the adventure independently? Please note that we are a small team of 3 people, therefore it is very simple to support us to maintain the activity and create future developments. Here are 4 solutions accessible to all:

  • ADVERTISING: Disable your banner blocker (AdBlock, โ€ฆ) and click on our banner ads.

  • AFFILIATION: Make your purchases online by clicking on our affiliate links here Amazon.

  • DONATE: If you want, you can make a donation via Ko-Fi ๐Ÿ’œ.

  • WORD OF MOUTH: Invite your friends to come, discover the platform and the magnificent 3D files shared by the community!


Sharing and downloading on Cults3D guarantees that designs remain in makers community hands! And not in the hands of the 3D printing or software giants who own the competing platforms and exploit the designs for their own commercial interests.

Cults3D is an independent, self-financed site that is not accountable to any investor or brand. Almost all of the site's revenues are paid back to the platform's makers. The content published on the site serves only the interests of its authors and not those of 3D printer brands who also wish to control the 3D modeling market.

100% secure payment by credit card, PayPal, Apple Pay, Google Pay, etc.
View all payment options.