The Nebula Drybox is the first in a series of 3D printing accessories I plan to design for use both in my own workshop, and for sharing with the 3D-Printing community. The aim of the project is to produce useful designs that are efficient, robust, and have a pleasant modern aesthetic.
This box can help limit moisture uptake during printing and is designed to accommodate most common spool sizes up to 210mm in diameter and 80mm in width. Multiple roller attachment points also allow smaller spools to be used.
On the Canadian west coast we have high humidity during most parts of the year. Keeping filament dry requires frequent upkeep; highly hydroscopic materials can absorb a significant amount of moisture from the air over a day of printing. Tools like foil bags, sealed storage chests, and printing dryboxes are a necessity. If your looking for a simple table-top drybox that is light on materials and visually pleasing, give the Nebula Drybox a try!
What You Will Need:
A printer capable of printing a 240mm footprint.
Low warp filament such as PLA, PLA+, or PETG. (approx 440g total if printing all parts)
4x 608 Bearings
A 9.5mm Pneumatic Coupler
A short (or long) length of PTFE tubing
A hobby knife/scalpel, for cleaning up holes. (recommended)
Desiccant, to keep the inside dry.
Nylon Zip Ties
Anti-Skid Pads (Optional)
How To Print & Assemble:
Clearance Test:
(Recommended) Print the small ‘Outlet Size Test.stl’ (bottom flat side down, no supports) to test the fit between your print and pneumatic coupler. If it's too tight to install you may need to dial in your settings, or clean/expand the hole with a hobby knife (Friendly reminder to practice knife safety). If instead it seems loose there is always glue or epoxy.
The Base:
Print the ‘Drybox Base.stl’. Depending on your settings this should use only 140-160g of material. Turning on ironing is advised for a smoother contact surface between the lid and base (Calibrate your settings on small test cubes first for best ironing results). For extra material efficiency you can turn off initial bottom layers and print with a skeletonized underside. With PETG I still recommend at least one initial bottom layer for better plate adhesion however.
The Lid:
The lid for the drybox was designed to be lightweight on material and optionally print with a single 1mm thick wall up until the lip. In this way it's similar to vase mode, but with distinct layers and z-seam. If your unable to print it with one wall, you can use a 0.5mm line width to print two instead.
Using the latest version of Cura, these are the settings I had success with using a 0.4mm nozzle.
◘ Wall Line Width = 1.2mm (setting it above 1mm forces cura to use a single wall on angled sections)
◘ Top/Bottom Line Width = 0.5 (for cleaner infill)
◘ Walls = 1 (Important, otherwise you can get multiple over-thick walls with gaps in the bottom layers)
◘ Layer Height = 0.2mm (You could push this a bit, but remember your already printing a lot of material for a 0.4mm nozzle at this point)
◘ Temperature = A little higher than your usual profile.
◘ Speed = Not too fast or you might get wobble.
Printing such thick walls on a 0.4mm nozzle often works fine, but only with single walled prints. If in doubt, stick with a 0.5mm line width.
The wall diverges in the last stretch to create a thick rim. This helps create a rigid contact surface while keeping material usage to a minimum. You can enable ironing on the last layer if you want an even smoother surface.
PLA is your friend here for it's low thermal expansion and warp. There are two versions of the lid, one which is flat and one which is corrugated. I don't recommend attempting to print the flat version in anything other than PLA, as you may experience the wall caving in or bowing outwards. The Corrugated version has better strength/rigidity and is also recommended if printing your lid from PETG or other materials.
The High Rollers:
Print two of the ‘Drybox Roller 608.stl’ (Print standing with supports touching plate). Use a material that has good inter-layer adhesion and print hot; Matt or Silk PLA may not be the best choice here depending on their z-strength (depends on brand and settings). PETG is great but clean support removal can be a pain. PLA+ can be an ideal choice.
You could alternatively use a piece of 8mm aluminum pipe or rod which fits inside the bearing hole, and cut it to length. Or even print a thin 8mm rod from something with good layer adhesion. Or use a wooden dowel. Many choices.
(Optional/Experimental!) There is an adapter and roller with the 625 suffix, these can be used with 625 bearings scavenged from worn POM wheels instead of 608 bearings. I found the 4.8mm spindle on these to be fragile when printed in PLA. Printing the rollers sideways in halves could be a possible solution for increasing the strength of the thin spindle.
The Tray:
(Optional) Print the desiccant pack holder, “Drybox Desiccant Tray.stl” (Recommended line width, 0.5mm). You could also skip the tray and just add desiccant packs to the empty basin at the bottom of the base too. If adding loose desiccant to the tray, please ensure you use the kind with large beads and not loose salt-like bits (or it will leak everywhere).
PETG makes a great material for the tray. It can be thrown whole into a filament dehydrator to refresh the packets, without worry of warping.
Assembly:
Attach the bearings to the end of the rollers and snap them into the slots in the base (Optional, Glue them to the spindle so they won't fall off the rollers when removing them from the drybox, recommended if using 625 bearings and adapters).
The base has 4 possible attachment points for the rollers depending on your spool size, with the inner mount points being for smaller spools.
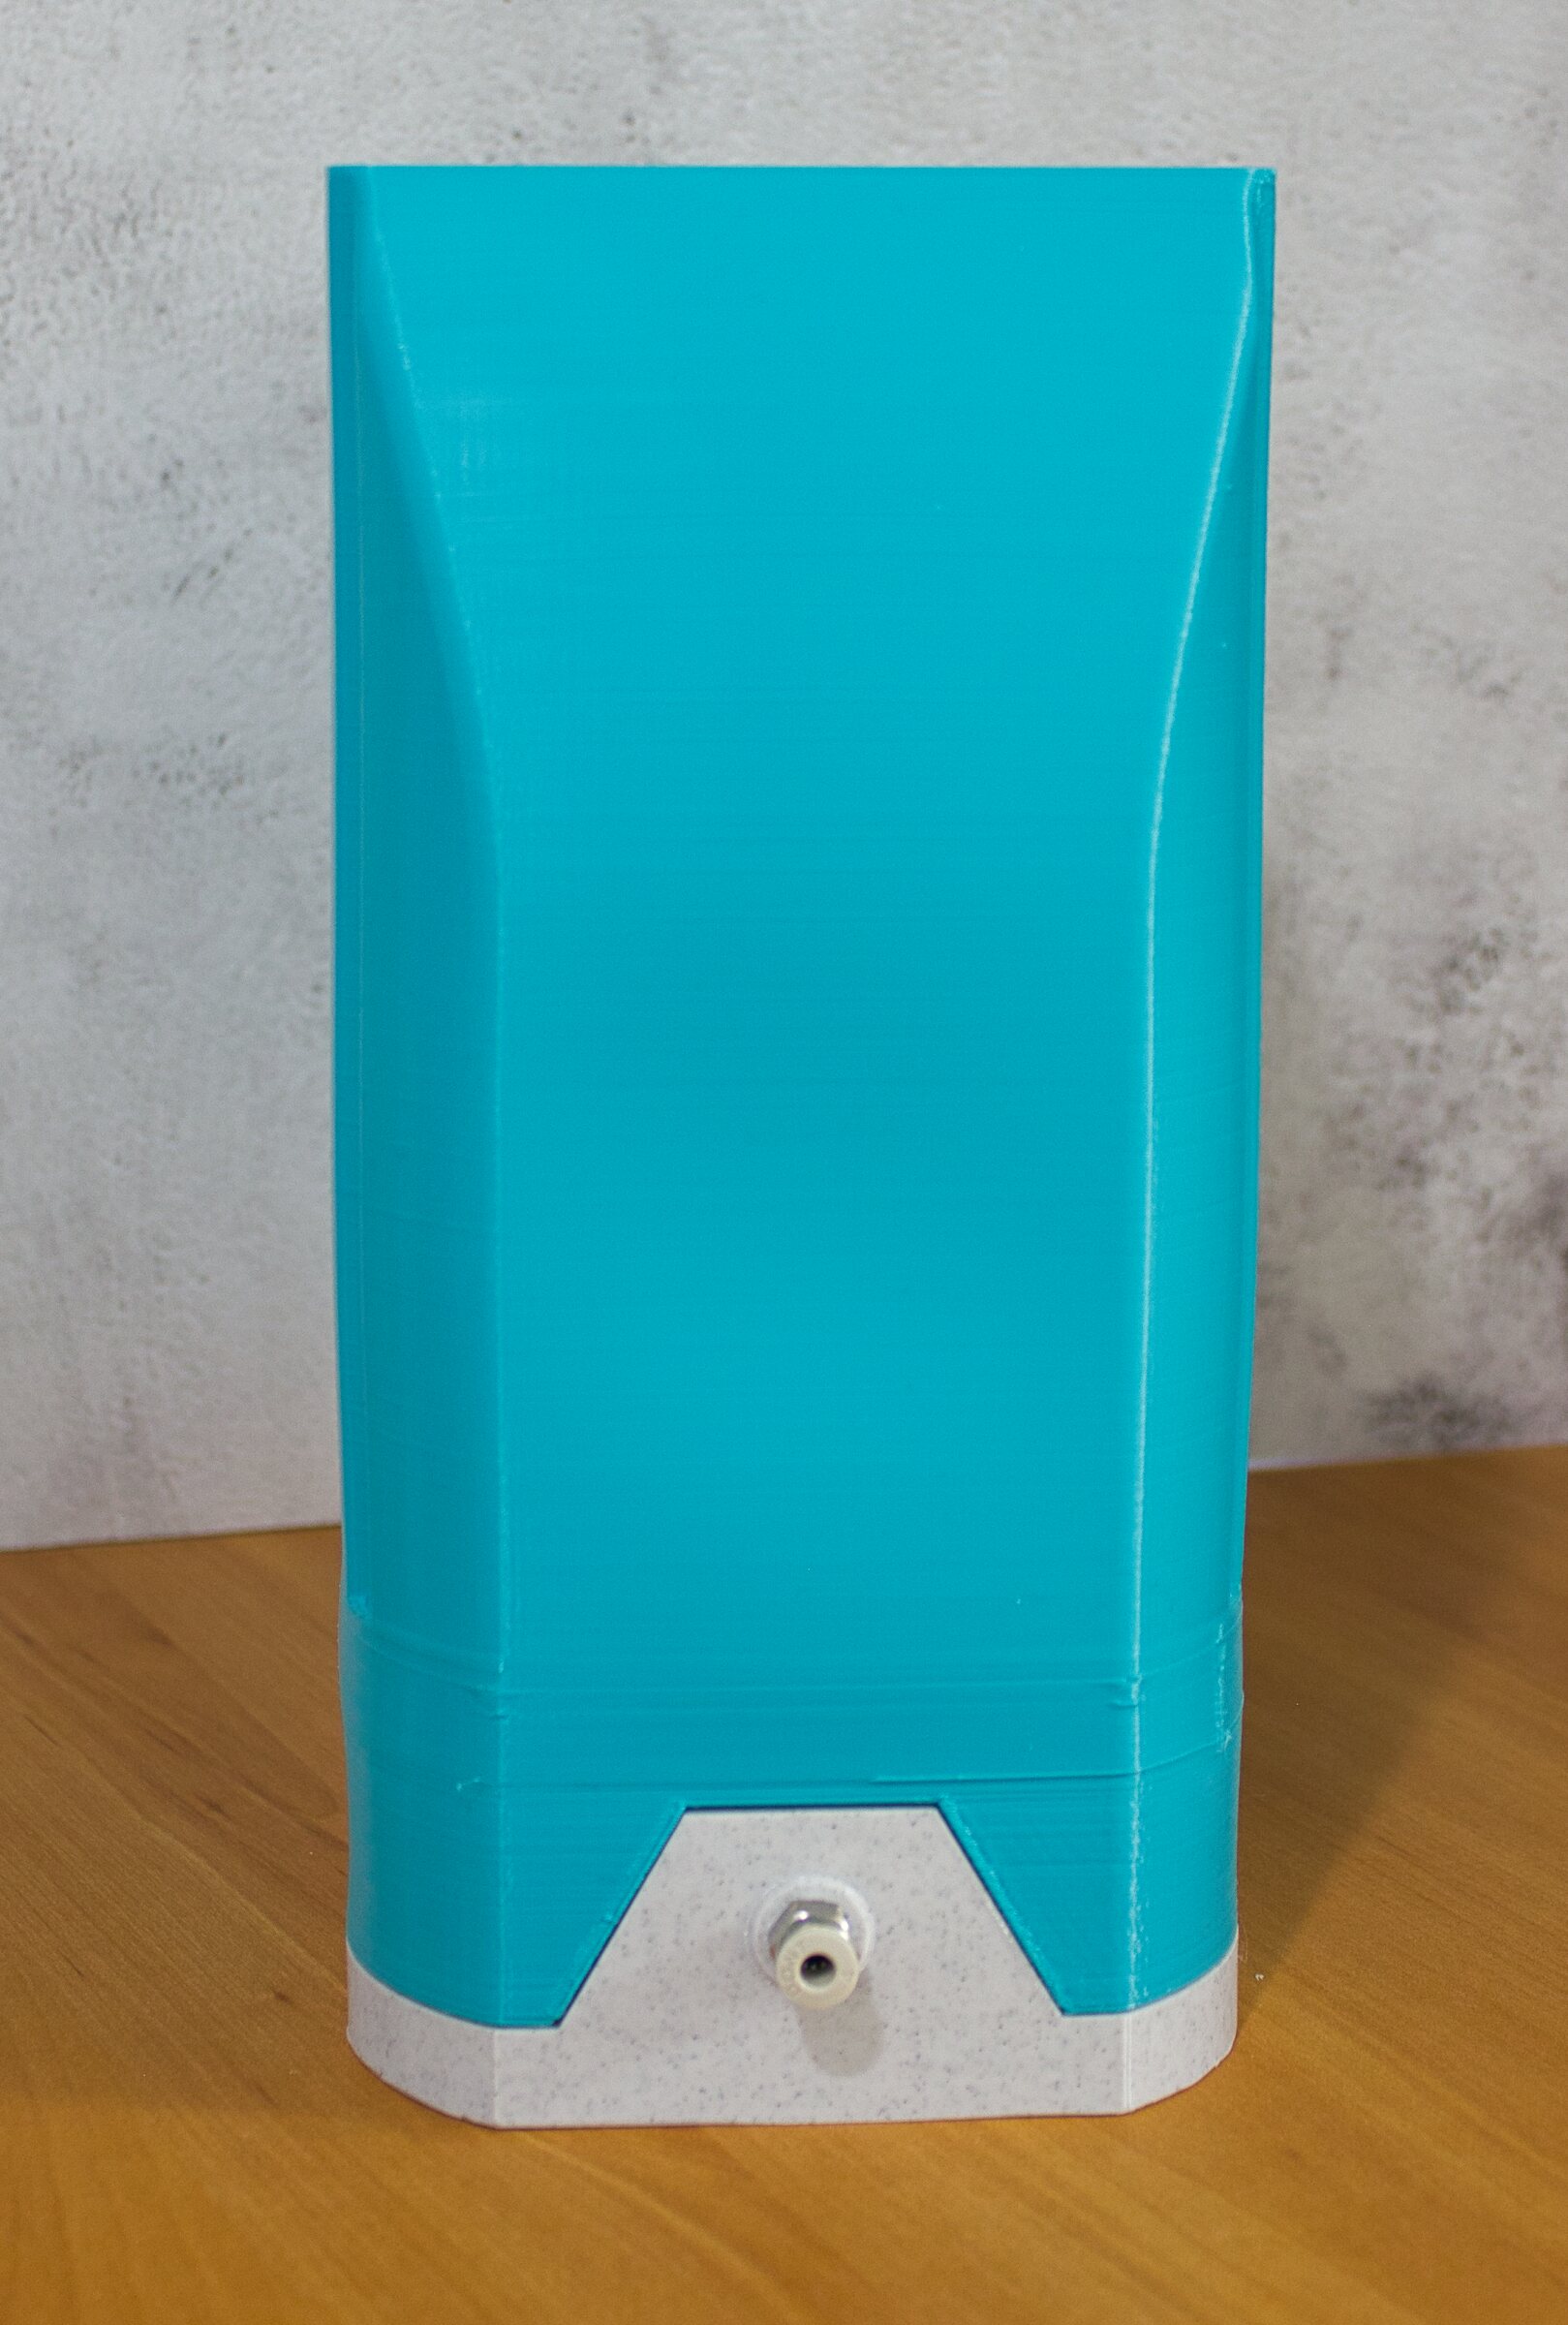
Screw in the pneumatic coupler, running a length of PTFE tubing through them and jamming them in the grip position with a nylon zip tie.
(Optional) Install Anti-Skid pads on the bottom of your new drybox to help keep it stationary while printing :)
If you found this model useful please consider leaving a comment, posting a make, or donating filament to fuel my experiments.
:format(webp)/https://fbi.cults3d.com/uploaders/20701991/illustration-file/11cb9645-5d83-4cca-b20a-a1c6d09b1f05/Thumbnail.jpg)


/https://preview3d-images.cults3d.com/hu9zqncrpsu4ra75kjq2sfrg1i3n)
/https://preview3d-images.cults3d.com/r55kguevpitee4igjwcpxebjd8cs)
/https://preview3d-images.cults3d.com/pdklizul4uj67x6vrywujzwjwovu)
/https://preview3d-images.cults3d.com/rexufi3321mgmbtpu0fja7p2qb34)
/https://preview3d-images.cults3d.com/jt31v0gt48zqlgsggr0hk8enkwab)
/https://preview3d-images.cults3d.com/udv20nrd16c704ycuwa4guazwc5s)
/https://preview3d-images.cults3d.com/0k7pjy6se3wnuav036v09bimne0v)
/https://preview3d-images.cults3d.com/m32w28ko2qw8o9mssuvbqeriuayh)
/https://preview3d-images.cults3d.com/0jbh1p1n05qjkcx6mb31vkl2v0ls)
/https://preview3d-images.cults3d.com/j1osowwk68e2pwl93ts6ky24gehc)
/https://preview3d-images.cults3d.com/oolbe94uwmpgx7g7ts8troc72281)


