Skip to content

Milling Machine - Artistic

Advertising
Advertising
?
Creation quality: 5.0/5 (1 vote)
Evaluation of members on the printability, utility, level of detail, etc.

  • 7.4k views
  • 35 likes
  • 15 downloads

License
3D design format
STL Folder details Close
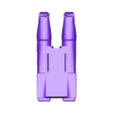
  • BM_Base_Bottom.stl
  • BM_Base_Top.stl
  • BM_Clamp_x2.stl
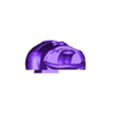
  • BM_Head_final.stl
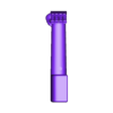
  • BM_LeftArm.stl
  • BM_RightArm.stl
  • BM_Table.stl
  • BM_arm_to_base_pins_x2.stl
  • BM_part.stl
  • BM_table_handle_x2.stl
  • BM_y_handle.stl
  • BM_y_slide.stl
  • BM_yaxis_dove.stl
  • BM_z_handle.stl

Learn more about the formats

Last update 2022-08-16 at 02:36
Publication date 2022-08-06 at 01:14
Design number 805041

MySTeRio729

Template info

3D model description

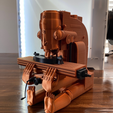
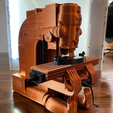
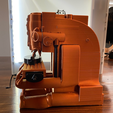
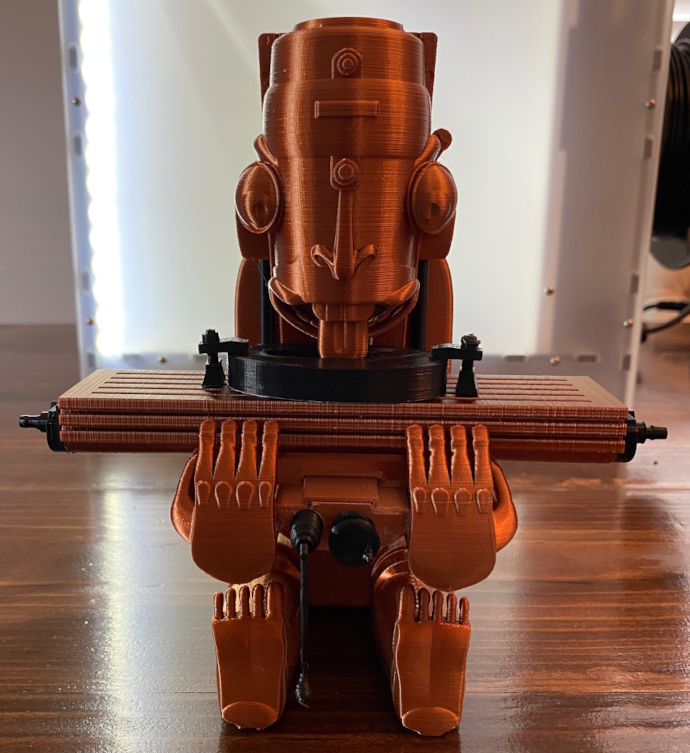
Finding interesting art and models related to machining are quite scarce as the CNC/manual machining trade doesn't seem to have much out there. One of the best artists that put time into creating fantastic art representing the "subtractive manufacturing" trade is Boris Artzybasheff, so I designed this piece based of his art of a milling machine.

Without subtractive machining, you wouldn't have a 3D printer sitting at your house! So if you are like me and have lived in this trade, this piece will certainly start conversations and I hope everyone loves it as much as I do!

The pieces of this model are all separate so you can choose your color palette and are intended to be glued together. The y axis and table are dovetailed so that you can leave them to move freely and aids in assembly.

Any items with x2 at the end of the file names are intended to have that 2 copies of the file printed to complete the model.

Assembly Notes:

  1. The slot for the arm to base pins in the base_top STL are much deeper than they need to be so you can slide the pins up in the top while attaching the arms. The pins can then be pulled down into the hole in the arms.

  2. Make sure you have attached the table to the y axis via the dovetail and then glue on the table handles to the end of the table to keep the table and yaxis joined.

  3. Attach the yaxis to the y_slide and glue it to base_bottom before attaching the arms. The y_slide and hands have small slots for alignment that you may want a dab of glue in.

  4. Make sure the head is the last piece you attach, because the tongue does slide into the part and you won't be able to get the "part" in if you have already glued the head. I personally didn't even glue the head!

Manufacturing settings

I printed 2 of these on an Ultimaker 2+ first with a 0.6 nozzle and then the model in the picture is printed with a 0.4 nozzle.

The hands and toes and many details were slightly less detectable with the 0.6 nozzle, so I found the extra time using a 0.4 was great for the final piece for me!

I printed this using 3 walls with 0.6 nozzle, and 4 walls with the 0.4 nozzle both using 7% gyroid infill in Cura.

Many of the pieces do require support but not much, just using tree supports in Cura for me!

Advertising


Issue with this design? Report a problem.

Would you like to support Cults?

You like Cults and you want to help us continue the adventure independently? Please note that we are a small team of 3 people, therefore it is very simple to support us to maintain the activity and create future developments. Here are 4 solutions accessible to all:

  • ADVERTISING: Disable your banner blocker (AdBlock, …) and click on our banner ads.

  • AFFILIATION: Make your purchases online by clicking on our affiliate links here Amazon.

  • DONATE: If you want, you can make a donation via Ko-Fi πŸ’œ.

  • WORD OF MOUTH: Invite your friends to come, discover the platform and the magnificent 3D files shared by the community!


Sharing and downloading on Cults3D guarantees that designs remain in makers community hands! And not in the hands of the 3D printing or software giants who own the competing platforms and exploit the designs for their own commercial interests.

Cults3D is an independent, self-financed site that is not accountable to any investor or brand. Almost all of the site's revenues are paid back to the platform's makers. The content published on the site serves only the interests of its authors and not those of 3D printer brands who also wish to control the 3D modeling market.

100% secure payment by credit card, PayPal, Apple Pay, Google Pay, etc.
View all payment options.