Easy to put together, simple, well documented.
Own this and print it as many times as you like for only $9.99
A reference assembly & flight video has been posted at the following link:
https://www.youtube.com/watch?v=Jo0Z-0VQf40
I have other RC planes and plane related parts:
https://cults3d.com/en/users/taciucmarius/creations
^^^ Check them here for more fun ! ^^^
- General instructions:
If you want to build a good plane that flies smoothly, please take your time and read all of the below provided instructions. If you don't understand something, please don't hesitate to contact me.
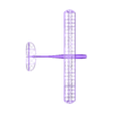
Wingspan: 1400mm
Length: 860mm prop to tail edge(depending on the type of cowl you choose)
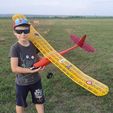
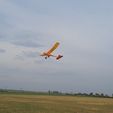
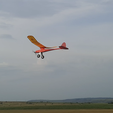
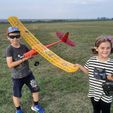
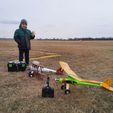
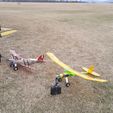
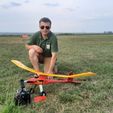
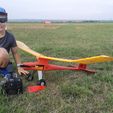
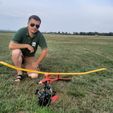
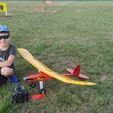
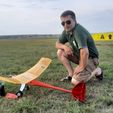
Ready to fly weight: 950g to 1100g depending on your battery and material type (the red sample in the image is 1100g).
Main wing's angle of incidence: 1°
Wing surface: 20.5 dm2 (if configured like in my pictures)
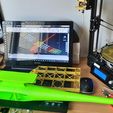
Stall speed: 30.4Km/h (if configured like in my pictures)
Recommended battery:
Li-Po 4s, 3000-4000mAh would be ideal, but other battery sizes work. Try to keep it between these recommended sizes, because it will be easier to balance the plane without adding nose weight.
Motor and propeller:
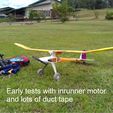
Many combinations could work, but for the reference, the sample in the images use an AEORC Brushless Motor A28L MM2216 920KV 1270KV 3.0mm Shaft Brushless Outrunner Motor
from Aliexpress. the propeller is a 9x5 foldable one. This pair can technically achieve between 850 and 1000g of thrust.
I usually fly with 30% throttle
I used a 30A ESC and 2x SG90 servos. The receiver is a 7ch RX701 from Walkera.
CG:
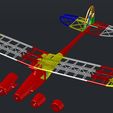
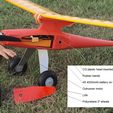
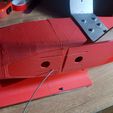
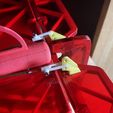
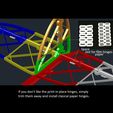
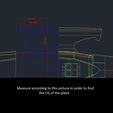
At 53mm as you measure away from the wing's front edge. I inserted and glued in position a couple of round headed pins (see pictures). One on each side. I balance the plane by suspending it on these pin heads with my fingers. Make it rather slightly nose heavy and you can't go wrong. More info on the attached pictures.
Main gear:
The wheels are 3" polyurethane from the online stores. Other sizes work as well. I used large ones because of the grass. The wheels are being attached with a custom made aluminum bar. You can build one out of scrap materials you might have around the house. The one in the pictures is made out of 2mm extruded alu sheet. I will add a printable support and hopefully you will be able to print that out of PLA+ or PETG. A printable wheel support might not be that resistant when it comes to bumpy runaways. If you have a foldable propeller, you can even leave it without wheels and hand launch it. The height of this wheel support is also depending on your needs, prop diameter and runaway conditions.
How it feels when flying:
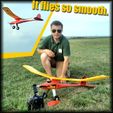
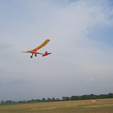
It's hard not to be a little subjective here, because this is my creation after all, but it flies smooth. I would say that if the CG is balanced correctly, it's really easy to fly. It feels like a beginner's balsa trainer glider. It feels light and because of the incidence angle, it picks up altitude on it's own. It dangles sideways from time to time but it stabilizes quickly. At first, I flew it at higher speeds, because I expected it to be heavy and to require speed in order to airborne, but then I was able to reduce the speed quite a lot and still keep it floating. You can see in the video how smooth it lands at low speed. Because this plane comes out perfectly from the 3D printer, it requires no roll balancing. My samples flew straight from the first time and keep straight during flight when taking my hands off the controls.
Crashes and mishaps:
I printed several samples and some of them crashed because the plane was tail heavy. PLA or PETG don't work for the fuselage. They make it way too tail heavy and you would need to add lots of nose weight. This results in a heavy plane and all the forces and the stress in the landing gear are damaging to the whole aircraft. I saw that flying when colder than 5°C makes the plastic of the plane more brittle. Sometimes this delaminates the fuselage and breaks the wings at smaller forces. Bare this in mind. I would fly this in winter time, but with caution and performing less acrobatics.
The brand of filament that you use also plays a huge role in the strength of the plane. I printed the green version out of china PLA and that was extremely crackly and it would break easily. Then I bought some Colorfabb and I couldn't believe how strong and elastic it can be. The moisture of the filament can also impact the strength. Higher speed impacts result in shattering the entire fuselage. So at high speeds, the material is no longer elastic, but brittle. This is probably the only real downside of 3D printed planes when comparing them to balsa structures. Balsa is more elastic at high speed impacts.
Having asphalt or concrete runaway instead of a bumpy dirt meadow, can save and prolong the life of the glider. Most damages happened at takeoff or landing when touching the prop to the ground. This can result in fuselage cracks or shatters.
Print it, have fun and post pictures so that I can rejoice with you.

/https://fbi.cults3d.com/uploaders/14042256/illustration-file/37611214-6e6a-4573-a931-1838d23ed652/thumbnail3-copy.jpg)
![C @ replanes.online, Calculate Stall Speed | Clear | CSC aeea ts COREE OCR CSC ee LES Ezz) ere eas CUA i ean ru See aco ane eae eneke Iced IEASUREGEOM first corner point or [Object Add a btract area eXit ] Simple Dragonfly RC Glider](https://images.cults3d.com/Zjpb4Xcd4pPlDCTc5bA6L5CUVS0=/113x113/top/https://fbi.cults3d.com/uploaders/14042256/illustration-file/511ae5b9-9094-4d1a-ae0e-ef750a974f34/Stall-speed-calculator.png)


































![C @ replanes.online, Calculate Stall Speed | Clear | CSC aeea ts COREE OCR CSC ee LES Ezz) ere eas CUA i ean ru See aco ane eae eneke Iced IEASUREGEOM first corner point or [Object Add a btract area eXit ] Simple Dragonfly RC Glider](https://fbi.cults3d.com/uploaders/14042256/illustration-file/511ae5b9-9094-4d1a-ae0e-ef750a974f34/Stall-speed-calculator.png)


