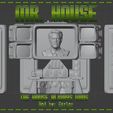
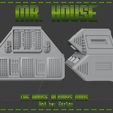
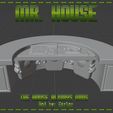
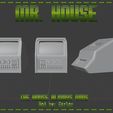
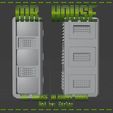
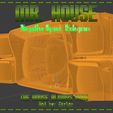
Welcome to New Vegas! Where only two things remain true:
War never changes and..
The House always wins...
This was an idea I had for a while and finally went to work on it this past week. It was a lot of fun and work to get to this point. It's not meant to be an exact replica, just a fun approximation. At some point I may do another detail pass on the desk and bits but for now I'm sick of working on it and just want to print and paint some stuff!
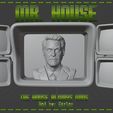
The bust was one from S-Studio, a really good sculpt of our boy Robert D as Tony Stark. Then I took krypted sculpt of Vannevar Bush for the shoulder/suit parts. I gave ol' Bobby Stark a shave and a little raised eye brow and slightest of grins.. It's a passable likeness I'd say. I also used some ArthurGuy parts on the monitor and its derivatives. On the desk I also used falken76 cool Amiga 500 keyboard :) They have been scaled to 32mm.
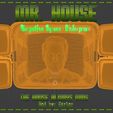
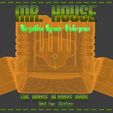
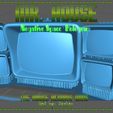
There are 2 flavors of the main monitors. One is of an inset screen with the bust in the center. It's the one in the main pictures. The other is of a negative space of the bust inside the monitor, the orange "3D" images. The idea being when printed with clear resin you can see a "hologram" inside the monitor! I have included an experimental supported version of the hologram. I am testing it as I write and upload this. Will update with pics! Good example of proof of concept is something like:
https://www.thingiverse.com/thing:4140102
After many, many hours in Blender I bring to you my Mr. House set! :) Don't forget to like and follow for updates and check out my other files on here. Pics of prints and paints always more then welcome! Please post any makes! Have Fun!
If you enjoy my creations, please head over to my other files and purchase one of my paid files :) I'd appreciate the caps and you get a cool model to add to your collection!
Included:
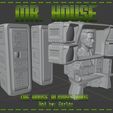
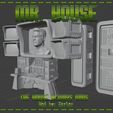
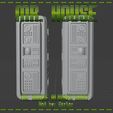
2 big mainframe monitoring station towers (a and b)
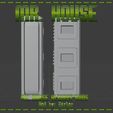
1 big slim mainframe tower
Desk
Center Console
Side Consoles (a and b)
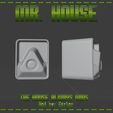
Small Desktop Monitor Tower
Speaker/microphone/motion sensor/thingy?
2 Versions of main monitor:
Inset screen with bust in the center
The hologram - negative space version
Supported Version of hologram
Original works:
Stark:
https://www.thingiverse.com/thing:3609077
Bush:
https://www.thingiverse.com/thing:5508381
Monitor Base:
https://www.thingiverse.com/thing:4567037
Keyboard:
https://www.thingiverse.com/thing:67140
UPDATE:
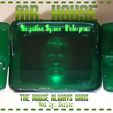
I printed it successfully with my Phrozen Sonic Mini 1k at.04 layer with Sunlu clear green. The print turned out pretty good. The version I printed was missing some supports between the small side monitors but it made it. The supported version included in the files should print better in that area. I may have over done the bottom supports but I tend to do that :) I just hate failed prints and this is a fairly large chunky print for my small machine so I'd rather file some on the finished print bottom then not have a print at all.
The next print I do I'm going to mix in at least half just clear resin with the green I have. The straight clear green from Sunlu is just too dark for the effect to show up enough. It looks cool lit from the bottom but that's a whole other idea ;) The other thing is going to be polishing the screen area to be as clear as possible.
I'm also going to experiment with this as my next process:
Make a much lighter shade of clear green.
Print the monitor.
Clean and flush the part in alcohol, use small paint brushes inside the cavity to flush out as much from the negative space.
Then its going to be either dipping in a vat of the resin i mixed or maybe just clear. Just the outside, not getting it in the negative space. let it drip a good bit off just untill its thinly coated then cure it. Hopefully that will give me a smoother screen area with less then work then wet sanding and polishing.
Then tape off just the screen areas and give them a coat of some good uv high gloss clear rattle can.
Then paint the outside just like you would a normal monitor but leave the screens alone.
At some pint I will probably do an update so it can be lit from the bottom. Use the center console as a battery holder thingy or something maybe. Add some 'light tubes" so the side screens can get some glow going also..

