Skip to content

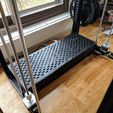
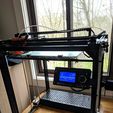
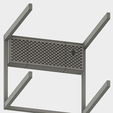
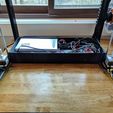
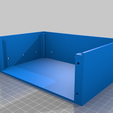
Tronxy x5s Electronics and Power Supply Case

Advertising
Advertising
?
Creation quality: 5.0/5 (1 vote)
Evaluation of members on the printability, utility, level of detail, etc.

  • 568 views
  • 1 like
  • 6 downloads

License
3D design format
Folder details Close
  • Left_Case.stl
  • Left_Case_Door.stl
  • Middle_Case.stl
  • Middle_Case_Door.stl
  • Right_Case.stl
  • Right_Case_Door.stl

Learn more about the formats

Publication date 2023-01-16 at 00:24
?
Published to Thingiverse on: 2018-03-09 at 19:25
Design number 1012143

rothnic

3D printer file info

3D model description

In Work / Prototype

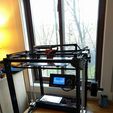
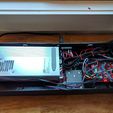
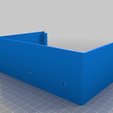
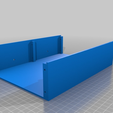
I have been wanting to consolidate the electronics and power supply inside the boundary of the printer, and this is a rough draft of what I think the best approach is for the x5s.

Work Log:

  • Initial Post: Case only, missing cutouts and holes
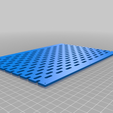
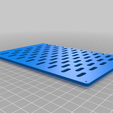
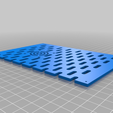
  • Update 1 (3/18/18): Added some initial grills that I'm going to use for now. If you are willing to do a little work on mounting everything manually, the case is now complete.

Background

I'm assuming that most people will either have the stock power supply or they will want to upgrade to a 24v power supply. I wanted to upgrade to 24v, but I also to not have a mess of power supplies and cabling, so this solution is what I came up with. For the most part this will cost around $50 to go to 24v, otherwise just the case with stock parts will just be the cost of filament plus fasteners.

I initially referenced this well-designed case (https://www.thingiverse.com/thing:2684101), but found that the position it was designed for wouldn't work due to the z-axis cable chain, and it was designed for a complete 20/20 frame, rather than the 2040 uprights that the x5s utilizes. I tried modifying the fusion 360 file, but I was see big delays when using the program, I'm assuming due to all the complicated geometry. So, I created my own from scratch.

Primary Features:

  • Much cleaner cabling
  • Power supply and control board moved inside frame
  • Only requires replacing lcd cables to reach
  • Solution supported for fully enclosed 24v setup
  • Doesn't block z-axis

Supplies:

Status:

  • Done: Design the grills to cover the enclosure
  • ToDo: Add holes/standoffs that I manually added into the design

Notes:

  • Middle section is quite large, could use being split into two
  • Difficult for me to print without warping/curving up due to the stock print surface being flexible

3D printing settings

-

Advertising


Issue with this design? Report a problem.

Would you like to support Cults?

You like Cults and you want to help us continue the adventure independently? Please note that we are a small team of 3 people, therefore it is very simple to support us to maintain the activity and create future developments. Here are 4 solutions accessible to all:

  • ADVERTISING: Disable your banner blocker (AdBlock, …) and click on our banner ads.

  • AFFILIATION: Make your purchases online by clicking on our affiliate links here Amazon.

  • DONATE: If you want, you can make a donation via Ko-Fi πŸ’œ.

  • WORD OF MOUTH: Invite your friends to come, discover the platform and the magnificent 3D files shared by the community!


Sharing and downloading on Cults3D guarantees that designs remain in makers community hands! And not in the hands of the 3D printing or software giants who own the competing platforms and exploit the designs for their own commercial interests.

Cults3D is an independent, self-financed site that is not accountable to any investor or brand. Almost all of the site's revenues are paid back to the platform's makers. The content published on the site serves only the interests of its authors and not those of 3D printer brands who also wish to control the 3D modeling market.

100% secure payment by credit card, PayPal, Apple Pay, Google Pay, etc.
View all payment options.