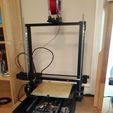
I'm spoiled by MGN12 Linear Rails, and I wanted a bigger machine, so this is a CR-10 size with some extra in the Z (310 x 310 x 435). I refer to it as my AMBP (All Metal Big Printer).
It's literally a clone of my Mi3 with some exceptions/changes/improvements.
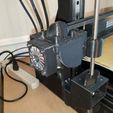
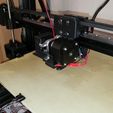
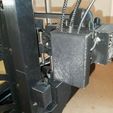
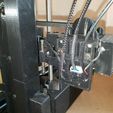
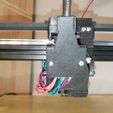
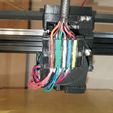
Instead of hanging the extruder directly under the X rail as with my Mi3, I chose the more conventional route and side mounted it.
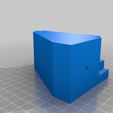
As with the Mi3, it's 2040 all held together with M6 x 25 socket head capscrews, drilled, tapped and counterbored where needed to let the screws sit flush and recessed. The only additional frame support is the 2 Z braces that were printed by this printer. Weighing in at 48 lbs makes it a tank.
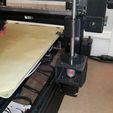
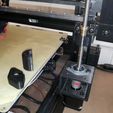
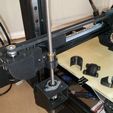
It's running Marlin 1.1.9 on RAMPS 1.6 with TMC 2208's. The Dual Z feature in Marlin is enabled so both Z screws get their own stepper driver and end stop switch. As with the Mi3, it got a pillow block bearing for each screw.
I have no need or desire for wireless: Wi-Fi bad (IMHO), nor do I care about cameras and such, so no reason to go 32-bit. I USB feed it or use the SD card. Besides, I had the electronics laying around, needed to put them to use.
The extruder stepper driver is set in the firmware to SpreadCycle, allowing me to configure Linear Advance on a TMC2208. This machine runs at .07
The extruder is DD with Micro Swiss everything as in my other 2 machines. No PTFE tube. They just plain work. I print Taulmann Alloy 910 at 260C with no problem.
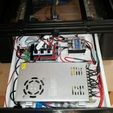
The Hot Bed is a silicone stick-on running 120V at 600W on a fried CR-10 stock hotbed that was stripped clean. It's fed by a SSR inside the drawer, fused on the input leg (20A) and the Bed, Y carriage, frame and SSR are all grounded back to the input ground. I must say, running the hot bed on 120V wall power is AWESOME!!! It heats up as fast as you can count: One-one thousand, two-one thousand, …it's ready. :-)
The print surface is a borosilicate glass/PEI sandwich, resting on a silicone thermal pad applied to the hot bed, same as my other machines. I've been printing PLA, PLA+, PETG, TPU, Alloy 910 and Nylon 240 with only a little hairspray for the Alloy 910 to stick and for the TPU to release. Everything else sticks with just a clean plate, lightly sanded matte with 800 grit paper every now and then.
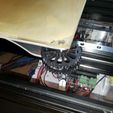
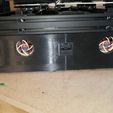
The base is simplified from my Mi3 in that there is no decorative angled shroud around it and the internal base wiring has been improved.
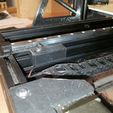
There's a clear polycarb sheet that is the bottom of the base that permits air in. A clear plexi sheet between the base and the frame keeps the internals clean.
2 Noctua 4010 fans in the back exhaust whatever heat is generated.
I added a Filament Runout sensor https://www.thingiverse.com/thing:5360448 . It also has a push-button switch on the front panel that is part of the FRO circuit, letting me put the printer into Filament Change mode with just a push of that button.
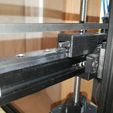
The Y carriage plate is my design, 3mm aluminum, waterjetted by a local machine shop. Cost me $45. It rides on 4 MGN12 carriage blocks. DXF and STEP files are included
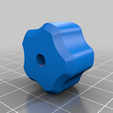
The Hot Bed sits on the Y plate held by 3 M4 screws and locking upper/lower thumbwheels. I have no ABL on any of my machines: I don't want to wait every print for the machine to do a bed leveling software sequence. With locking thumbwheels (been using them since late 2018) I haven't had any need for it, as my beds just stay level. If I ever do have to level them, it's 1-2-3 and I'm done. Geometry tells us that only 3 points are required to define a plane, so any more is a waste and unnecessary.
The hot bed wiring rides in a cable chain under the Y carriage on top of the plexi forward, back and down into the base, the same as with my Mi3.
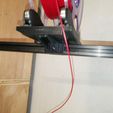
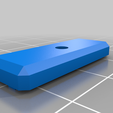
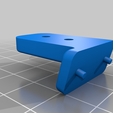
The spool holder is my Adjust Your TUSH with a designed mounting plate that attaches to the top cross rail with a M4 screw and a T-nut, with the TUSH attaching to it with 2 M3 self-tapping screws.
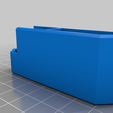
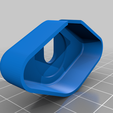
The cooling fan duct is my re-creation of the Thorped duct which I got from TV for my Maker in 2018. I got rid of a lot of the hardware and designed it so the mounting bracket glues to the duct and is then attached with 2 M3 self-tapping screws.
All the electronics at the extruder are short-cabled with color-coded connectors, making repair/replacement an easy thing.
All end stop switches are housed and plunger/pivot actuated.
The Z end stop switches are individually adjustable. Through the Dual Z feature, it attains a perfect X axis alignment at the start of every print.
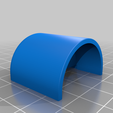
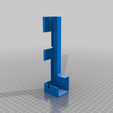
There are a variety of covers that hide the exposed hardware, some held by magnets.
The X carriage extrusion is 2020 x 550mm in length. PDFs are included for the remaining frame rails.
FWIW, both my Mi3 and this one, the majority of parts are printed in PLA+, even motor mounts. I've had no part failures whatsoever .
It's quiet, prints great, and I am very pleased with it.
Happy to answer any questions and/or provide any missing details.
Enjoy!

/https://fbi.cults3d.com/uploaders/16680056/illustration-file/6eb0295f-5566-4da9-b76a-c33f5300b5b4/IMG_0017.JPG)
