Skip to content

Keyboard Sliders - Sliding Shelf Brackets For PC Desk

Advertising
Advertising
?
Creation quality: 5.0/5 (1 vote)
Evaluation of members on the printability, utility, level of detail, etc.

  • 2.2k views
  • 2 likes
  • 4 downloads
  • 1 collection

License
3D design format
STL Folder details Close
  • Keyboard Sliders - Zurlingo-3D.stl

Learn more about the formats

Publication date 2023-01-27 at 01:49
Design number 1031321

3D printer file info

3D model description

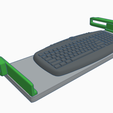
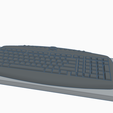
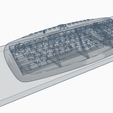
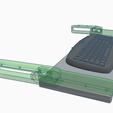
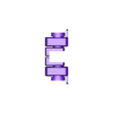
Fully functional sliding brackets, for use with a computer keyboard.

They should fit most desks and keyboards.


Print in place with no support.

Designed for use with a 190mm deep board/shelf or anything else sturdy enough to span the width of a keyboard. You can use a deeper board if required, it will just overlap the brackets by the extra depth.


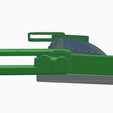
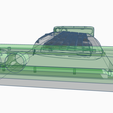
The sliders have 2 positions that lock in place:

Locks in the extended position to avoid the shelf sliding back during use.

Locks in the closed/retracted position to avoid the keyboard moving when not in use.

These are more like rests than physical locks and work under the weight of the keyboard and board.

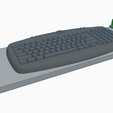
When in use the keyboard tilts towards you by a few degrees.


Usage:

To pull the keyboard out, just lift the front edge of the board slightly and pull towards you.

To slide into the stowed position, simply hold both brackets at either side of the keyboard, lift slightly, and then gently push away until the brackets locate into the rear locks/stops.

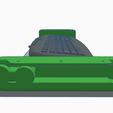
Use =<4mm diameter screws to fix to the board/desk.

For anyone in the UK - 'The Range' sell the perfect boards as part of a shelf kit.
The 590mm wide shelf is perfect for a standard keyboard.

https://www.therange.co.uk/storage/shelves-and-racks/shelving-units/sanded-pine-shelf-kit/#111532


Thanks for Looking.

Don't forget to review the model and post your makes :) - It helps designers a lot.

3D printing settings

Print with infill of at least 20% - The more infill density you have, the stronger the brackets will be. - They will print with minimal lightening infill, but don't be tempted, as the brackets won't be strong enough and will break.

Layer height is up to you. I printed mine at 0.25mm layer height with a 0.5mm nozzle.

Use a brim. - This is important as the brackets/sliders print vertically. You might want to add extra lines to the brim for more bed adhesion too.

Enable 'Bridge Mode' in your slicer. There are a couple of points that require bridging, so make sure your settings are dialled in before print.

Advertising


Issue with this design? Report a problem.

Would you like to support Cults?

You like Cults and you want to help us continue the adventure independently? Please note that we are a small team of 3 people, therefore it is very simple to support us to maintain the activity and create future developments. Here are 4 solutions accessible to all:

  • ADVERTISING: Disable your banner blocker (AdBlock, …) and click on our banner ads.

  • AFFILIATION: Make your purchases online by clicking on our affiliate links here Amazon.

  • DONATE: If you want, you can make a donation via Ko-Fi 💜.

  • WORD OF MOUTH: Invite your friends to come, discover the platform and the magnificent 3D files shared by the community!


Sharing and downloading on Cults3D guarantees that designs remain in makers community hands! And not in the hands of the 3D printing or software giants who own the competing platforms and exploit the designs for their own commercial interests.

Cults3D is an independent, self-financed site that is not accountable to any investor or brand. Almost all of the site's revenues are paid back to the platform's makers. The content published on the site serves only the interests of its authors and not those of 3D printer brands who also wish to control the 3D modeling market.

100% secure payment by credit card, PayPal, Apple Pay, Google Pay, etc.
View all payment options.