Français (English below)
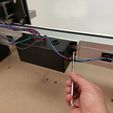
Vidéo montage et démontage
Vidéo en fonctionnement
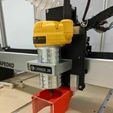
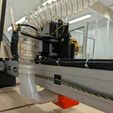
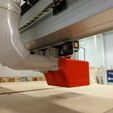
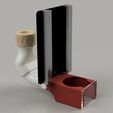
##Collecteur de poussière amovible pour CNC Carbide 3D Shapeoko##
J'ai réalisé ce modèle pour avoir un meilleur accès à la broche et au changement d'outil. Je voulais également conserver la vue directe sur le travail en cours, d’où la vitre à l'avant.
Ce collecteur de poussière est conçu pour le passage d'un corps de broche de diamètre 70mm environ (l’orifice fait 75mm de diamètre).
###Avantages :###
- Le collecteur est amovible, il peut donc être détaché pour ne pas gêner lors des changements d'outils.
- On conserve la vue sur le travail en cours
###Inconvénient :###
- On perd 35mm sur la hauteur maximum des matériaux que l'on peu usiner. En effet, la pièce de jonction qui est fixée sur le chariot X passe sous ce dernier, ce qui réduit l'espace disponible entre le chariot et la surface du plateau de travail de 35mm.
##Conception :##
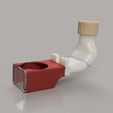
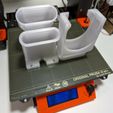
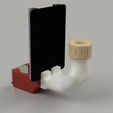
Le collecteur est composé de trois pièces principales :
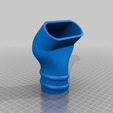
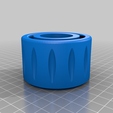
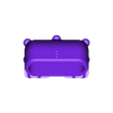
- EmboutFlex : Permet de connecter le tuyau d'aspiration. Par défaut il est prévu pour un tuyau flexible spiralé de diamètre 50mm, mais vous pouvez aussi y mettre un des deux adaptateurs AdaptateurAspirateurDia35mm.stl ou AdaptateurAspirateurDia32mm.stl pour y brancher un embout d'aspirateur de diamètre 35mm ou 32mm.
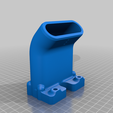
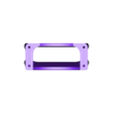
- Jonction : Fixée au chariot de déplacement en X, cette pièce le point d'encrage du dispositif sur la CNC.
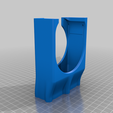
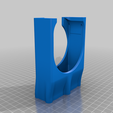
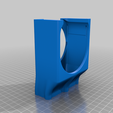
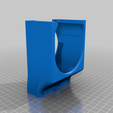
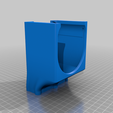
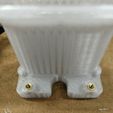
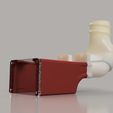
- DustShoe : Pièce amovible permettant de collecter les copeaux. L'assemblage avec la pièce de jonction est réalisé au moyens d'aimants, ce qui rend le montage et le démontage très simple. A l'avant s'y fixe une plaque de plexiglas permettant d'observer le travail en cours.
Ce collecteur n'est pas fixé sur la broche, il ne descend donc pas avec elle. Pour que l'aspiration se fasse au plus près du matériau, j'ai donc réalisé plusieurs DustShoe de différentes hauteurs qu'il faudra choisir en fonction de l’épaisseur du matériau à usiner.
Les DustShoe se positionnent sur la Jonction grace à des aimants tubulaires de diamètre 6mm et de longueur 13mm.
##Réalisation:##
Imprimez un EmboutFlex, une Jonction et une ou plusieurs DustShoe. Découpez les vitres pour les DustShoe choisies et vissiez-les sur les pièces imprimées.
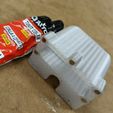
Collage des aimants : Orientez tous vos aimants dans le même sens et collez ceux de la Jonction avec de la colle néoprène. Contrôlez l'orientation des aimants à mettre coté DustShoe en les positionnant sur ceux de la jonction, puis collez-les dans la pièce de jonction avec de la colle néoprène.
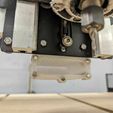
Visez la pièce Jonction sur la plaque d'acier du chariot X. Pour ma part j'ai monté des inserts, mais des écrous peuvent également faire l'affaire.
Vissez votre tuyau flexible sur l'EmboutFlex puis connectez l'EmboutFlex sur la pièce Jonction. Si vous utilisez un aspirateur, imprimez l'adaptateur qui correspond au diamètre de votre embout d'aspirateur, vissez-le sur l'EmboutFlex et branchez-y votre embout d'aspirateur.
##Attention##
- Vérifiez que le support de la broche en aluminium ne rentrer en collision avec le collecteur de poussière lorsque vous descendez la broche au plus bas en Z. Sinon, repositionnez la broche plus bas dans le support.
- J'ai vu que sur certains modèles de Shapeoko, un boitier contenant l'électronique était placé au dos du rail sur lequel se déplace le chariot X. Je ne sais pas si dans ce cas mon dispositif est adapté... Merci de me faire un retour si vous rencontrez cette situation
======================================================================
English
##Removable dust collector for CNC Carbide 3D Shapeoko##
I made this model to have better access to the spindle and tool change. I also wanted to keep the direct view of the work in progress, hence the glass in the front.
This dust collector is designed for a spindle body of about 70mm diameter (the hole is 75mm diameter).
###Advantages :###
- The dust collector is removable, so it can be detached for easy access when changing tools.
- It keeps the view on the work in progress
###Disadvantages :###
- You lose 35mm on the maximum height of the materials you can machine. Indeed, the junction piece which is fixed on the X carriage passes under this last one, which reduces the available space between the carriage and the surface of the working plate of 35mm.
##Design :##
The manifold consists of three main parts:
- EmboutFlex : Allows you to connect the suction hose. By default it is designed for a 50mm diameter spiral hose, but you can also put one of the two adapters AdaptateurAspirateurDia35mm or AdaptateurAspirateurDia32mm to connect a vacuum cleaner nozzle of 35mm or 32mm diameter.
- Junction: Attached to the X-travel carriage, this part is the anchor point of the device on the CNC.
- DustShoe : Removable part allowing to collect the chips. The assembly with the junction part is made by means of magnets, which makes the assembly and disassembly very simple. A plexiglass plate is attached to the front of the collector to allow observation of the work in progress.
This collector is not attached to the spindle, so it does not descend with it. In order to get the suction as close as possible to the material, I made several DustShoe of different heights that you will have to choose according to the thickness of the material to be machined.
The DustShoe are positioned on the Junction thanks to tubular magnets of 6mm diameter and 13mm length.
##Realization:##
Print one FlexEdge, one Junction and one or more DustShoe. Cut out the panes for the chosen DustShoe and screw them onto the printed pieces.
Gluing the magnets: Orient all your magnets in the same direction and glue the Junction magnets with neoprene glue. Check the orientation of the magnets to be put on the DustShoe side by positioning them on the ones of the junction, then glue them in the junction piece with neoprene glue.
Screw the Junction part on the steel plate of the X carriage. I used inserts, but nuts can also be used.
Screw your hose onto the FlexEnd and then connect the FlexEnd to the Junction. If you are using a vacuum cleaner, print out the adapter that matches the diameter of your vacuum cleaner nozzle, screw it onto the FlexFitting and connect your vacuum cleaner nozzle to it.

/https://fbi.cults3d.com/uploaders/12913395/illustration-file/e9b75875-ad4a-428c-bce7-591fb0d5c18a/b7d92d2d-9166-4a51-ada3-5ae6c80c07bd.jpg)
