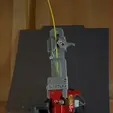
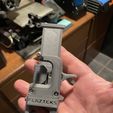
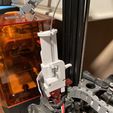
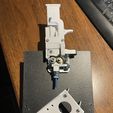
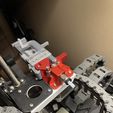
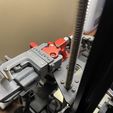
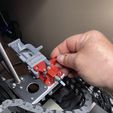
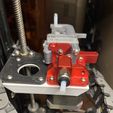
My latest design (Patent Pending) is a game changer for anyone that prints a lot and is tired of either running out of filament during a print, or you don't know what to do with all the short pieces you have left that are not long enough to start a new print.
You could splice them together, but that requires un-rolling what you have, splicing, and then spooling it back up and hoping not to break your weld. This device allows you to simply “queue-up” a new roll while the existing one is still running through the machine. Best of all you do not need to be present to add the filament, it happens automatically as long as the device is primed.
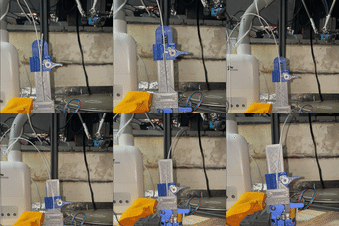
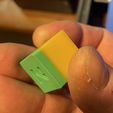
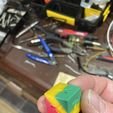
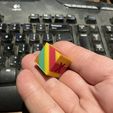
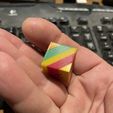
It also will allow retractions to occur, and through all my testing, it does not appear to have any ill affects from retractions, as the extruder pulls back on the filament that is currently in the drive mechanism, but not the one that is in the Bowden tube(if it had already run out). Since it is brief, it just relieves the pressure in the hot end, and then resumes as normal. I have included some calibration cube photos that were made with pieces of different colors just to show the transition from one piece of filament to another.
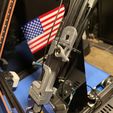
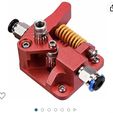
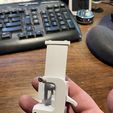
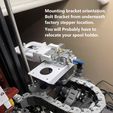
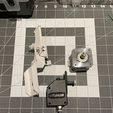
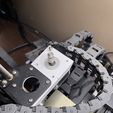
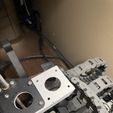
I came up with it when printing a rather filament hungry print and misjudged the required amount. Not only did I not have enough to finish, but essentially wasted a 1/4 roll of filament. This device does not require any power or firmware changes to function and can be bolted directly onto the common dual gear extruder found all over the web. (See photo)
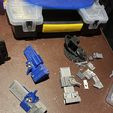
I like this extruder, and have converted all of my printers, 2 Q5 Deltas, 1 Ender 3v2 (direct drive), and also my IdeaFormer IR3v1 Belt printer.I could be adapted to fit other extruders, with modification, but there is no modifications needed to fit the device to the extruder shown. I am listing all of the additional hardware I used to create this device.
A little cleaning up with files(my preferred are Harbor Freight diamond needle files) to get things working smoothly. Also, I played around with spring tension a bit. I over-stretched the main sprint to soften it a bit. Too much tension, and it will bend the new filament while it is queued in the device, too little, and it won’t feed properly. Also, the small piece of Bowden tubing that connects the bottom of the device to the top of the extruder needs a little caressing with a hobby knife to give it a cone shaped entrance. This prevents the new filament from hanging up on the lip of the hole when it starts down its path.
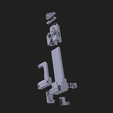
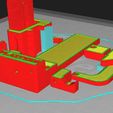
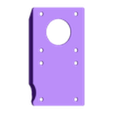
Rounding over the end of the new filament also works, but I like making the filament path “snag-free”. There are links to some YouTube videos that show the device working and a quick assembly video. Sorry, these are my first video that I have created, and my camera gear needs some upgrading… I hope you like it and want to build one (or more) yourself. I also added a screen cap of my slicer showing the two manual supports needed to print cleanly. It also shows the orientation I printed it in. I have added all of the necessary files unique to several different extruders and will continue to add more as can get my hands on Them. Currently, I have made units compatible with Dual gear models that can bolt directly in place of many others, BMG and their clones, Creality's Metal extruder(and most likely compatible with the plastic version.)
Youtube links:
https://www.youtube.com/watch?v=pTs_UAhygUA
https://www.youtube.com/watch?v=_8gMZFmWJW4
https://youtu.be/ENnEhXiQQok
https://youtu.be/T28LavlVMT0
Additional hardware
Quantity item size location
1 screw M3x10mm filament latch piviot
1 washer M3 filament latch piviot
3 nuts M3 Main body for bottom clip screw and plunger
spring screws
2 screw M3x8mm slide stop
2 screw M3x8mm Main return spring anchor points
2 nuts M3 Main return spring anchor points
2 screw M3x22mm plunger spring anchor point and front
guide/guard retension
2 washer M3 plunger spring anchor point and front
guide/guard retension
1 screw M3x25mm bottom mounting clip retension
1 washer M3 bottom mounting clip retension
2 screw M3x12mm side mounting clip retention
2 washer M3 side mounting clip retention
1 screw M3x15mm filament guide post(through drilled
out bowden tube)
2 brass inserts M3x6mm in main body to accept side
mounting clip screws
2 RE magnets 10mmx3mm Filament latch tensioner
1 filament latch Approx 4mmx5mm Brass or steel sharpened
and heat fused into filament “Tooth”
1 spring Approx 7mmx35mm and 1-2lb Main return spring
1 spring Approx 5mmx24mm and 1-2lb filament plunger
tension spring.
2 Short Pieces of bowden tubing approx 10mm.
Version 2.0 has bee released!
https://cults3d.com/en/3d-model/gadget/filament-auto-loader-v2-0-never-run-out-of-filament-during-a-print-again
https://youtu.be/oONdohYHd80

/https://fbi.cults3d.com/uploaders/20184318/illustration-file/5f4dd324-a40e-4c4c-acba-a4df35338d29/Untitled-Project.gif)
