3D model description
Update Dec 2017: Some are having difficulties printing and assembling this project. Therefore I suggest not attempting this project unless you are used to making small adjustments to the printer settings and/or the parts themselves. The thickness of the clear sheet and the gap in the plates is the hardest thing to tune. I strongly suggest you experiment with your slicer settings and test prints until you get the sheet to reliably slip into the gap.
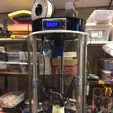
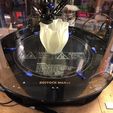
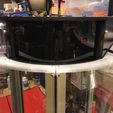
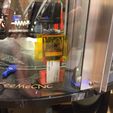
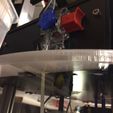
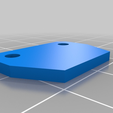
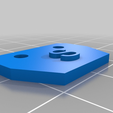
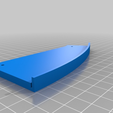
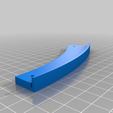
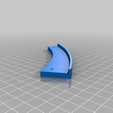
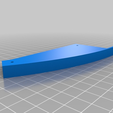
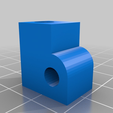
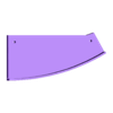
This small set of parts can be used to construct a simple and attractive enclosure for a Rostock Max V3 printer. The parts make a ring that sits on the outer diameter of the Rostock frame and support a 1mm thick sheet of clear plastic. The ring is divided into 12 pieces and due to the triangular symmetry of the Rostock this results in only 4 unique 'plates'. Therefore you will need to print out 6 each of the four plates to make two complete rings for the upper and lower supports. The plates are held together with tabs and there are two sizes of tabs: normal and short. The short tab holes are 4mm closer together so that you can adjust the fit for how your plates come out; see note below. When using the short tabs you need to sand off 2 mm from the end of the plate--this is quick and easy if you have a belt sander handy. I would suggest printing 12 short and 12 long tabs at first and see how they fit. The screws are 4-40 x 3/8 inch long.
I created magnetic tabs to allow one third of the ring to detach which makes a removable door. On the Rostock this gives a door that is exactly the distance between the front two vertical supports. This is plenty of room to access the printer and printed parts without having to remove the full enclosure. The magnetic tabs are designed to hold 5.08 mm diameter neodymium magnets and are 'short' so you need to trim 2mm off the edge of the plate where you choose to use them. They are strong enough to securely hold the door in place when printing.
I obtained a 4x8 foot sheet of 1.04 mm thick clear PTEG locally for $50 and cut it to size after the rings were fitted to my liking. The plastic needed a bit of nudging with a small hammer to go into the groove in the plates. At first I didn't like this but in retrospect I like how the tight fits helps to hold it together.
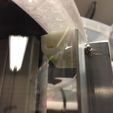
The plastic sheet will want to bow outwards at the open ends. This was solved using some thin aluminum angle from the hardware store and a strong 3M double-sided tape. The ends of the aluminum should be drilled and screwed into the magnetic tabs to hold everything securely square.
Glue everything together when done. I flow WELD-ON #3 Acrylic solvent cement into the joints between parts. The glue dries in a few minutes to an hour and welds the parts together. I have found this to work with most 3D printable materials: ABS, PETG, PLA.
You will need to disconnect the bowden tube from the extruder cold end when installing, and drill a hole in the plate to allow the tube to pass through.
The enclosure uses the tabs to hold the rings in place even with the inner surface of the Rostock frame. The sheet plastic should be cut to a height which allows the tabs on the top ring to just touch. To hold the rings tightly in place I used black gaffer's tape between the ring plates and the Rostock frame.
NOTE: I found that some filament material shrinks more than others and when making a large ring like this sometimes the ring was too tight or too loose. Use a combination of short and normal tabs until you get the fit just right. Or you can scale in your slicer. I prefer to print larger than needed and sand down to fit.

/https://fbi.cults3d.com/uploaders/27058186/illustration-file/bfc495b2-f4a6-4669-90fc-8aac75d68a80/IMG_3133.jpg)
