Skip to content

Artillery X1 Sidewinder V4 direct wires cable directo

Advertising
Advertising
?
Creation quality: 5.0/5 (1 vote)
Evaluation of members on the printability, utility, level of detail, etc.

  • 2.2k views
  • 1 like
  • 33 downloads

License
3D design format
Folder details Close
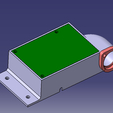
  • caja_inferior_tapa.stl
  • caja_superior.stl
  • caja_superior_cuerpo.stl
  • caja_superior_tapa.stl
  • ganchos_cables.stl
  • pinza.stl
  • soporte_extrusor_R02.stl
  • tapa_inferior_cuerpo.stl

Learn more about the formats

Publication date 2023-02-14 at 15:49
?
Published to Thingiverse on: 2021-01-04 at 13:56
Design number 1063629

3D printer file info

3D model description

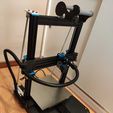
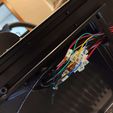
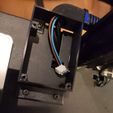
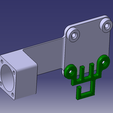
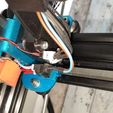
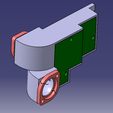
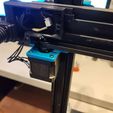
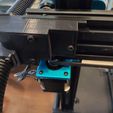
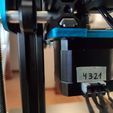
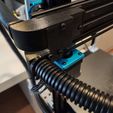
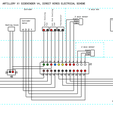
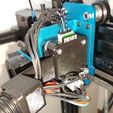
Los cables de cinta que vienen con la Artillery X1 dan muchos problemas, hay 7 conectores y 3 placas base entre los componentes y la placa electrónica. Además la sección de los cables no esta bien dimensionada. Este diseño soluciona todos esos problemas. Se eliminaban las 3 placas PCB y se dejan solo los conectores de inicio y fin, por lo que hay un cable directo del componente a la placa. Además es muy fácil añadir mas cables ya que el conducto tiene espacio de sobra.
Los conectores se pueden extraer de las placas PCB y soldar, o se pueden adquirir unos específicos para cables. En este caso se han usado los de la placa.

Como tubos se ha usado tubo corrugado del que se usa para pasar los cables por la pared en la instalación eléctrica de una vivienda convencional, de diámetro 20mm.

Los cables tienen que ser de sección awg 24 (0.25 mm2) o superior.
Los dos cables de la resistencia (Heating block) tienen que ser de awg 20 (0.5mm2) o superior.

las longitudes de los dos tubos corrugados son:

Eje Z: 80cm
Eje X: 55cm

Las piezas se han impreso en PETG, pero se puede usar PLA.

Los parámetros de impresión usados son:

  • Boquilla 0.4mm
  • Ancho de linea 0.44 mm
  • Altura de capa: 0.2mm
  • soportes: SI
  • Relleno: 100%

Hay que imprimir todas las piezas x1, la pinza x8

Tornillería

Caja inferior:
- tornillos: se pueden usar los antiguos
- tuercas: M3 (x3)

Caja superior:
- tornillos: se pueden usar los antiguos
- tuercas: se pueden usar las antiguas

Soporte Extrusor
- tornillos: M3x30mm (x4) avellanados

para las dos tapas de las dos cajas se puede usar tornillos M13x10-15 mm(x6) o tirafondos de diámetro 3mm.

Además hacen falta 8 tornillos de M3x10 mm para atornillar las 8 pinzas que sujetan los extremos del tubo corrugado.

video:
https://youtu.be/d6bdqWccaLA

3D printing settings

-

Advertising


Issue with this design? Report a problem.

Would you like to support Cults?

You like Cults and you want to help us continue the adventure independently? Please note that we are a small team of 3 people, therefore it is very simple to support us to maintain the activity and create future developments. Here are 4 solutions accessible to all:

  • ADVERTISING: Disable your banner blocker (AdBlock, …) and click on our banner ads.

  • AFFILIATION: Make your purchases online by clicking on our affiliate links here Amazon.

  • DONATE: If you want, you can make a donation via Ko-Fi 💜.

  • WORD OF MOUTH: Invite your friends to come, discover the platform and the magnificent 3D files shared by the community!


Sharing and downloading on Cults3D guarantees that designs remain in makers community hands! And not in the hands of the 3D printing or software giants who own the competing platforms and exploit the designs for their own commercial interests.

Cults3D is an independent, self-financed site that is not accountable to any investor or brand. Almost all of the site's revenues are paid back to the platform's makers. The content published on the site serves only the interests of its authors and not those of 3D printer brands who also wish to control the 3D modeling market.

100% secure payment by credit card, PayPal, Apple Pay, Google Pay, etc.
View all payment options.