VITAMINS:
1 400mm 8mm polished rod
2 10mm M3 screws
8 12mm M3 screws
6 16mm M3 screws
6 30mm M3 screw
1 M3 Nut
1 GT2 belt and pulleys
2 608 (skate board) bearings
1 Printrbot Simple Metal Print Bed For Build Volume Upgrade
OPTIONAL VITAMINS:
4 20mm M3 Countersunk head screws. To enable printing over the whole print bed.
ADDITIONAL PRINTED PARTS:
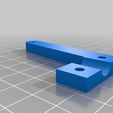
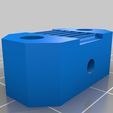
1 MotorMountXGT2.stl from Thing 194686 or 215294
2 BearingCap608.stl from Thing 194686 or 215294
TOOLS:
M3 HSS twist drill threaded bit Exact Thread.
2,0 mm Allen wrench for the pulley.
2,5 mm Allen wrench for the M3 screws.
Rotary Tool or Round Needle File and Medium Toothed File.
INSTRUCTIONS:
Read through all the instructions one time before starting.
All prints were done on my Simple with 0.25 mm layer height on the original build bed.
All parts prints with skirt at least 3mm distance from the part being printed
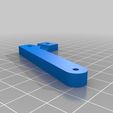
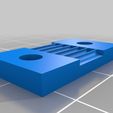
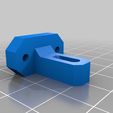
The Left Tension Block and Right Top Tension Block were rotated 45° to avoid slicing anomalies.
When the parts are printed use the M3 HSS twist drill threaded bit Exact Thread to thread the narrow holes.
If necessary, use the Round Needle File to drill out the rest of holes for the M3 screws.
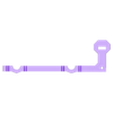
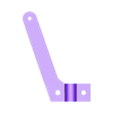
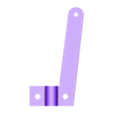
Assemble the left and right base, mount the front and rear arms and the tensions blocks. Don't tighten, leave a a gap of a few millimetres until final assembly.
Remove the bed, string and bed carrier and rods leaving the bearings attached to the bottom.
Remove the Y axis assembly.
Dismantle the base, all screws has to be removed to avoid breaking any part.
Test fit MotorMountXGT2 , file/adjust as needed.
Place the x axis motor on the workbench with the axis pointing up.
Cut the GT2 belt to 450mm length.
Wrap the GT2 belt around the GT2 pulley, slide the pulley and belt between the bearings mounted on the MotorMountXGT2.
Now position the MotorMountXGT2 with the pulley and belt on the x motor axis. Screw motor to plate, tighten GT2 gear to shaft.
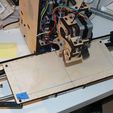
Assemble the Simple again.
If you are adding the Simple XL Upgrade Kit use pieces of blue tape to hold the M3 nuts in place during assembling.
Thread the 400mm polished rods through the linear bearings.
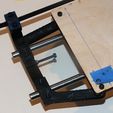
Fasten the outer screws to attach the left base on the the two 8mm polished rods leaving approx 10 mm to the left of the base.
Screw the Metal Print Bed to the end of the left arms, leave the springs off at this time.
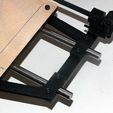
Thread the 400mm polished rods through the right base.
Screw the Metal Print Bed to the end of the right arms, leave the springs off for now.
Fasten the outer screws to attach the right base on the the two 8mm polished rods leaving approx 10 mm to the tight of the base.
Fasten the inner screws on both sides to lock the assembly in place.
Thread the right end of the GT2 belt through the opening in the right base.
Thread the right end of the GT2 belt between the right top and bottom tension block's and fasten the right top tension block. Do it in steps and jiggle the belt for the notches to grab the belt as intended.
Stretch the GT2 belt between the left base and the left tension block and fasten the left top tension block the same way.
Detach the print bed and mount it with springs attached.
Adjust the x axis endstop screw to your liking lock the screw with the m3 nut.
Stretch the GT2 belt with the right tension block adjustment screw.
Before printing the build size has to be flashed to the firmware, the printer settings has to be updated in Repetier and in the slicer of your choice.
I used the GCODE M211 X240 Y95 Z165 to set the new build size with the of the Simple XL Upgrade Kit included.
If M211 does not work you have to upgrade the firmware of your Simple.
Here is a link to a decent tutorial on upgrading the firmware:
http://help.printrbot.com/Answers/View/3566/having+trouble+with+XL+upgrade
The final changes made to these parts were made after assembly and have not been printed / tested. Let me know if there is anything that needs to be updated.

/https://fbi.cults3d.com/uploaders/13424504/illustration-file/6e140dc4-98dc-4bbe-affb-60e55cd8baf7/Thing.jpg)
