remixed from theses 2 on printables
https://www.printables.com/model/174959-makerdeck-logos-coins-coaster-spinners
https://www.printables.com/model/292793-k2-filament-clip
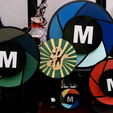
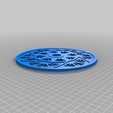
I like things that spin so I created this for fun but it also has a few functions.
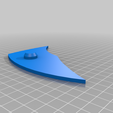
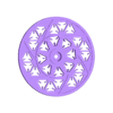
Stream tool 1 - can't figure out what color to print? Let the wheel decide. Have your viewers choose 6 colors, load them on the wheel and spin! You can also spin the center I use the arrow built into the M as the pointer.
Stream tool 2 - Do you have up to 6 prizes to give away? use the wheel to choose which prize. Just use some labels and place them on the slices, gotta have a Bankrupt in there maybe? Ha!
Comparison tool - load the wheel with shades of 1 color and compare to see what fits your current need or compare colors from different manufacturers.
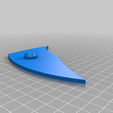
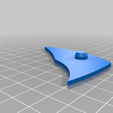
Swatches - Print all the slices with the same settings, you can compare top layer to color transparency and of course catalog.
Stack all 3 and hypnotize your friends at parties - will need a longer rod.
Do you have ideas to add? Please do.
There are 3 different sizes, do not scale them, it throws the bearing holders off. I made 3 sizes for the different sized printers out there. There is a 11 inch version an 8 inch and a 6 inch. Anything less than 6 inches isn't discussed publicly.
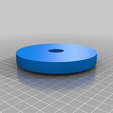
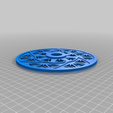
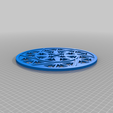
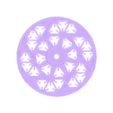
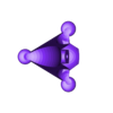
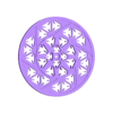
I designed this to minimize weight of the wheel. placing K2 clip silhouettes inside the base helped achieve this, plus it provided a way to pop in the slices on the go.
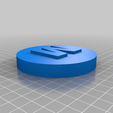
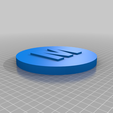
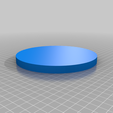
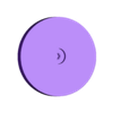
I added a plain lid too so you can customize, like I did with my maker coin.
Print settings I used for the 11 inch.
Base K2: .4 layers with a .6mm nozzle, 2 walls,3 top and bottom, 10 infill. I printed the 11 inch base without bottom layers to save on weight, I recommend some for added rigidity.
Lid: .2 layers with a .4mm nozzle, 2 walls 4 top and 2 bottom 10 infill. I wanted a light lid. Printed on my Prusa.
Slices: .2 layers with a .4mm, 2 walls 3 top 4 bottom, the bottom is the reveal. Printed on my Prusa.
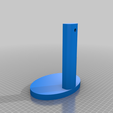
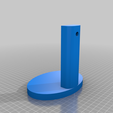
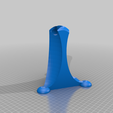
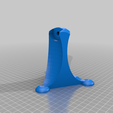
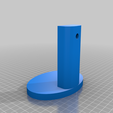
Stand: I added up the total weight of what I printed for the base, lid, 6 slices and then I added another 50 grams for the hardware (approx) plus another 100G. This gave me about 300 grams for the 11 inch version stand. Place the weight properly. I think I had 65 or 70 bottom layers depending on the layer height of course. Just be smart about it, you don't want this to topple over from the weight. You could add weight afterwards I suppose but I had some deal filament so 300 was like $3. I printed this with .48 layers with a .6 nozzle, 4 top ?? bottom, 10 infill on Ender 3 Max.
I printed each size base and top and have tested them. I only printed 1 stand for the moment.
I used spare hardware I had to assemble the model.
I have 2 options for assembly.
Option 1 parts (best option):
One 8 x 65 MM rod shaft, I had a spare from a Powgee belt kit.
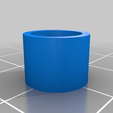
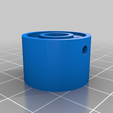
Two to four 608 bearings, I provided spacers you could use in-leu of 2 bearings.
Option 2 parts:
One M5 x 55 screw, can be longer.
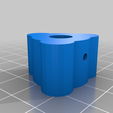
One M5 nut, pressed into the lid piece under the bearing.
Two or more bearings depending on the screw length.
A handful of M5 screw bearings, they fit in-between the screw and the 608, depends on the screw length. I had some from the v roller hardware remnants post linear rail upgrade.
By the time I wrote this up I completed both the 6 inch version and the 8 inch wheel only. I used the 11 inch stand for the pictures and video.
If you have any questions message me or leave a comment.
DWTC

/https://fbi.cults3d.com/uploaders/21479812/illustration-file/5f2d31a8-d834-4c25-8d90-af10b701b983/2a70dfdb-6efd-4431-bcba-e22a29deaae6.PNG)
