Skip to content

Gyroplane Rotor Head

Advertising
Advertising
?
Creation quality: 5.0/5 (1 vote)
Evaluation of members on the printability, utility, level of detail, etc.

  • 466 views
  • 5 downloads

License
3D design format
Folder details Close
  • 3degreeA0fI.stl
  • BUshing-Cylinder_005.stl
  • BUshing2-Cylinder_006.stl
  • BUshing2.blend
  • DowelEnd-Cylinder_003.stl
  • Head_endCap-Cylinder_002.stl
  • HubBar2-Cube_001.stl
  • RotorShaft-Cylinder_001.stl
  • bladeSander.blend
  • bladeSanderHollman.stl
  • bladeSanderRotodyne.stl

Learn more about the formats

Publication date 2023-02-24 at 20:15
?
Published to Thingiverse on: 2017-06-09 at 13:50
Design number 1083793

3D printer file info

3D model description

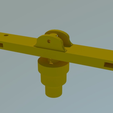
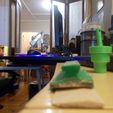
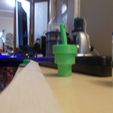
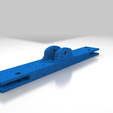
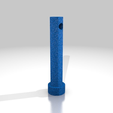
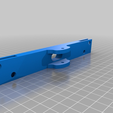
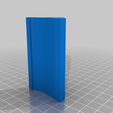
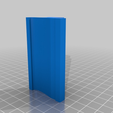
I used to fly and instruct in gyrogliders (gyroplanes towed behind a car). As an instructor I always found it difficult to teach rotor craft theory as it is quite abstract. I eventually rigged together out of rivets, balsa, glue and washers a primitive model gyro with teetering rotors which worked well enough but have finally gotten around to making a system in the 3D printer which I plan to use with my science students. I have also made a rotor profile sanding block from an N8H12 profile which allows you to sand the rotors into a consistent profile.

In your science classes you can bolt on different rotors lengths (sanded out of balsa wood), different chord (width) rotors and different profiles I have 3 I'm taking from proper rotor designs of autogyros. I will eventually add a rotor hub design which can change pitch also. If using for teaching I suggest obviously windy conditions, eyeglasses, and measuring lift with spring scales.

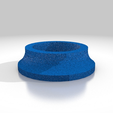
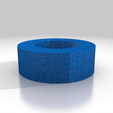
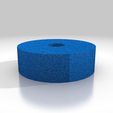
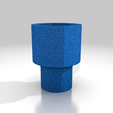
The head is designed to slide over wooden dowel, I'm just gluing in. I have made the shaft to suit the inside diameter of most of the fidget spinner bearings and the OD to suit it as well, you may need a light sanding to get a snug fit. I printed the shaft as a temporary measure out of ABS, it works but you'd probably be better off with a bolt but you'll need to drill a hole in the end.

This model works really well in a breeze above about 8 mph, and in strong winds and it will produce over a kg of lift I've had briefly almost 2kg.

You have to give the a good flick to get them spinning in moderate winds, and they'll spin up quickly hold them at 90 degrees to the wind direction. In really strong winds you need to tilt them forward at a shallow angle to the wind until they pick up speed then tilt them back into the wind.

Hope all this helps

Tags

Advertising


Page translated by automatic translation. See the original version.
Issue with this design? Report a problem.

Would you like to support Cults?

You like Cults and you want to help us continue the adventure independently? Please note that we are a small team of 3 people, therefore it is very simple to support us to maintain the activity and create future developments. Here are 4 solutions accessible to all:

  • ADVERTISING: Disable your banner blocker (AdBlock, …) and click on our banner ads.

  • AFFILIATION: Make your purchases online by clicking on our affiliate links here Amazon.

  • DONATE: If you want, you can make a donation via Ko-Fi πŸ’œ.

  • WORD OF MOUTH: Invite your friends to come, discover the platform and the magnificent 3D files shared by the community!


Sharing and downloading on Cults3D guarantees that designs remain in makers community hands! And not in the hands of the 3D printing or software giants who own the competing platforms and exploit the designs for their own commercial interests.

Cults3D is an independent, self-financed site that is not accountable to any investor or brand. Almost all of the site's revenues are paid back to the platform's makers. The content published on the site serves only the interests of its authors and not those of 3D printer brands who also wish to control the 3D modeling market.

100% secure payment by credit card, PayPal, Apple Pay, Google Pay, etc.
View all payment options.