Skip to content

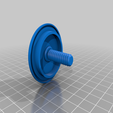
Kitchen Sink Hole Cover v18

Advertising
Advertising
?
Creation quality: 5.0/5 (1 vote)
Evaluation of members on the printability, utility, level of detail, etc.

  • 796 views
  • 1 like
  • 10 downloads

License
3D design format
Folder details Close
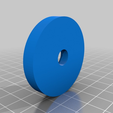
  • Kitchen_Sink_Hole_-_WASHER_v8_v0.stl
  • Kitchen_Sink_Hole_Cover_v18.stl
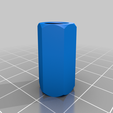
  • Kitchen_Sink_Nut_Joiner_v1.05.stl

Learn more about the formats

Publication date 2023-03-01 at 14:58
?
Published to Thingiverse on: 2019-09-12 at 23:01
Design number 1092339

3D printer file info

3D model description

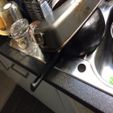
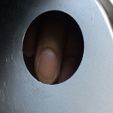
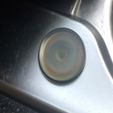
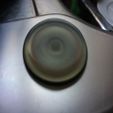
i made this to cover and replace the broken and lost kitchen sink hole cover that eventually broke, got lost, got found then lost again, lol, and then put in a "Safe Place" to be 3D Designed Later but its in such a safe place that its SAFE "FROM ME" too, too safe lolz

So made this from scratch, using 2 DIY silicone gaskets that you can buy from places like ebay, the magic words to use are:

Silicone O-Ring Cord

and you will be able to make ANY Size O-Ring You LIKE !!!

The O-Ring Cord i bought is 2mm Thick, two types:

Black - Shore 90 (Harder)
Orange/Brown - Shore 60 (Softer)

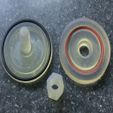
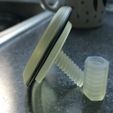
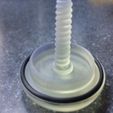
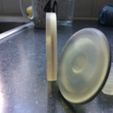
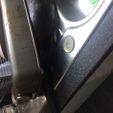
As you can see from the photo's, the top cover has an O-Ring inside it that meets the metal of the kitchen sink and the 'washer' has an O-Ring in it to meet the Lip under the cover which gets tightened by the nut underneath the washer thus locking it in place :)

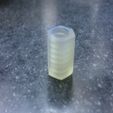
The Orange'ish coloured O-Ring Cord is a softer 'shore' rating than the black one as i didnt want the nut to need excessive tightening and hand-tight is good enough but one half turn from a spanner is all it'll need, DO NOT USE PLIERS ! Or you risk busting the plastic nut/screw...

==~~~>>> Of Course, this can be used for many other applications other than waterproofing a kitchen sink hole lol

Enjoy !

Major Thanks to mike_mattala (Again !) for creating the bolt and nut which i used, full credit to him for those parts, the vent is my design from scratch:

Nut and Bolt Selection;
(http://www.thingiverse.com/thing:193647) by mike_mattala

Which i remixed into my design and used the nut without modification !

*** EDIT *** 23/09/19
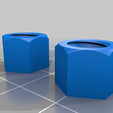
The Hole cover started to un-screw itself so i simply cut the Nut-Joiner in half, re-printed the two halves then tightened one by hand first, chamfered side to the top, then screw in the 2nd Nut Joiner, Chamfered side to bottom, so that the two halves of the nuts meet and 'LOCK' each other in place on the smooth NON-Chamfered sides :)

So far this has held up even better with no more unscrewing of the hole cover !

Advertising


Issue with this design? Report a problem.

Would you like to support Cults?

You like Cults and you want to help us continue the adventure independently? Please note that we are a small team of 3 people, therefore it is very simple to support us to maintain the activity and create future developments. Here are 4 solutions accessible to all:

  • ADVERTISING: Disable your banner blocker (AdBlock, …) and click on our banner ads.

  • AFFILIATION: Make your purchases online by clicking on our affiliate links here Amazon.

  • DONATE: If you want, you can make a donation via Ko-Fi πŸ’œ.

  • WORD OF MOUTH: Invite your friends to come, discover the platform and the magnificent 3D files shared by the community!


Sharing and downloading on Cults3D guarantees that designs remain in makers community hands! And not in the hands of the 3D printing or software giants who own the competing platforms and exploit the designs for their own commercial interests.

Cults3D is an independent, self-financed site that is not accountable to any investor or brand. Almost all of the site's revenues are paid back to the platform's makers. The content published on the site serves only the interests of its authors and not those of 3D printer brands who also wish to control the 3D modeling market.

100% secure payment by credit card, PayPal, Apple Pay, Google Pay, etc.
View all payment options.